- Joined
- Sep 16, 2020
- Messages
- 6
- Reaction score
- 0
- Points
- 1
- Location
- Fayetteville
- Vehicle Year
- 1986
- Vehicle
- Bronco II
- Suspension Style
- 4wd
- My credo
- I’m a man, and I can change, if I have to, I guess....
Sorry this is so long I believe I’ve been posting in the wrong section this is several days of trouble shooting.
DAY 1
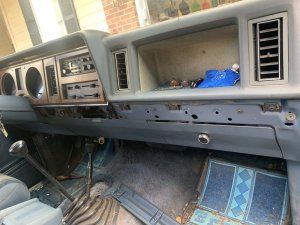
So I finally got me one. Last week I purchased a 1986 Bronco II that started its life as an automatic. The PO has the auto trans swapped out for the manual and also replaced the transfer case to non electronic hand select type case. Exterior (except for paint) is perfect! Not a single dent, no severe rust, and only 150k miles. So far I’ve given it a freshening up. New plugs, wires, distributor, fuel filters, valve cover gaskets all the basic maintenance things you would do to a 35 year old vehicle. Took old girl on her maiden voyage yesterday Had to start it at the relay and it ended in catastrophe. So far I’ve identified a heavy clicking sound coming from the front drivers side wheel, both my front brakes locked up, the truck over heated and the starter relay failed and now runs the starter as soon as the cable is applied to the battery, no I’m stuck with a no start situation. Can’t hear the fuel pump prime, won’t crank on starting fluid. Its all good though. I’ve wanted one of these since I was 15. Got a new master cylinder, axle shaft, wheel bearings, fuel pump relay, and a whole assortment of vaccine lines in the way. I’m mostly posting this To remind myself what I’ve done, but I hope it helps someone out as I beat the gremlins out of this thing.
DAY 2
Currently in a crank but no start situation fuel pump does not prime during koeo and no spark while cranking,
1.) replaced all fusible links with a fuse block and corresponding fuse sizes.
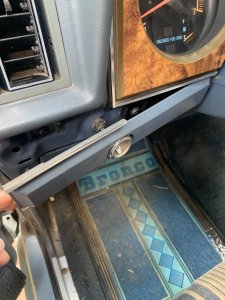
2.) attempted to reset inertia switch under passenger side carpet.
3.) tested fuel pump by jumping pins at fuel pump relay connector.
4.) checked for spark with spark tester at several cylinders
Trouble shot it as being a possible ecm issue, trouble shot ecm relay and connector by
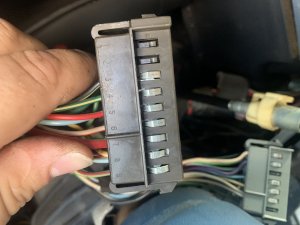
1.) checking for proper ground at connector checks at 5ohm
2.) checked for incoming power at relay 12v
3.)checked for output power on relay (NOTHING)
So now I’m working on why I’m not getting any out voltage at the relay. If the fusible link is good and the connector is grounded it should be good.
Attached is a really useful link for how to diagnose a bad EEC relay or connector
Part 3 -Testing the Ford EEC Power Relay (Brown Relay)
DAY3
SUCCESS!!! I scored a few spare parts from the local pick n’ pull (EEC, Inertia switch, fuel pump relay). I had enough free time to put them all in and after blowing a bunch of what I thought were the right size fuses to replace the fusable links, I managed to get her to fire. The EEC relay gets warm and the wire from the starter relay to the eec gets HOT, but only the short section I replaced. I’m not really sure what’s going on the possibly to small a gauge of wire.
next step is to one at a time remove the parts I replaced and see which one was at fault.
