PetesPonies
Member
- Joined
- Jan 1, 2008
- Messages
- 654
- Reaction score
- 6
- Points
- 18
- Location
- east coast
- Vehicle Year
- 1984
- Vehicle
- Bronco II
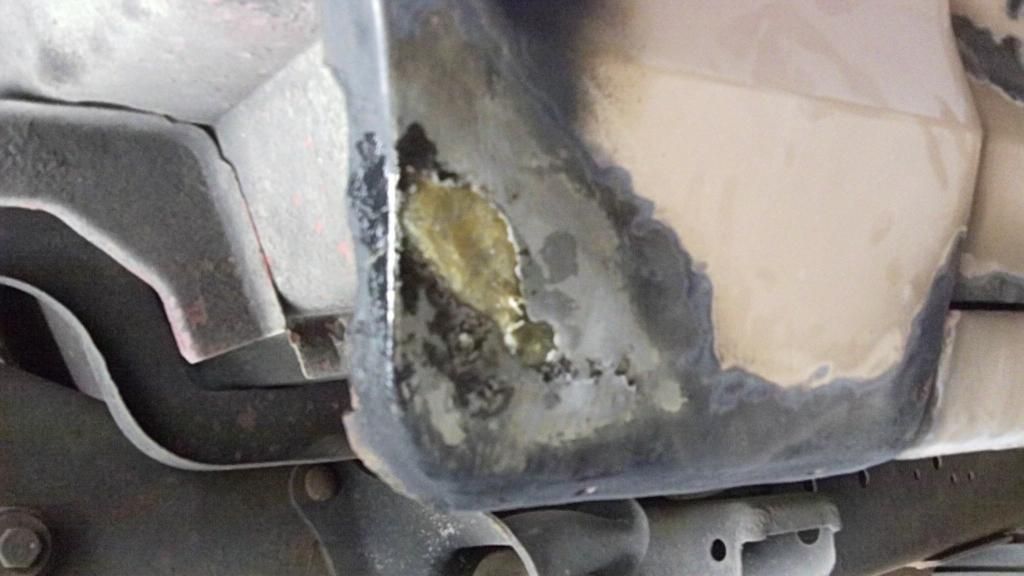
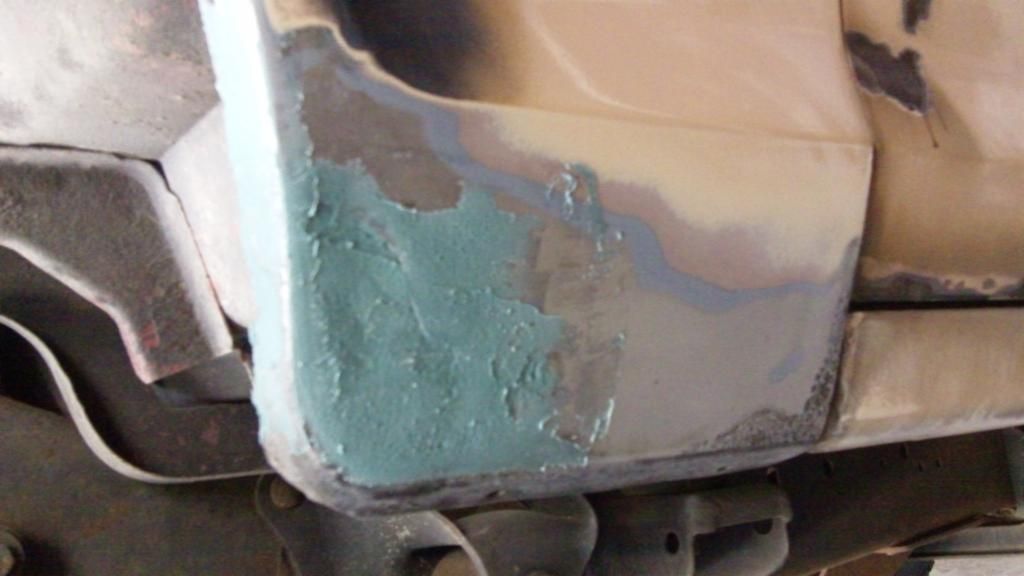
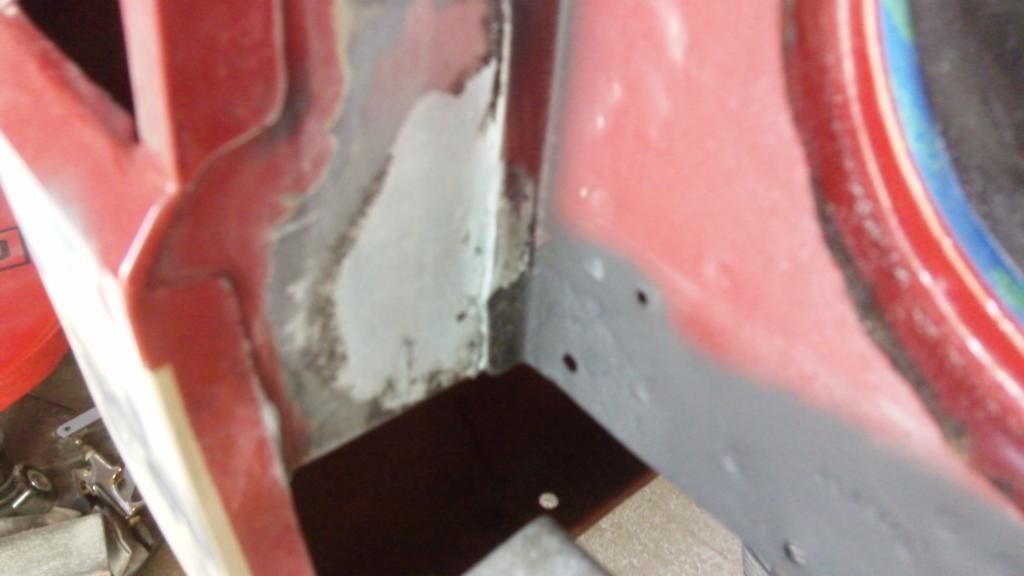
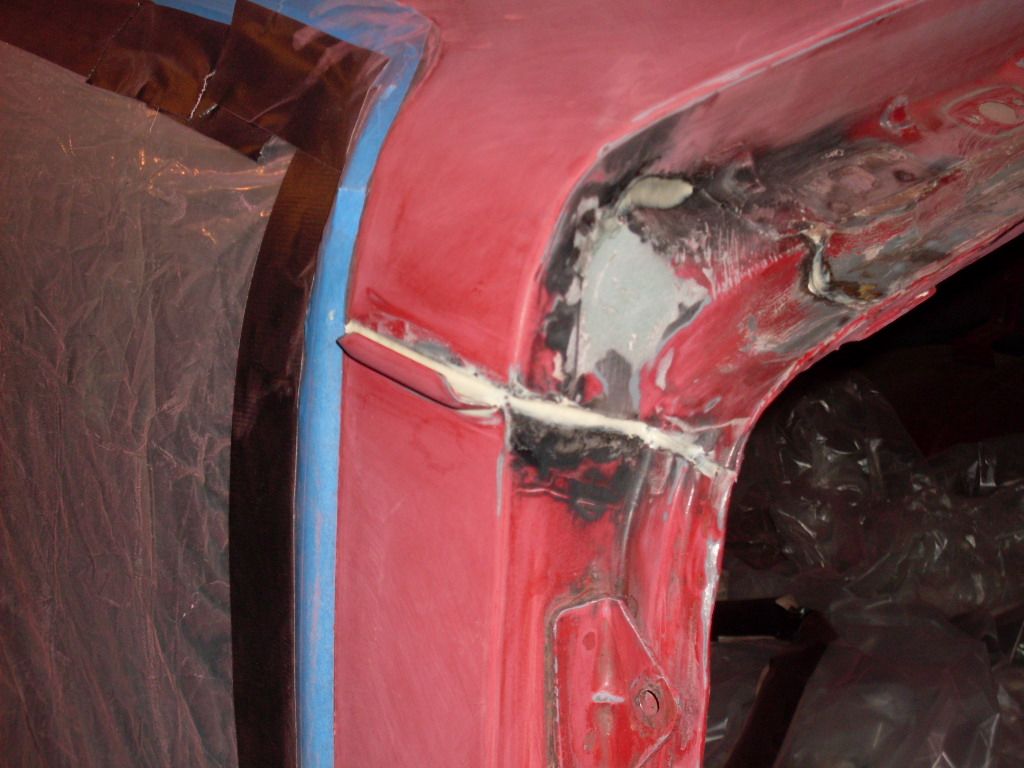
ex instructor ") I would say not that is not common. If I can in any way get to the rear of the panel, I definitely paint it. I use a rust paint to seal the weld. It's a very good idea to seal up the backside if at all possible.
I would say not that is not common. If I can in any way get to the rear of the panel, I definitely paint it. I use a rust paint to seal the weld. It's a very good idea to seal up the backside if at all possible.
I would say not that is not common. If I can in any way get to the rear of the panel, I definitely paint it. I use a rust paint to seal the weld. It's a very good idea to seal up the backside if at all possible.