- Joined
- Jan 27, 2010
- Messages
- 182
- Reaction score
- 3
- Points
- 0
- Location
- Canada Eh!!
- Vehicle Year
- 1986
- Vehicle
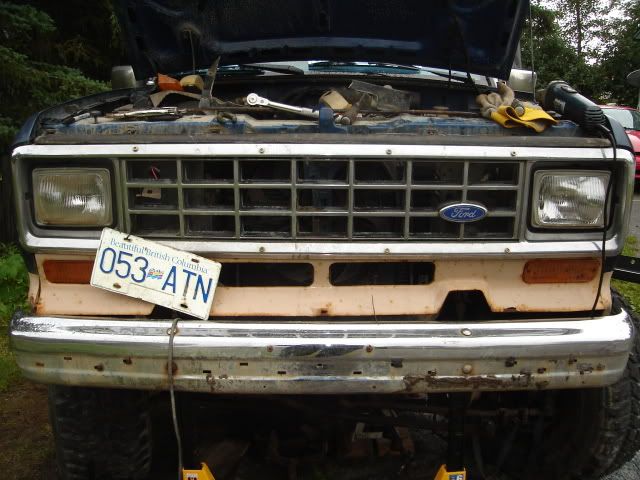
- Ford
- Engine Size
- gt40 5L
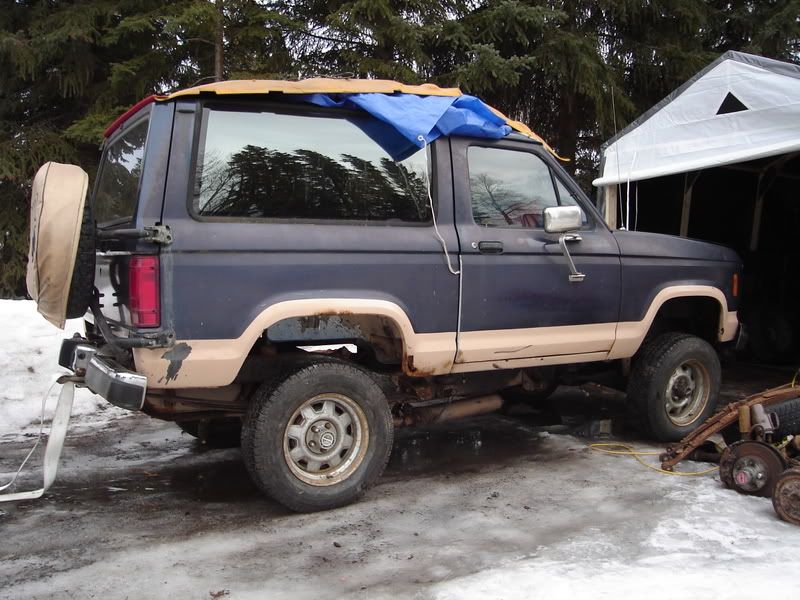
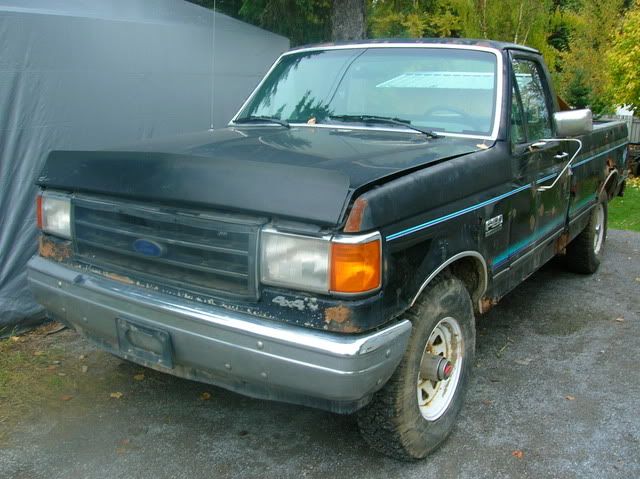
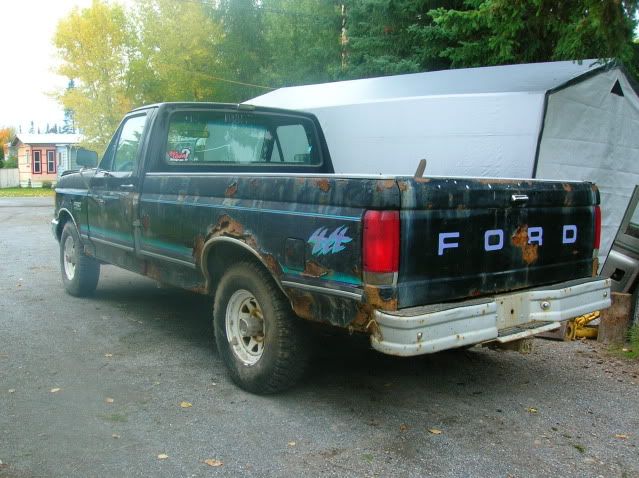
I started with my wife's old DD, an 86 Eddie Bauer, 2.9L fm145 1350. In 2001 we parked it because it was getting tired and we bought a new car for her DD. It sat for several years in the back yard awaiting some much needed attention.
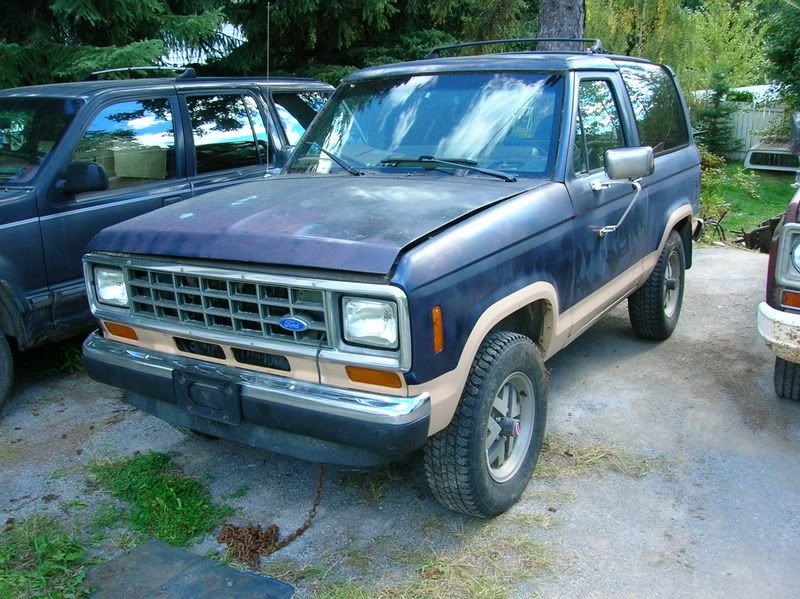
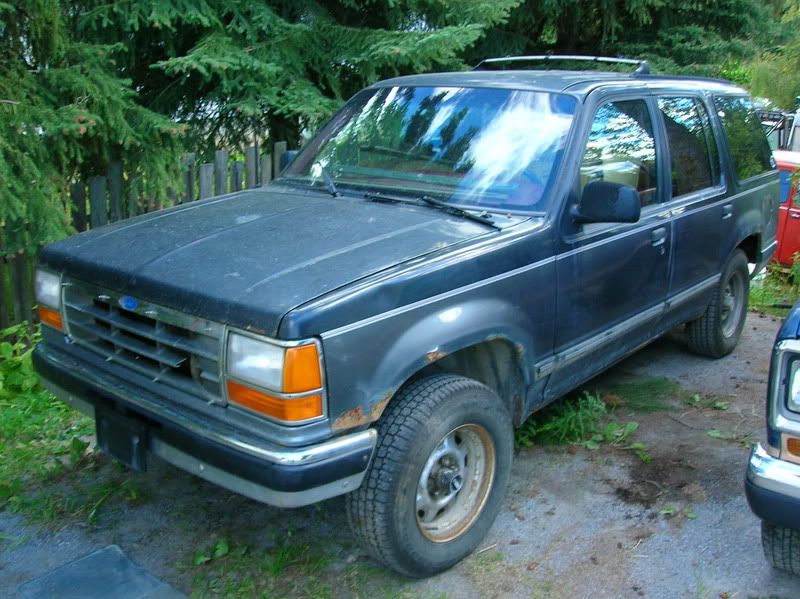
In 05 I came across a 92 Explorer EB with a blown a4ld. Cheap.
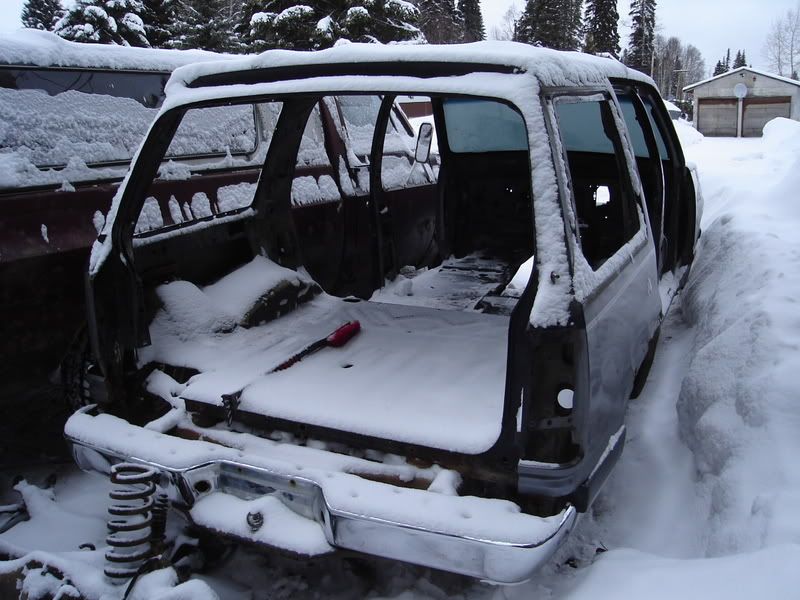
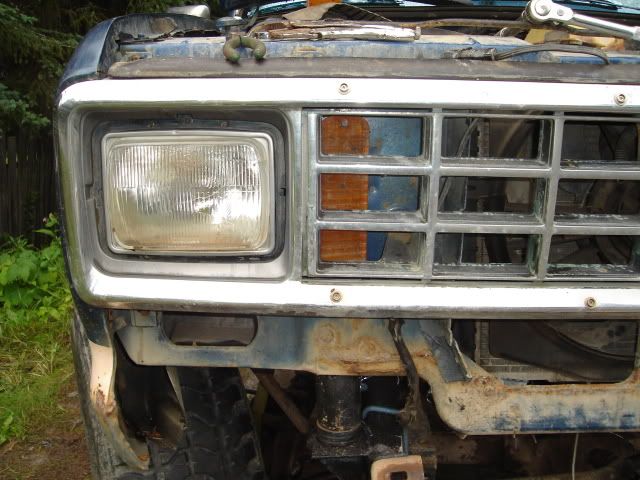
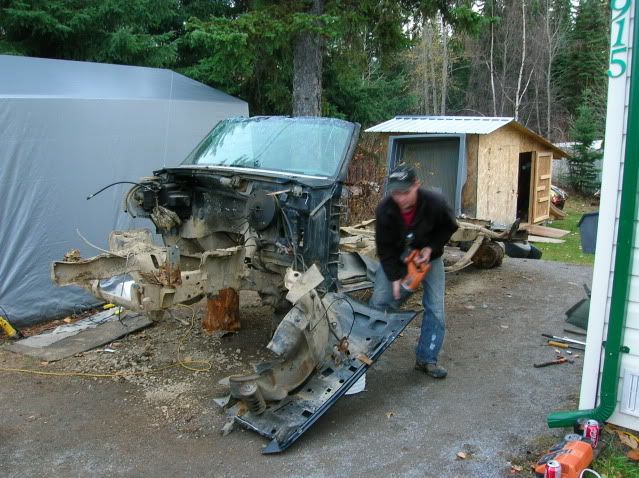
With the Exploder in hand I decided it was time to start the tare down process on the Explorer, Took a couple days but I stripped it completely, gutted it and hauled it to the scrap yard.
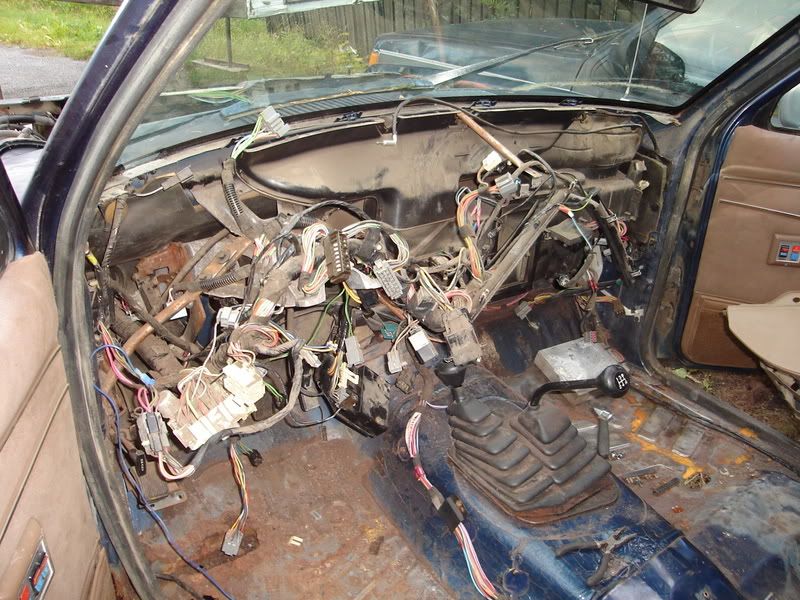
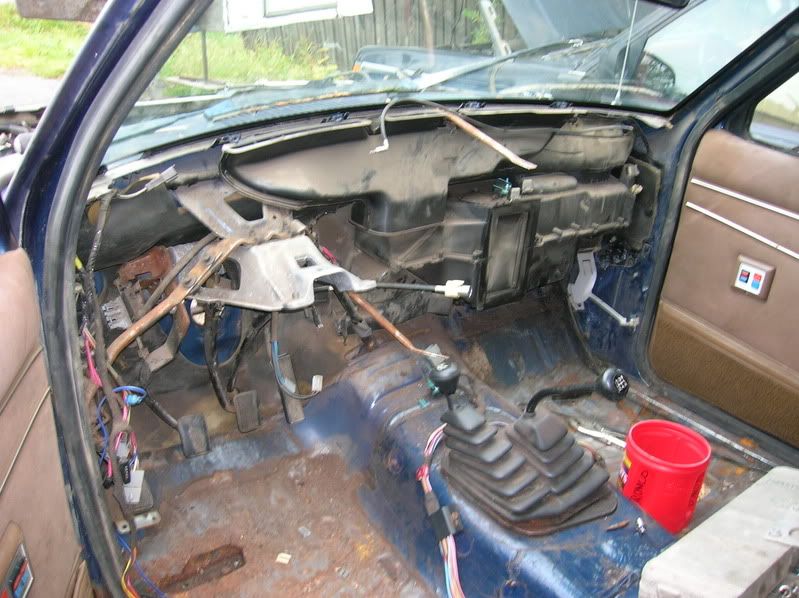
Once that was done I started ripping into the Bronco. Figured I was going to swap everything from the Explorer into the BII so I completely ripped the BII apart.
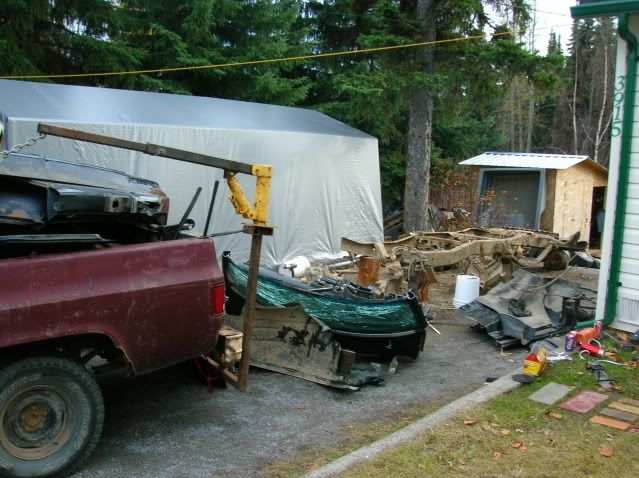
Got deeper and deep into the tare down.
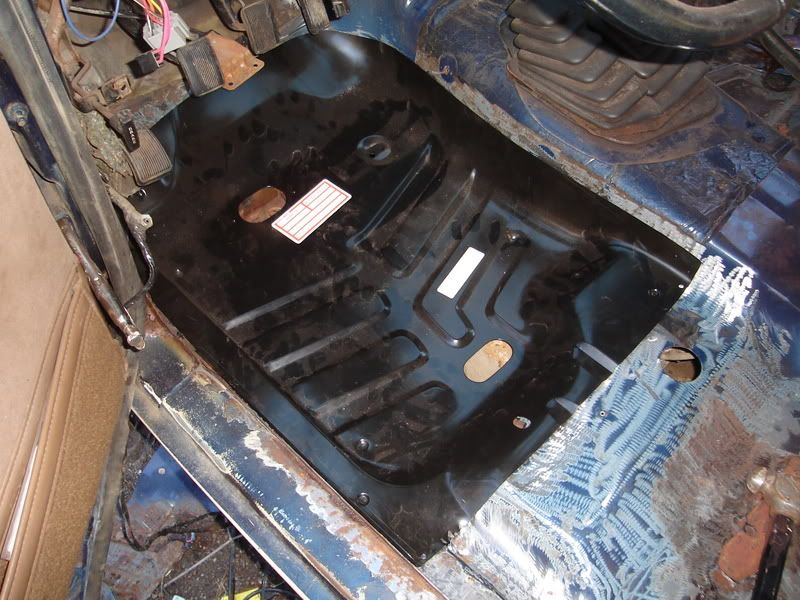
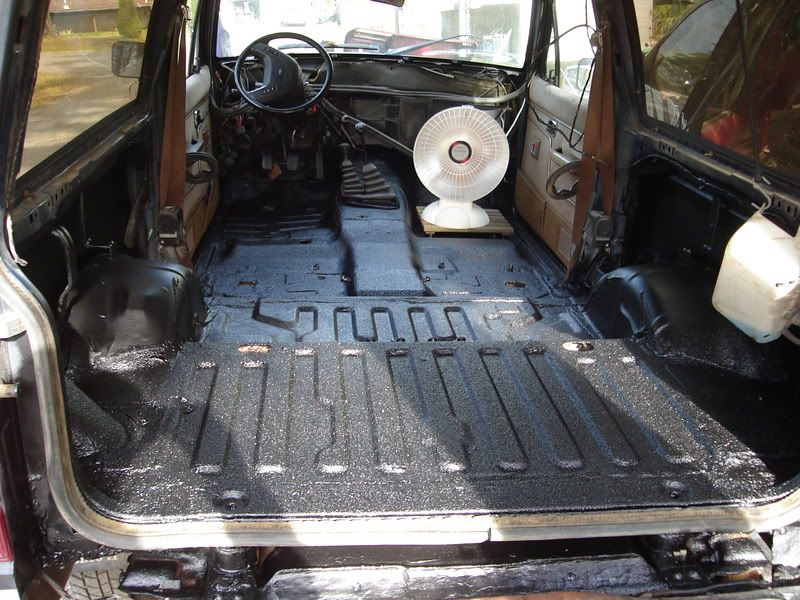
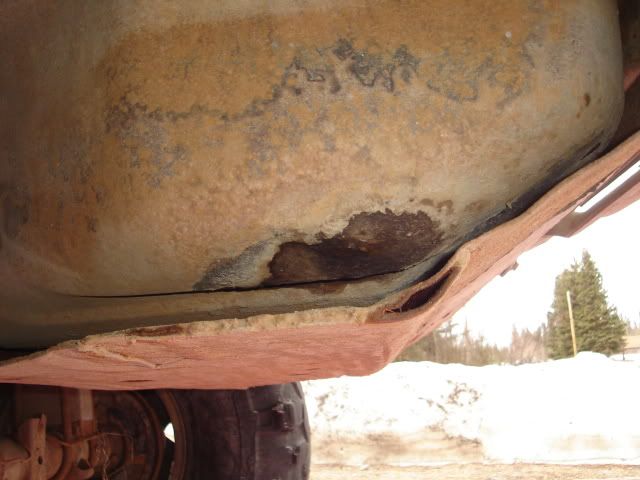
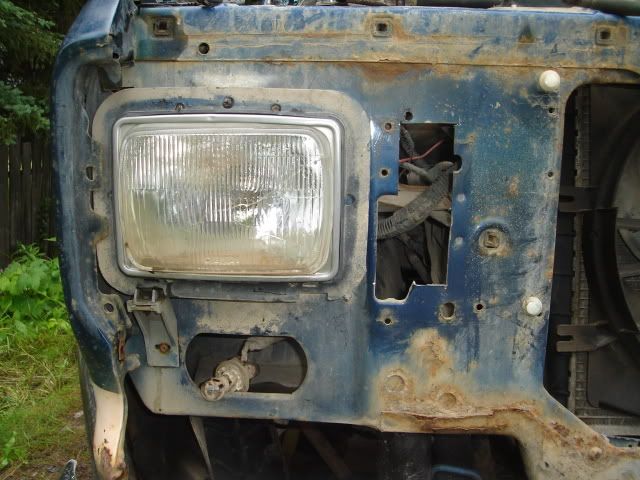
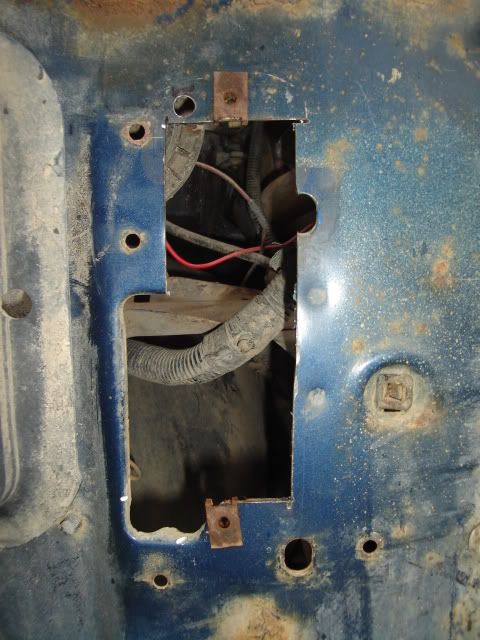
Found when I took the carpets out that the floors had rusted, so I decided to pick up some replacement panels and then wire wheeled and ground the entire floors down to Hippo Line everything.
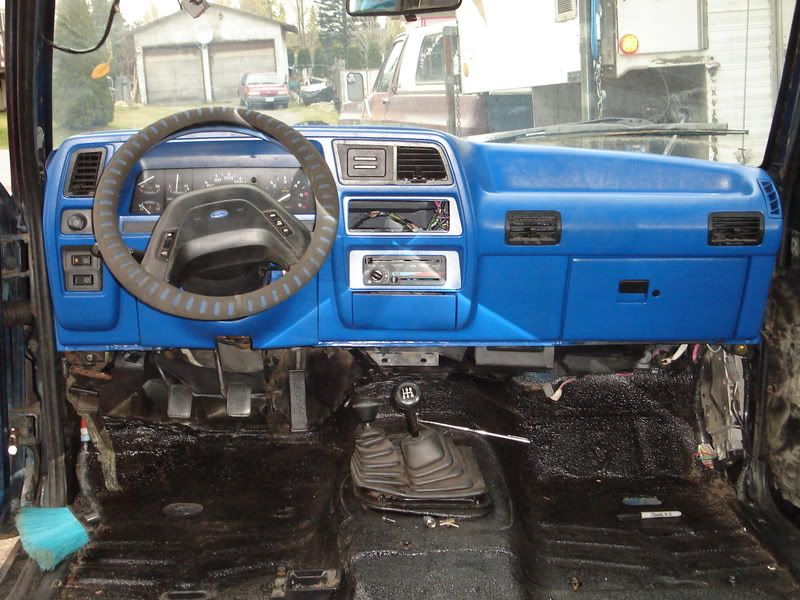
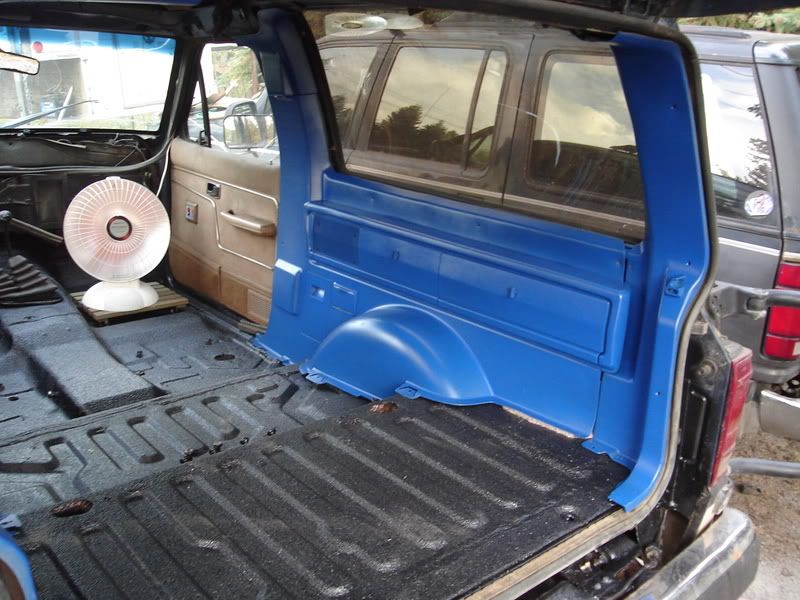
Everything all lined and looking pretty, I turned my attention to cleaning and painting the Explorer dash and BII interior panels.
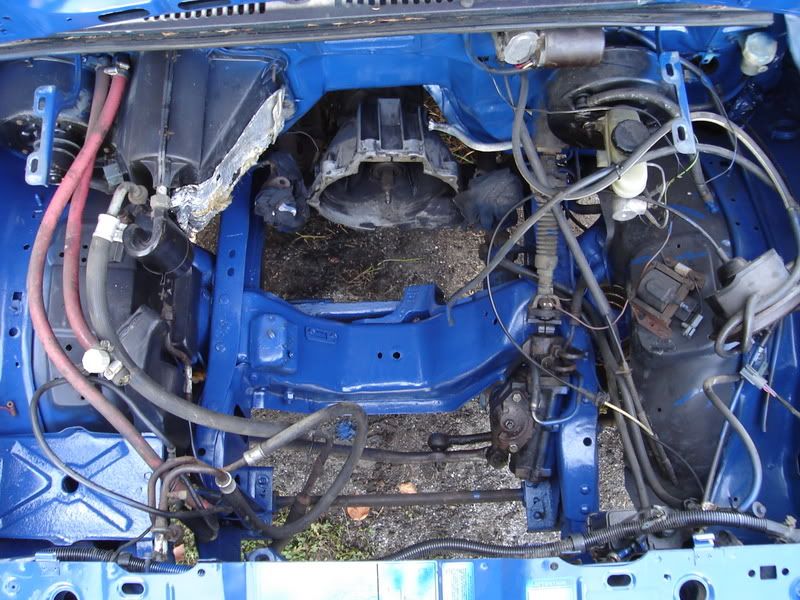
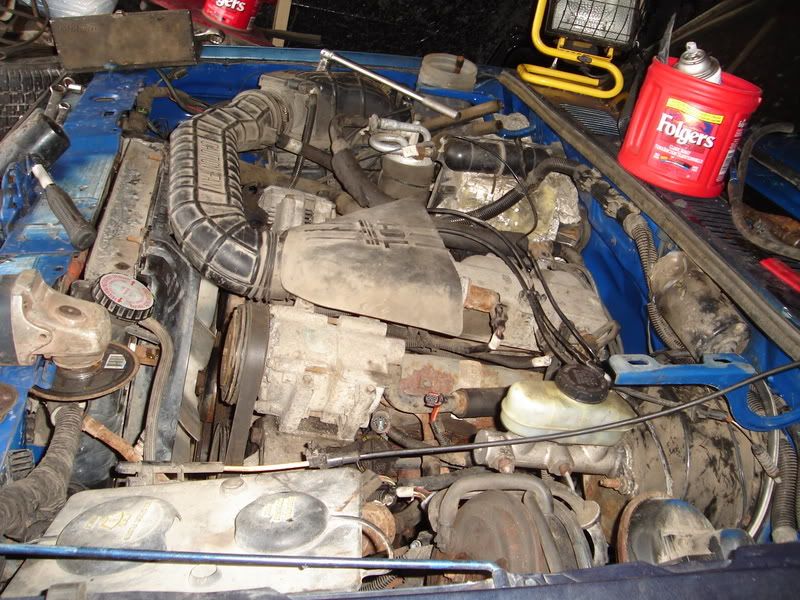
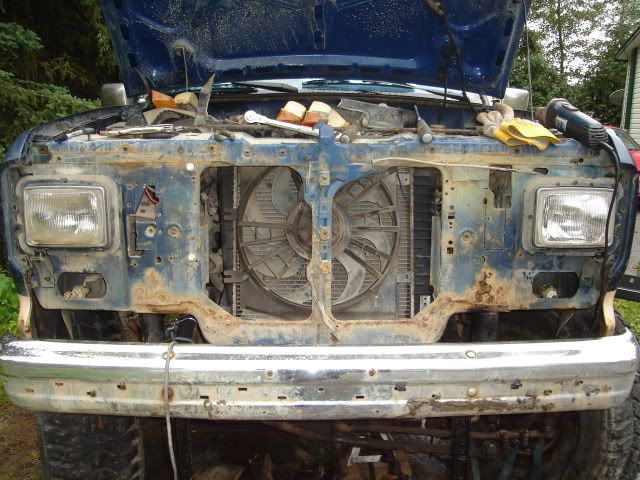
Cleaned and sanded the empty engine bay down and readied it for paint.
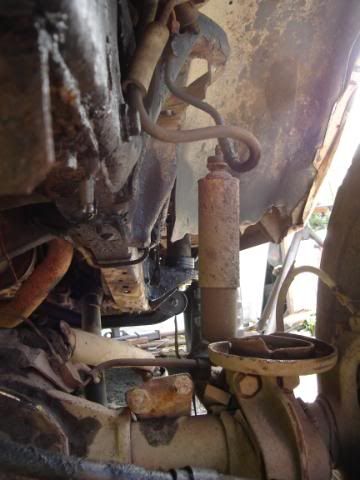
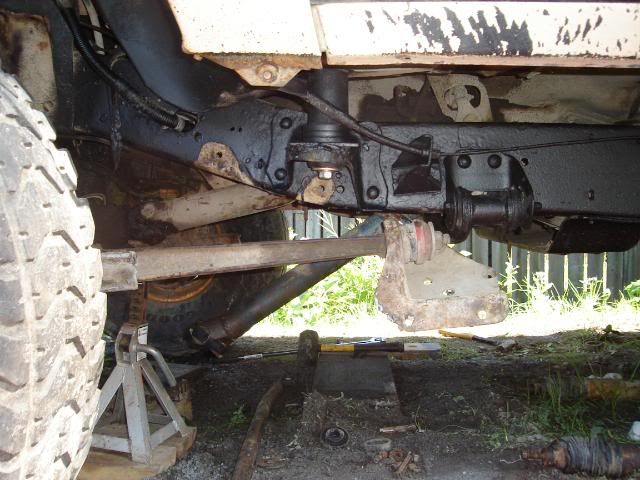
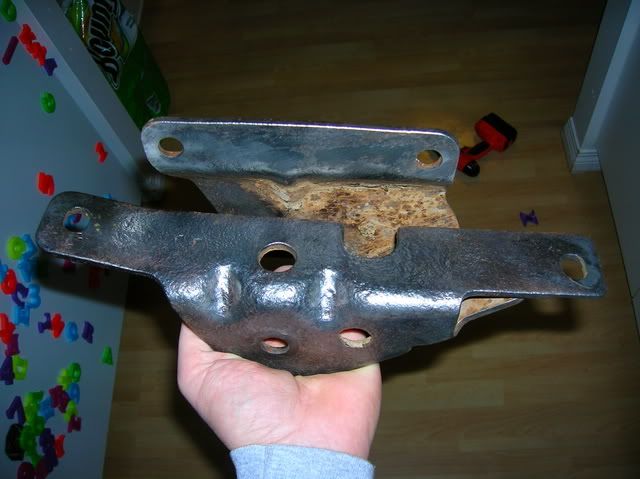
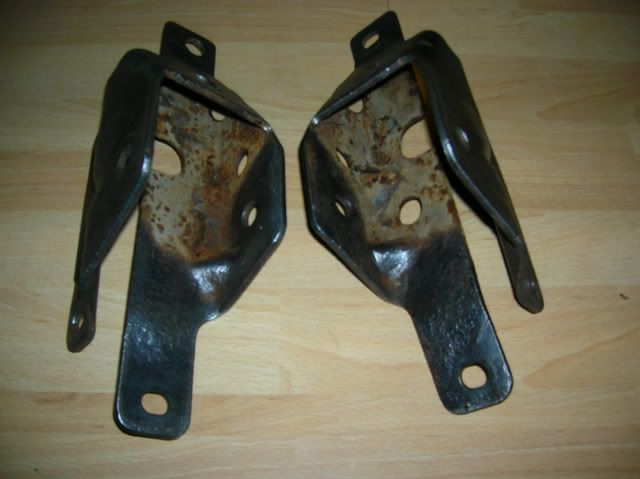
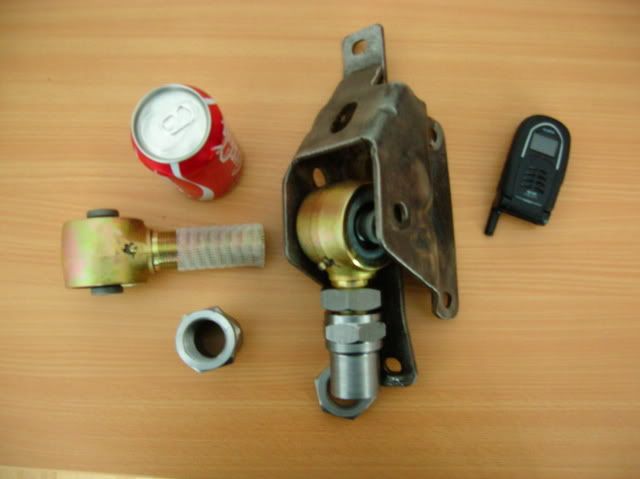
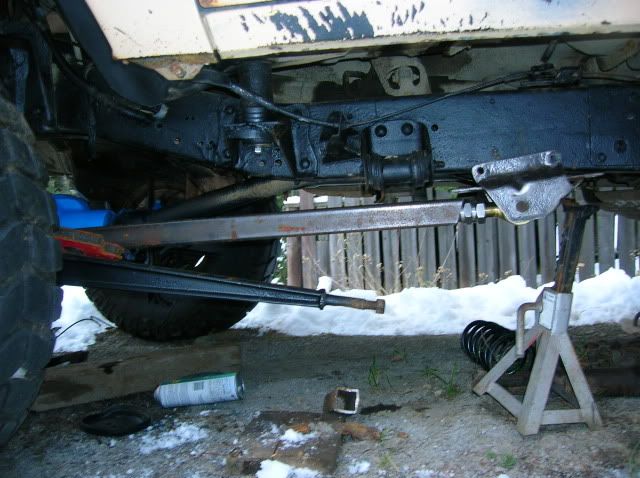
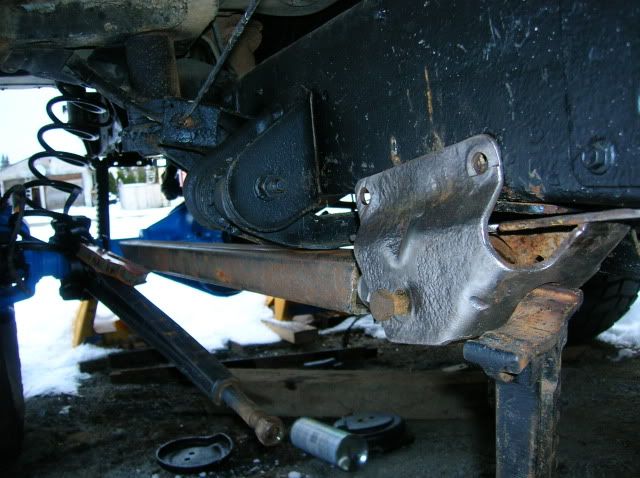
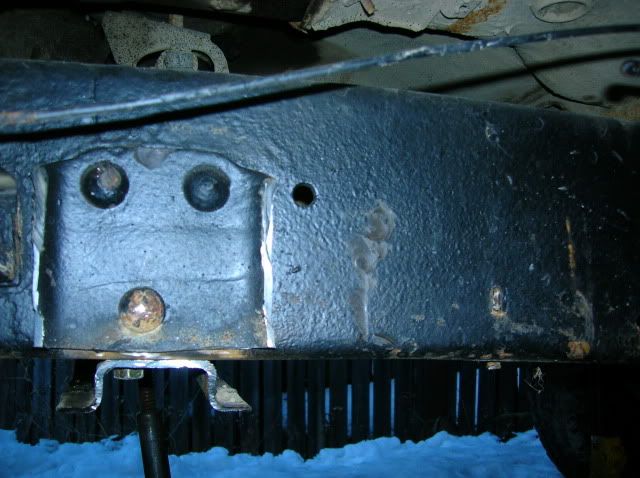
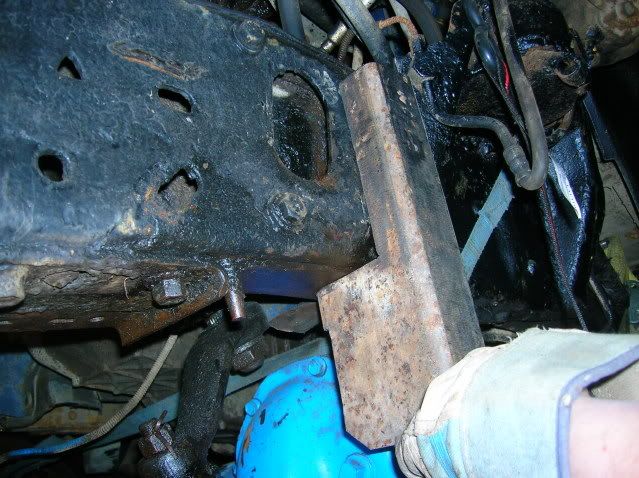
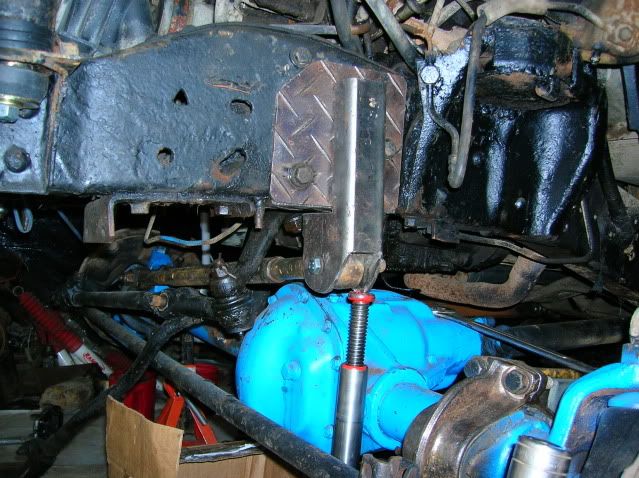
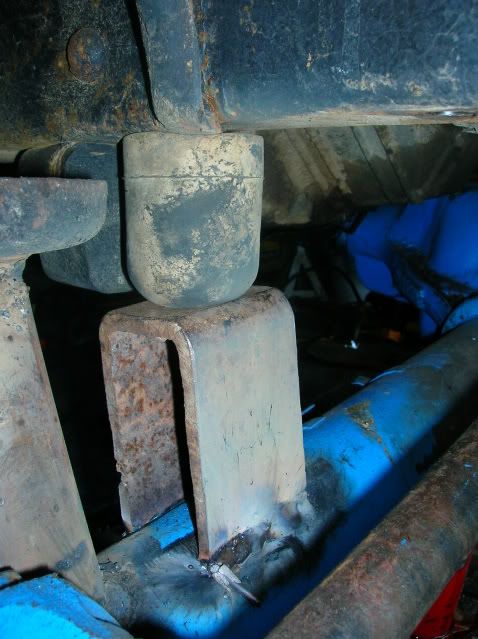
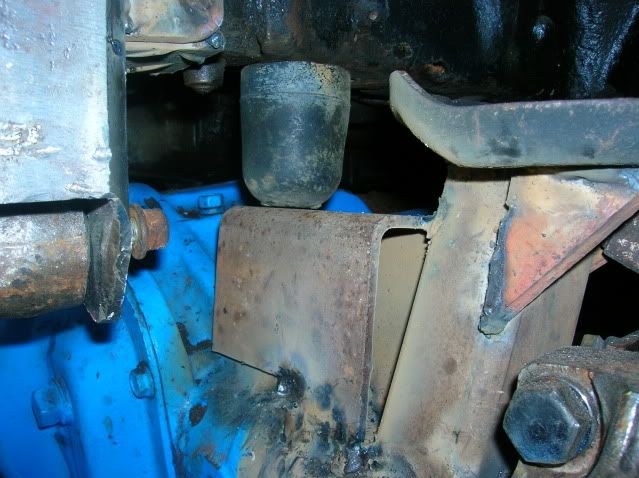
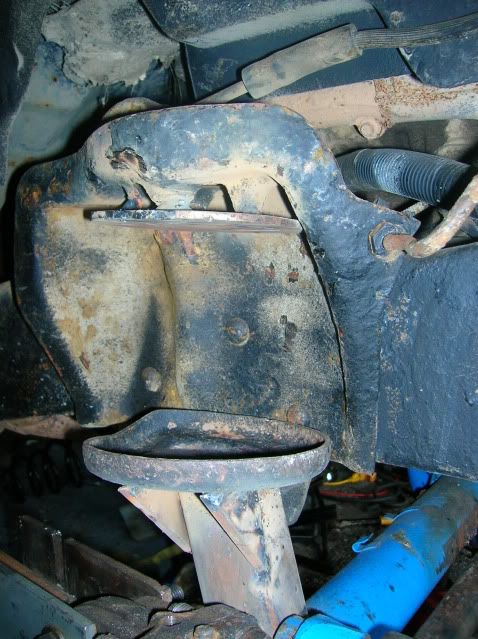
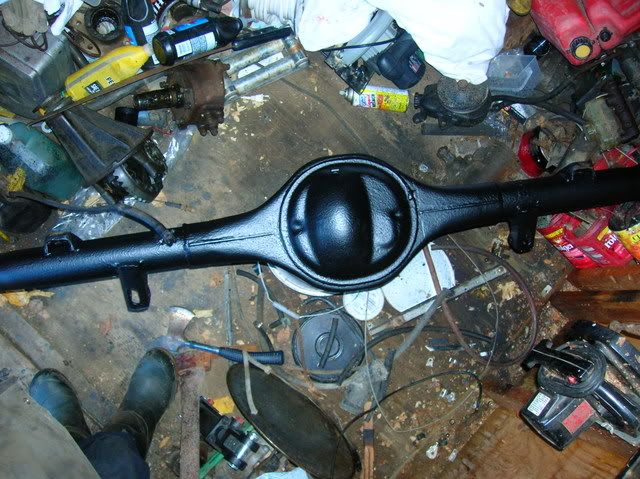
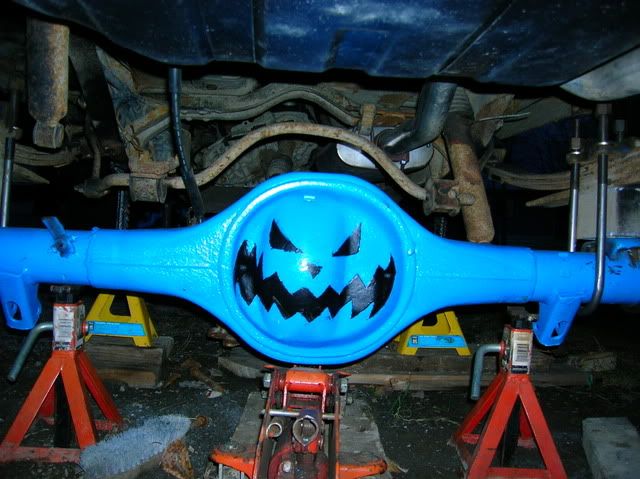
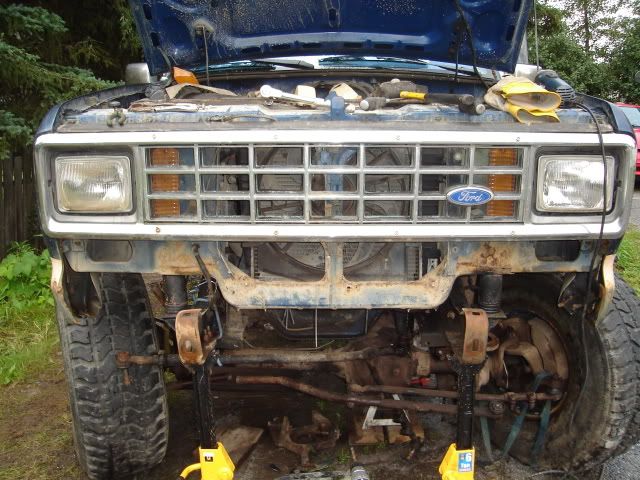
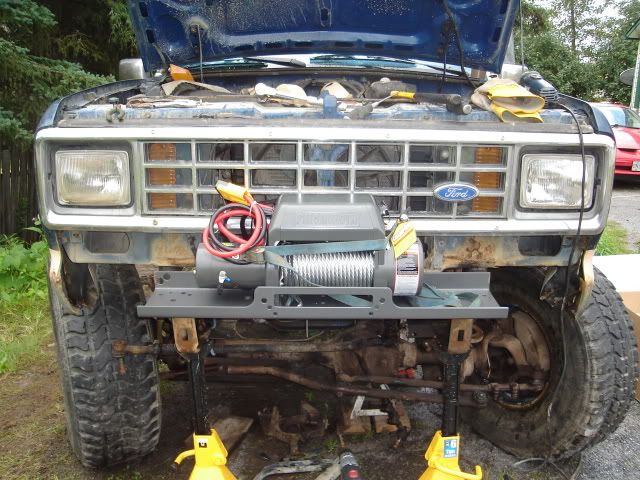
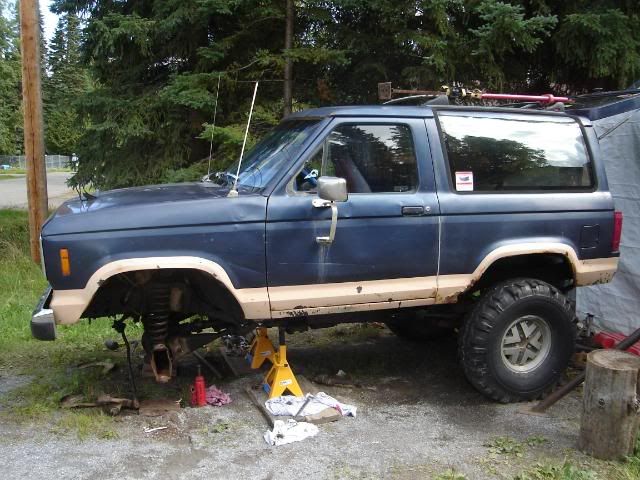
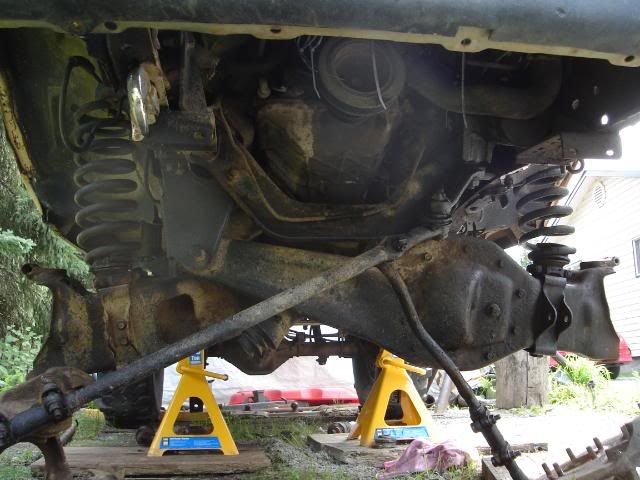
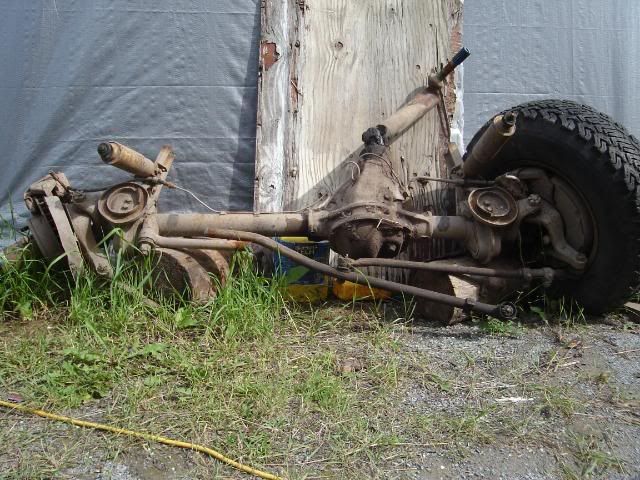
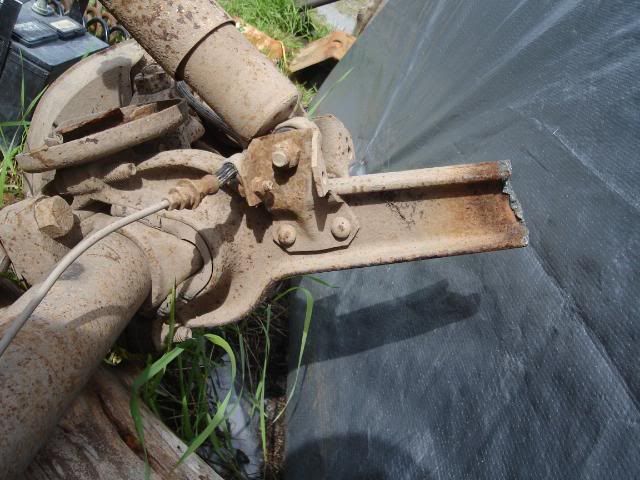
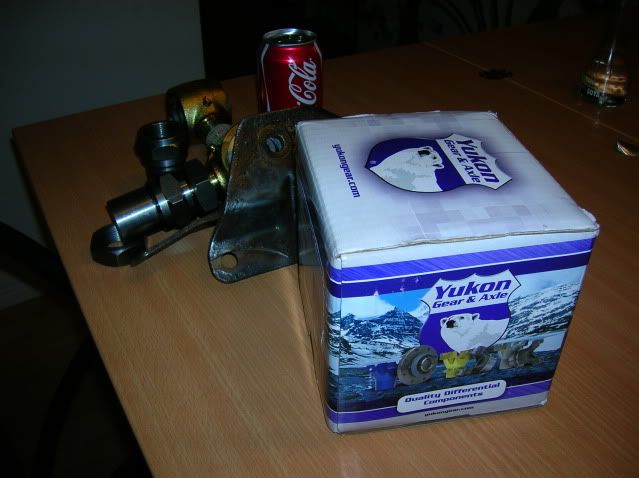
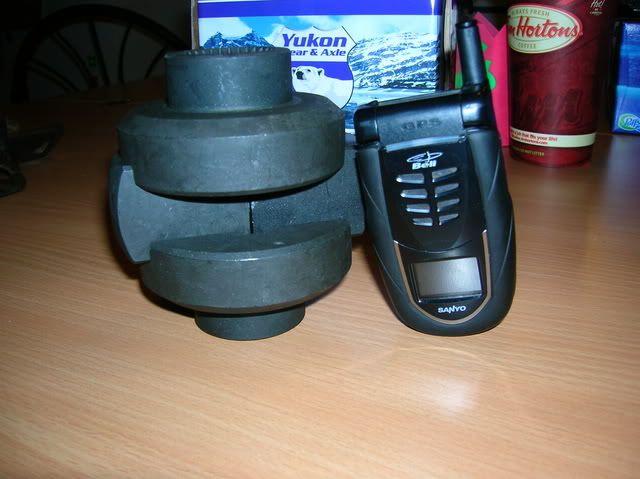
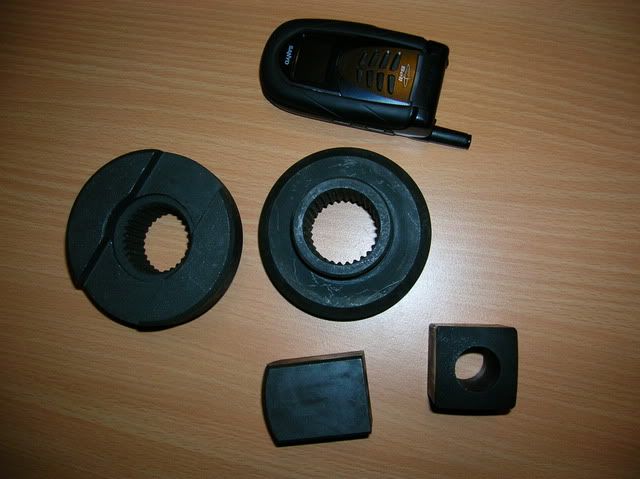
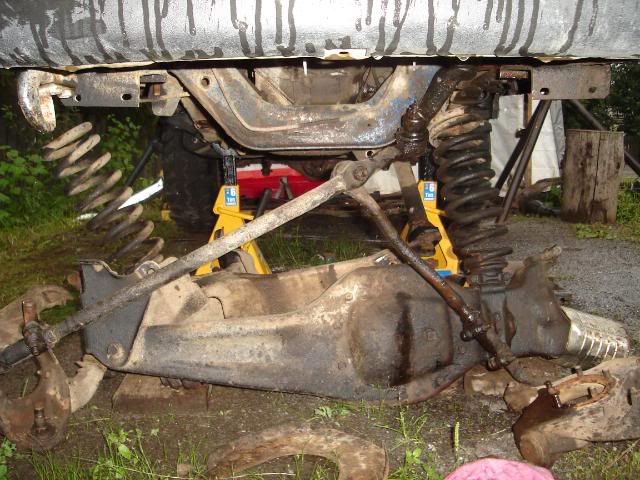
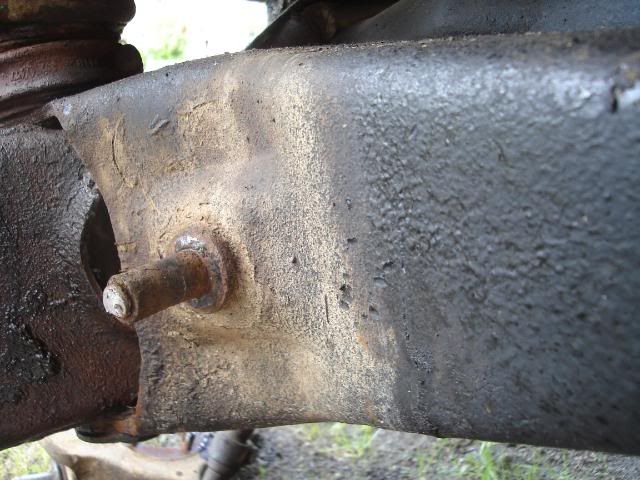
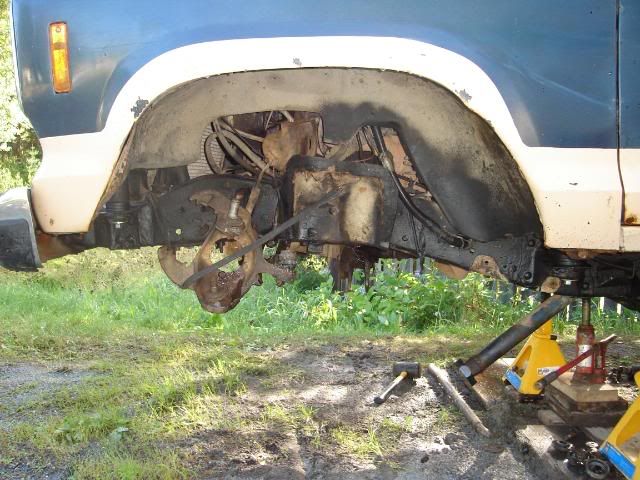
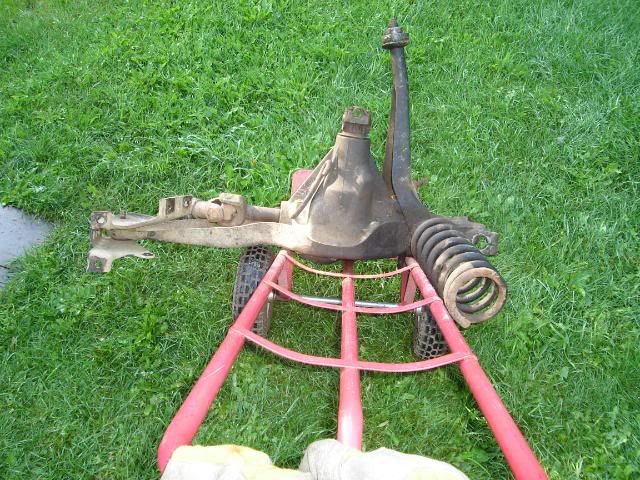
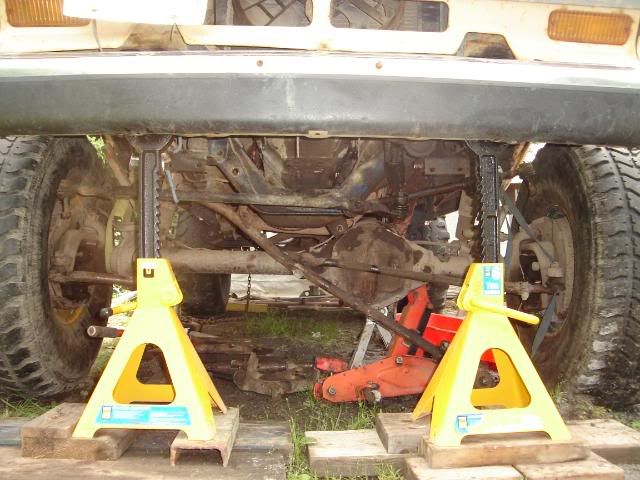
Then I turned my focus to removing and replacing the diffs and suspension.
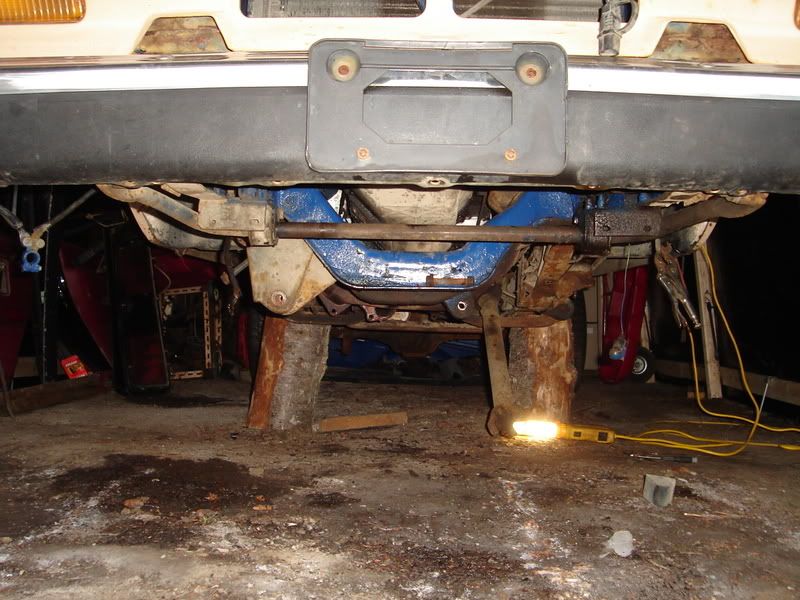
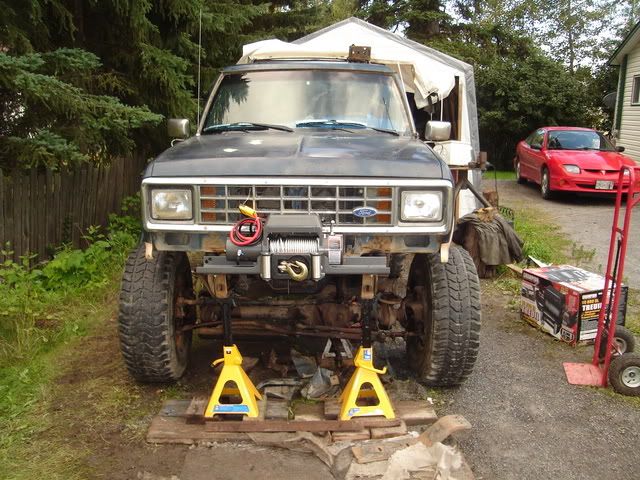
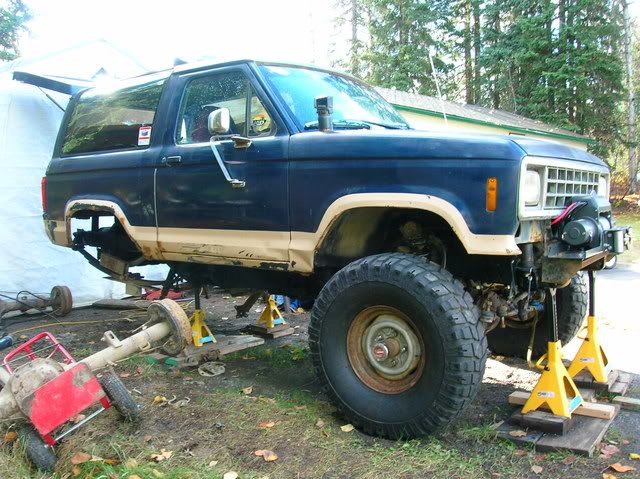
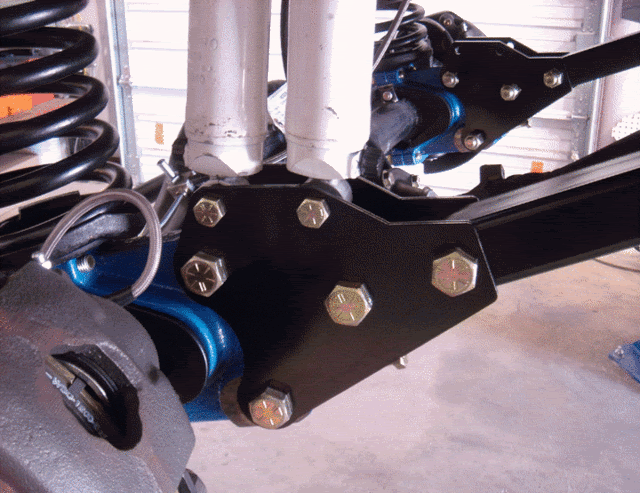
Got the d35 TTB installed and the 8.8 in place of the 7.5.
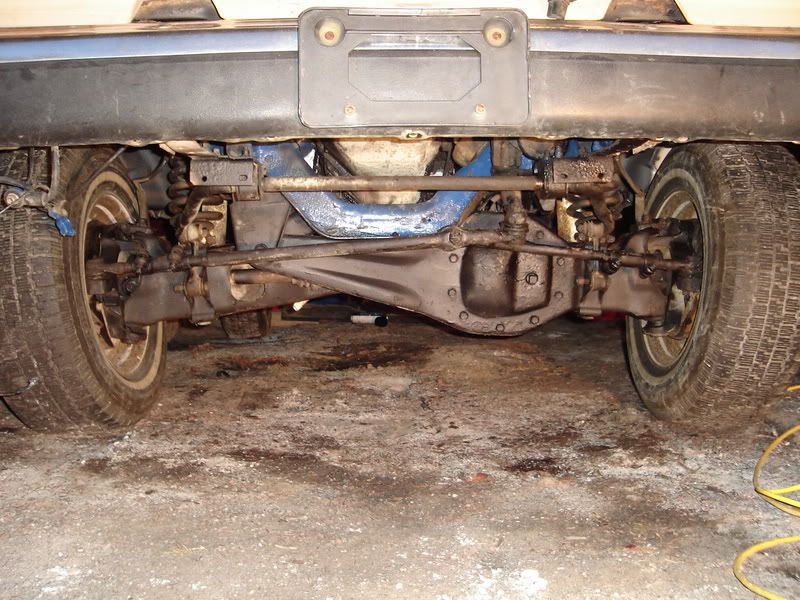
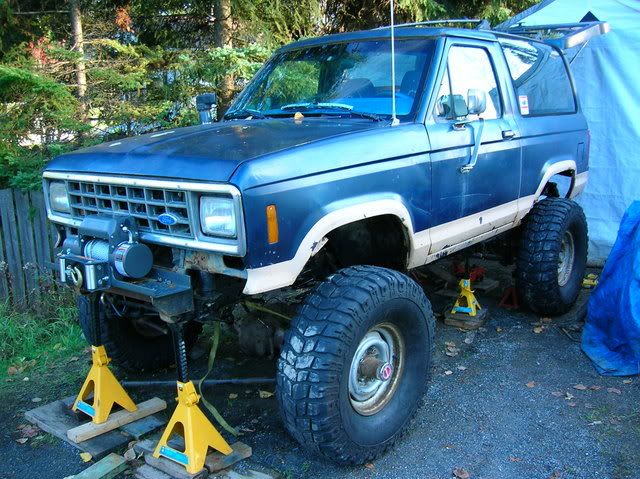
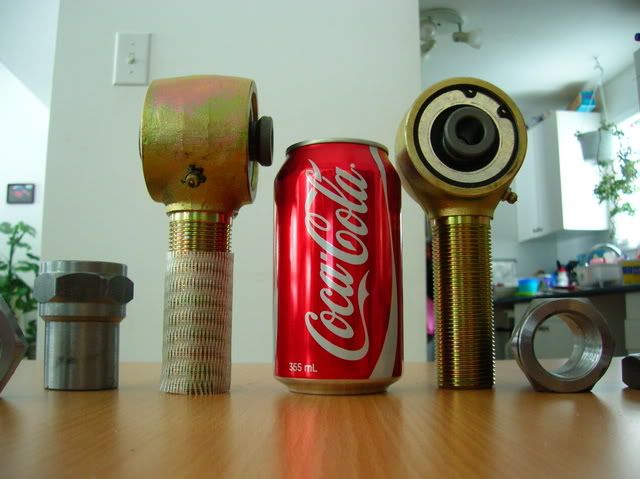
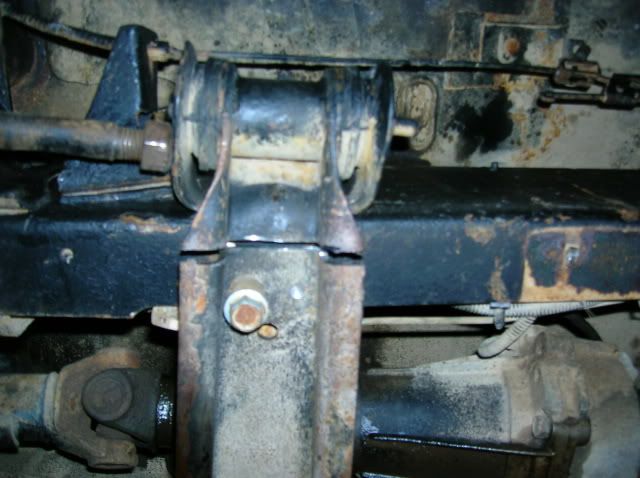
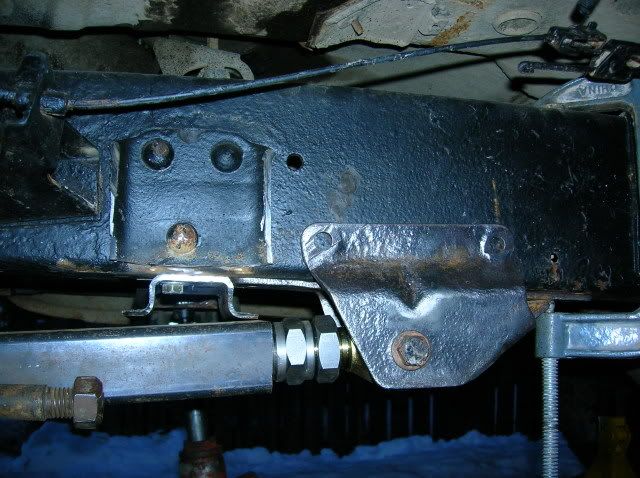
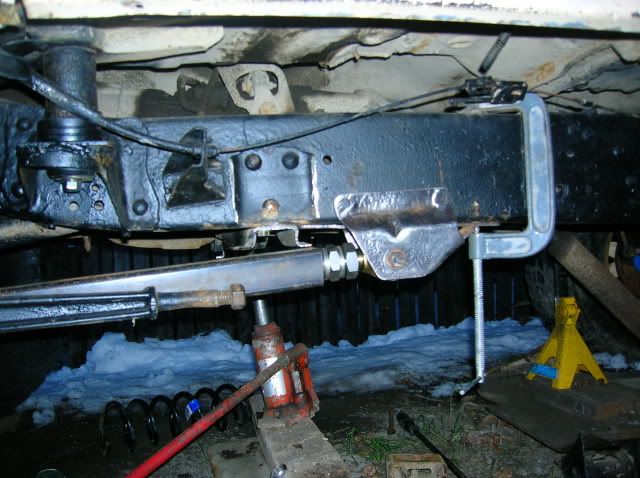
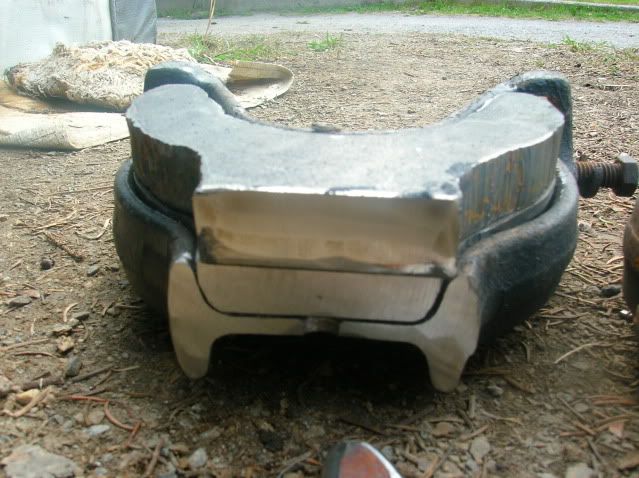
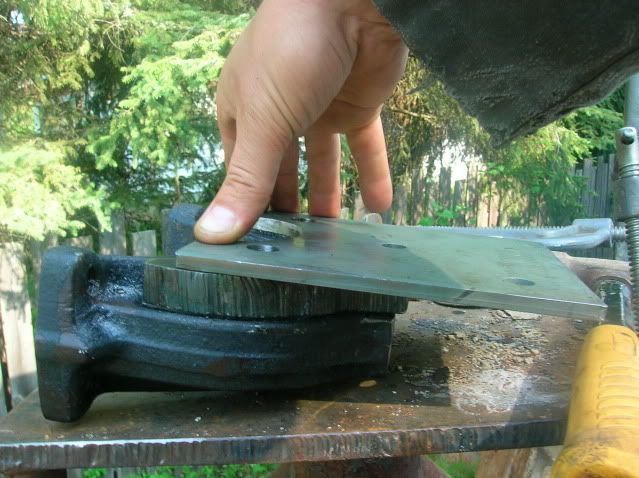
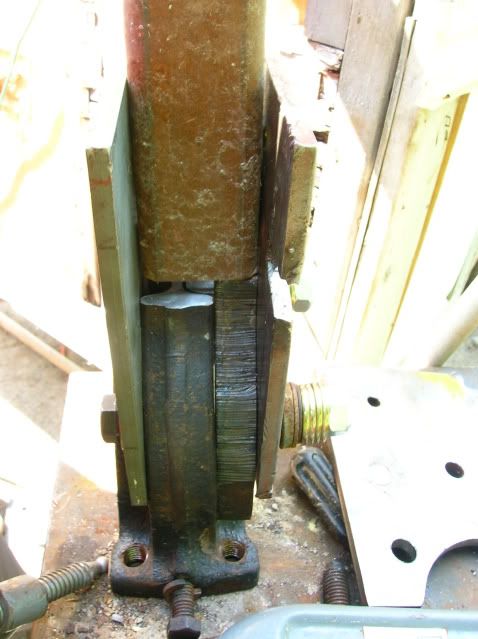
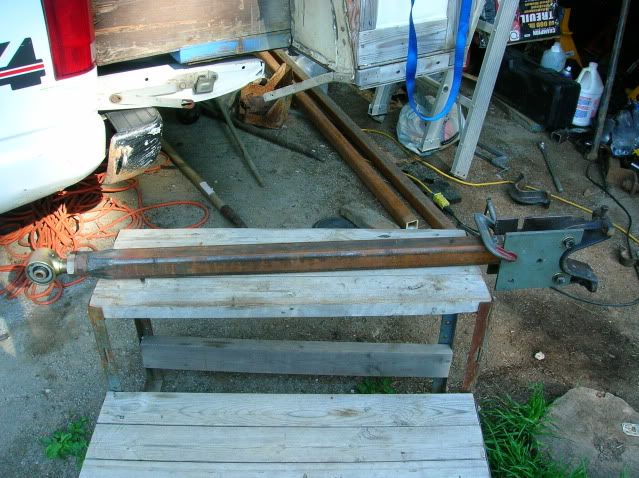
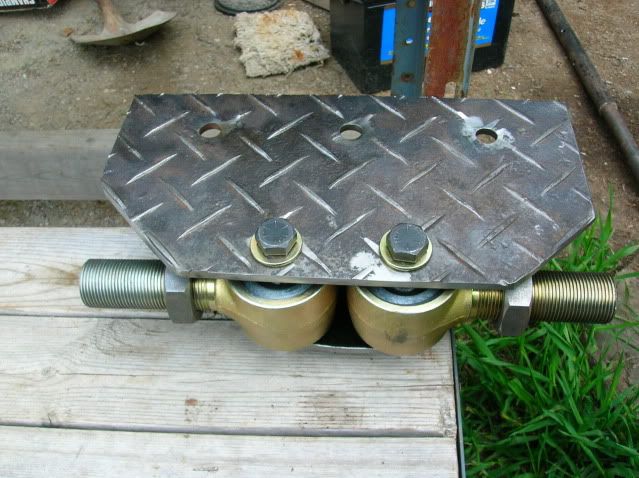
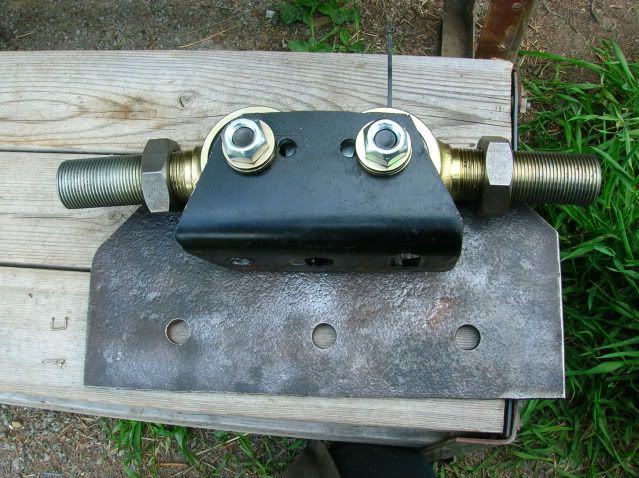
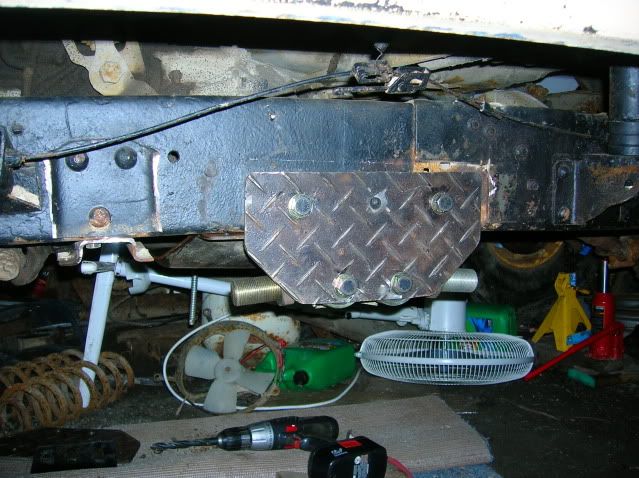
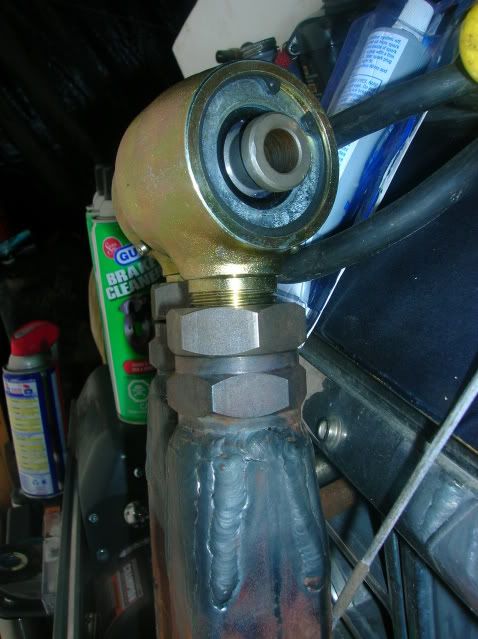
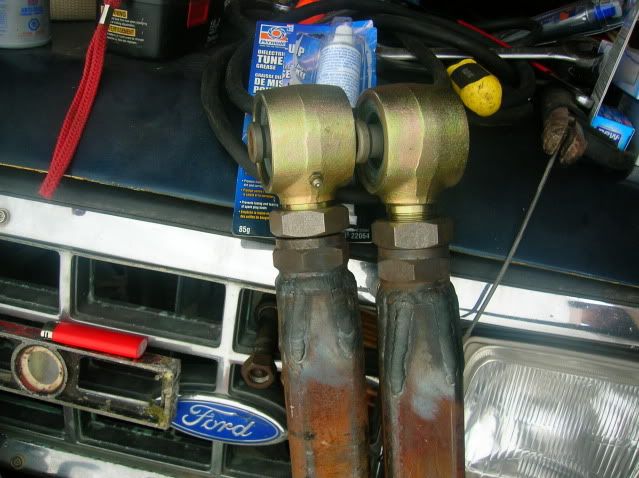
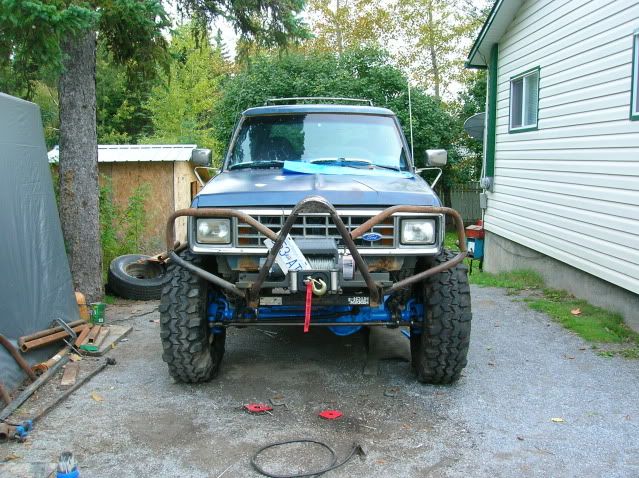
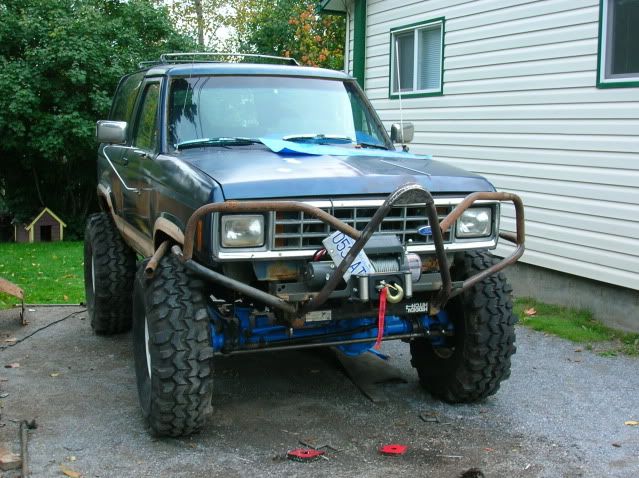
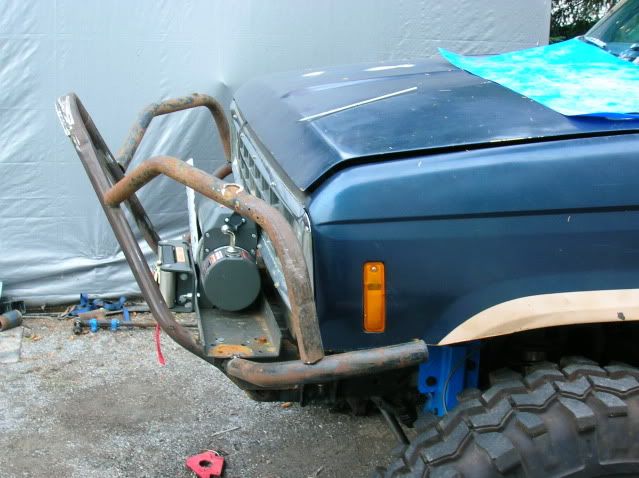
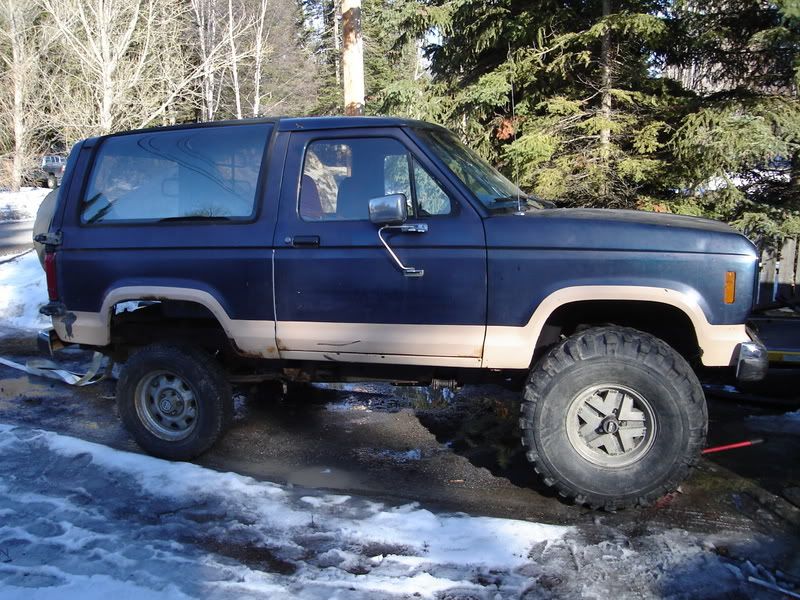
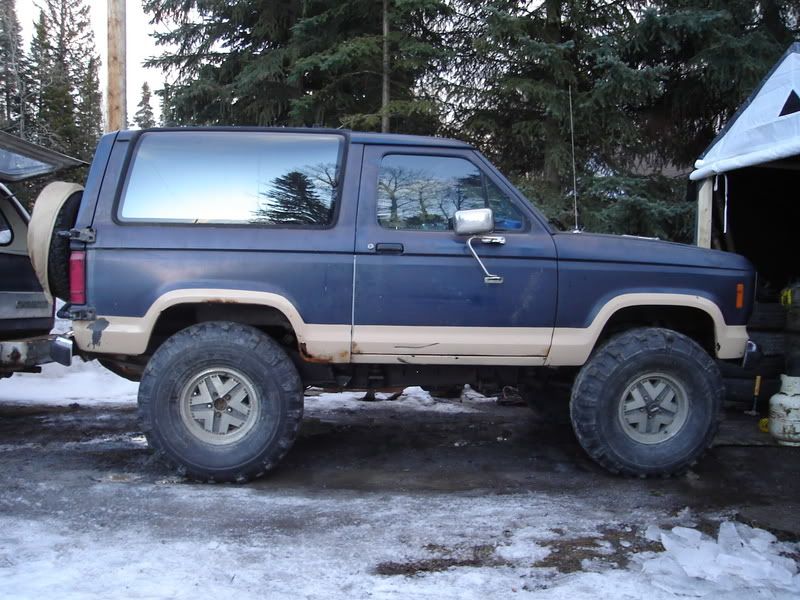
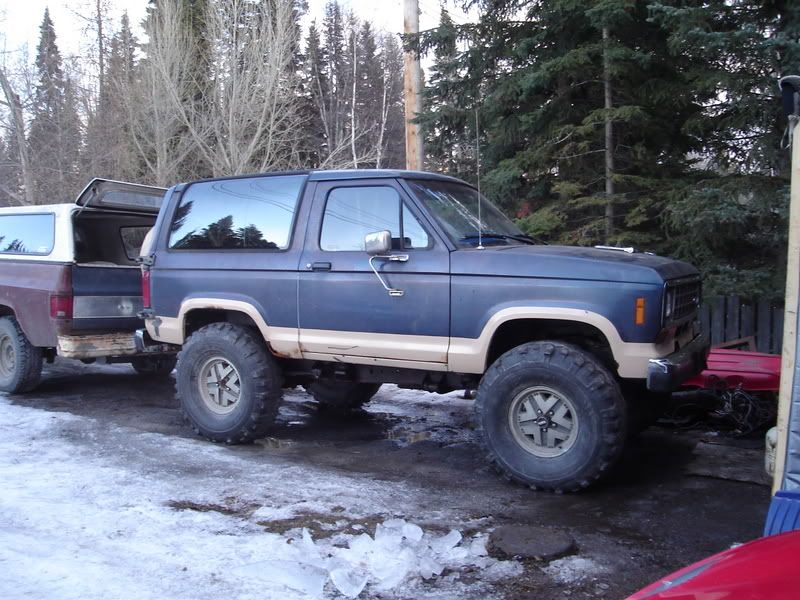
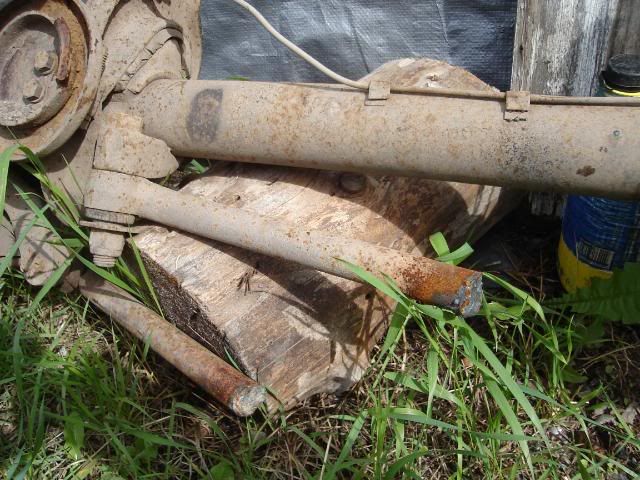
Installed a 3" body lift and cut and welded both drive shafts, got all the brake lines replaced, steering system and suspension from the Exploder installed and puller her out to test drive.
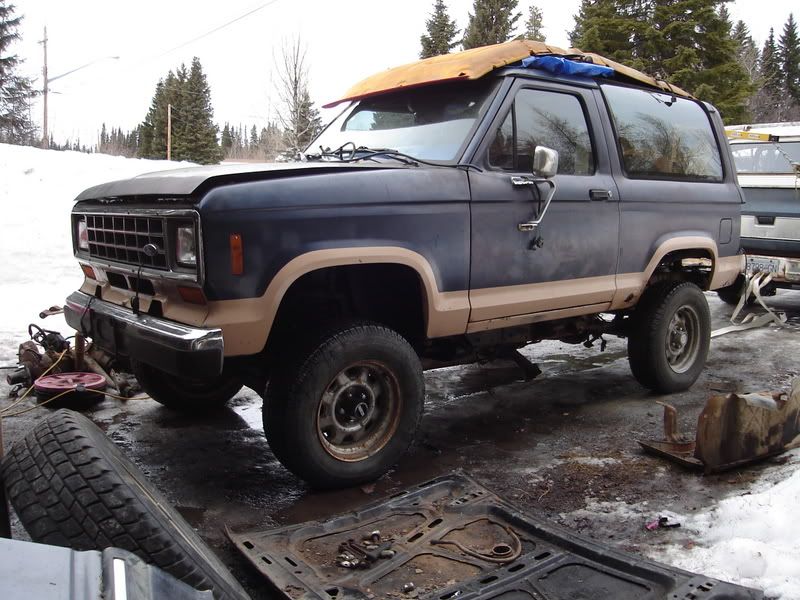
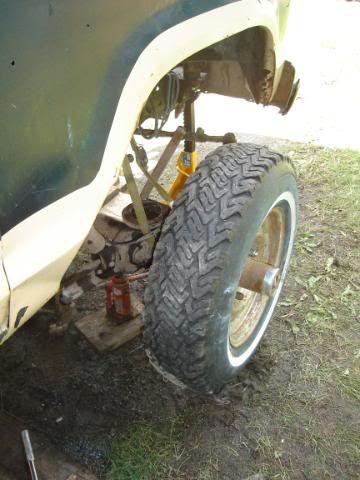
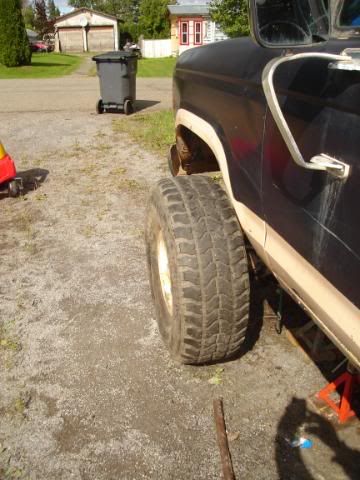
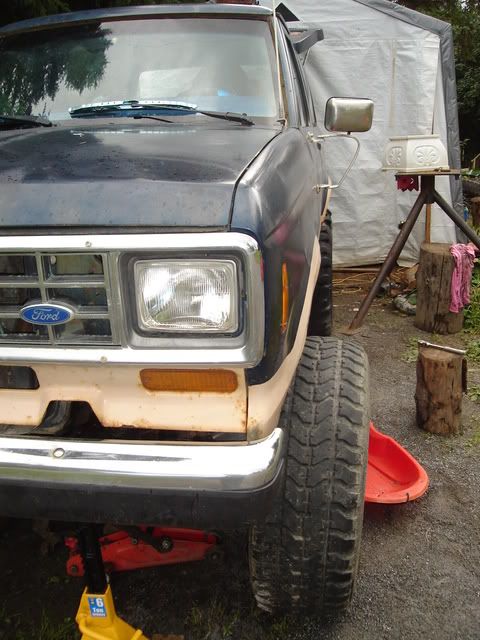
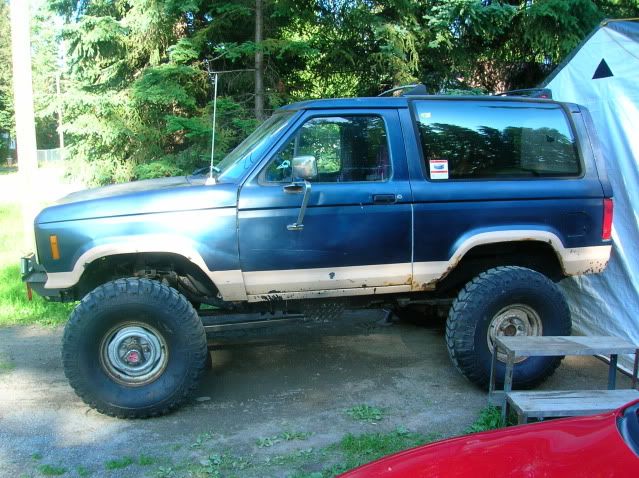
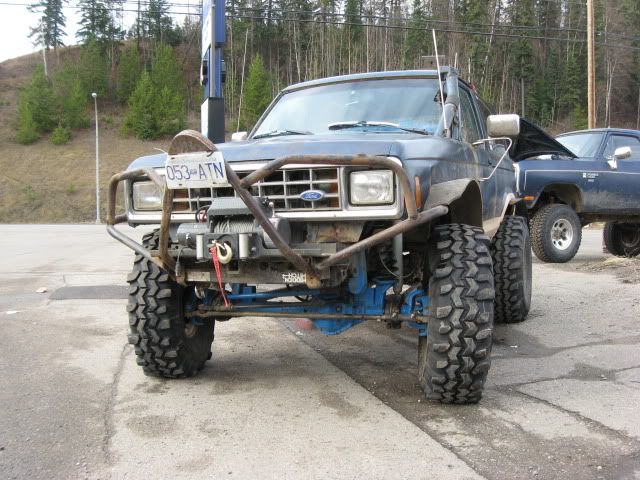
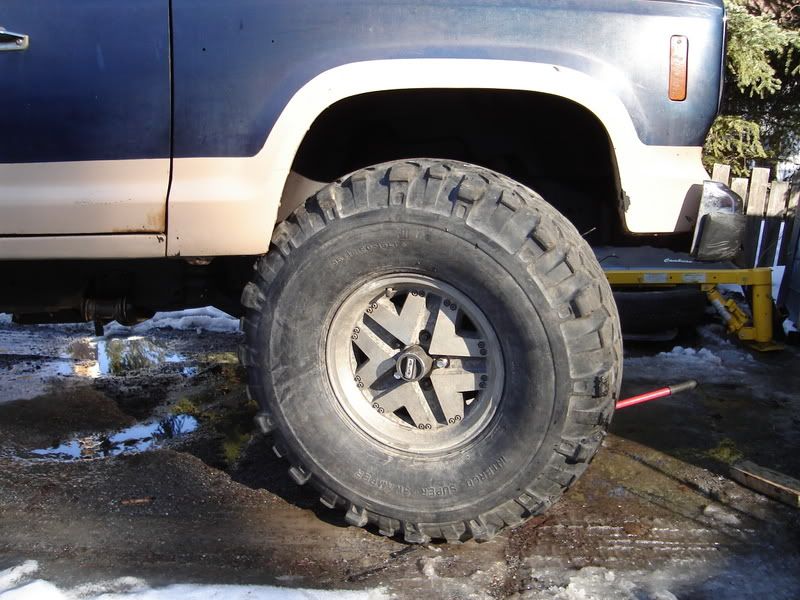
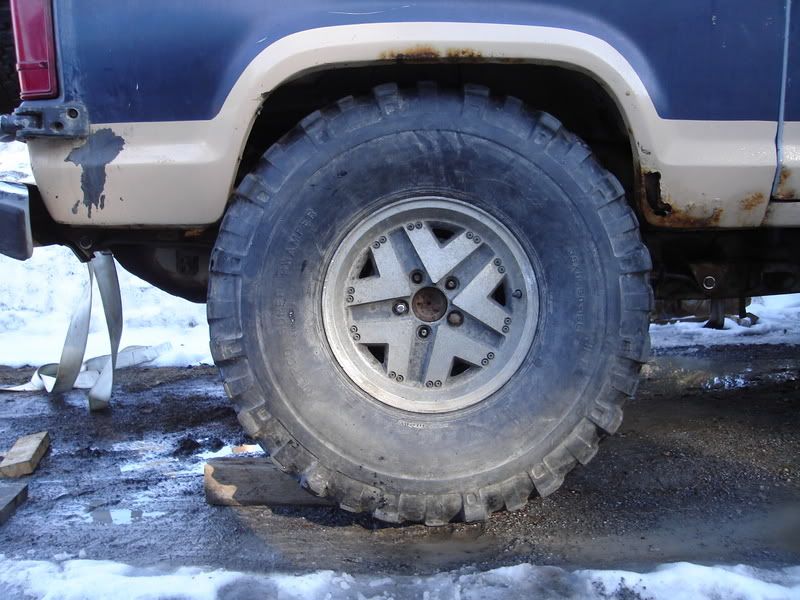
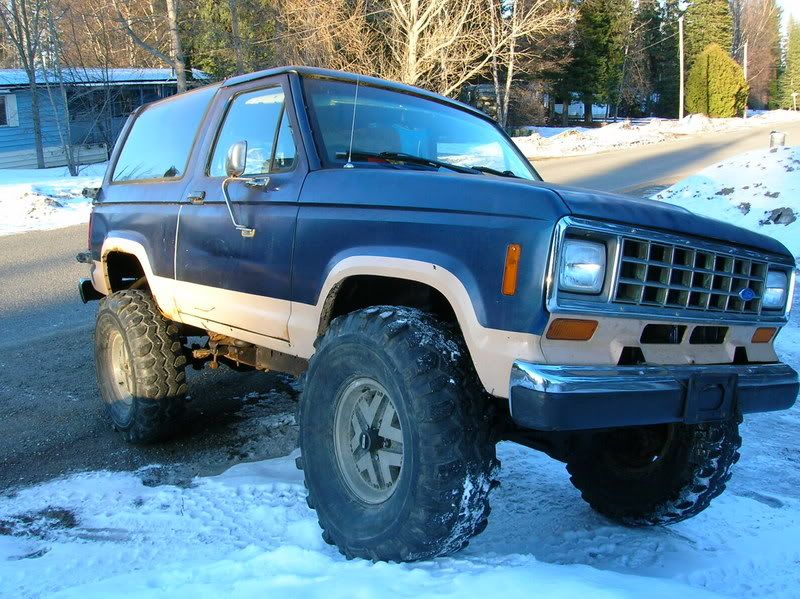
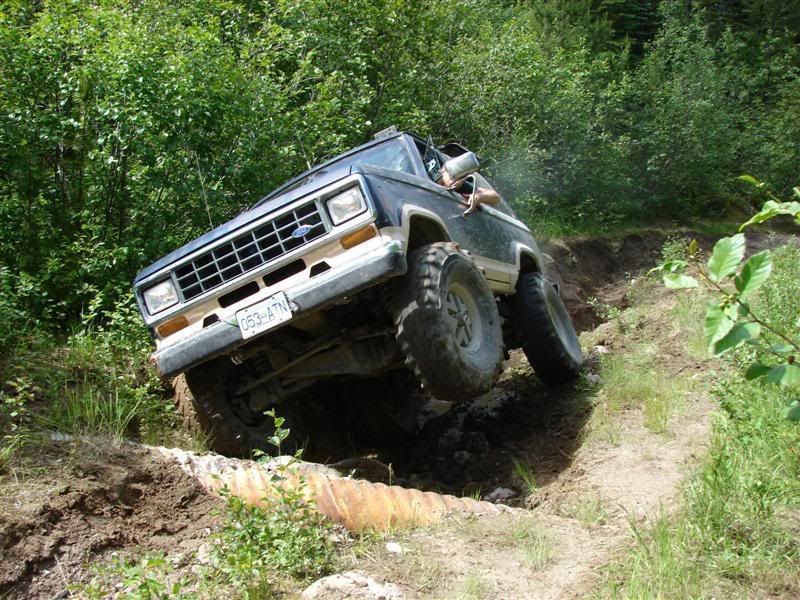
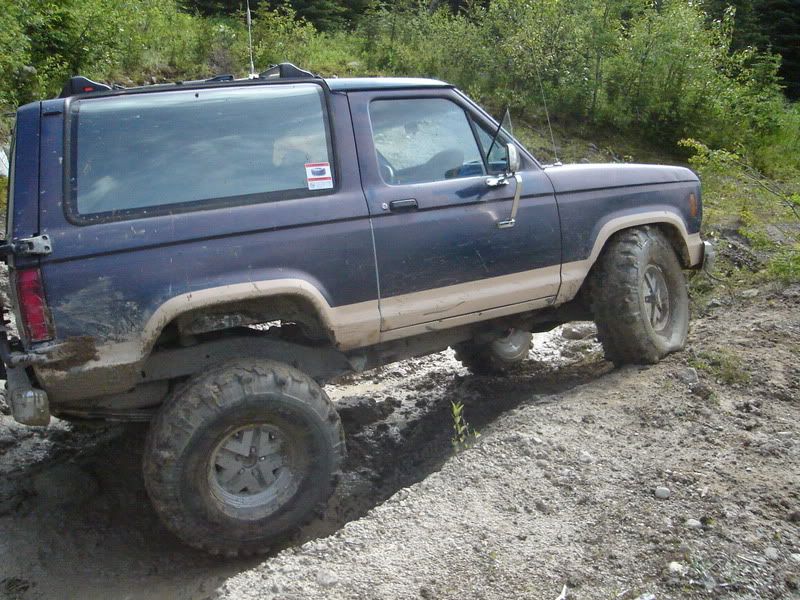
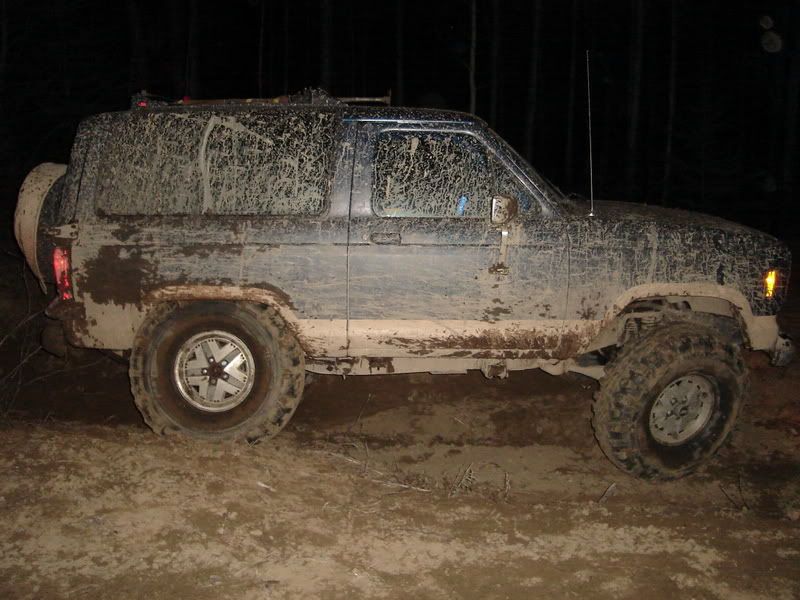
Swapped my 35" TSL's onto the stock EB alloys by hand, figured out I needed to do some fender trimming for this thing to be able to move with them on there.
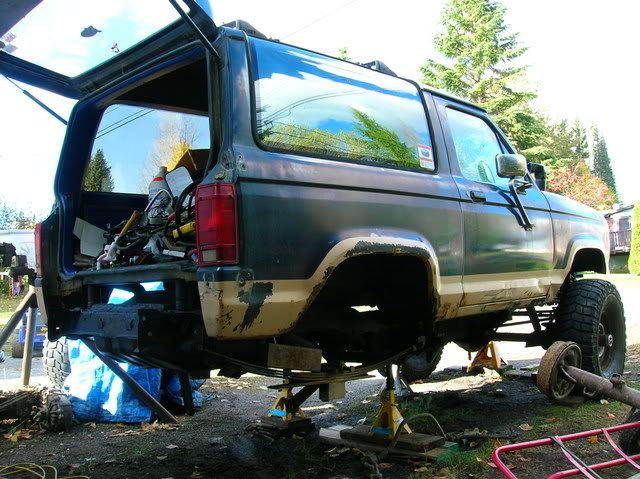
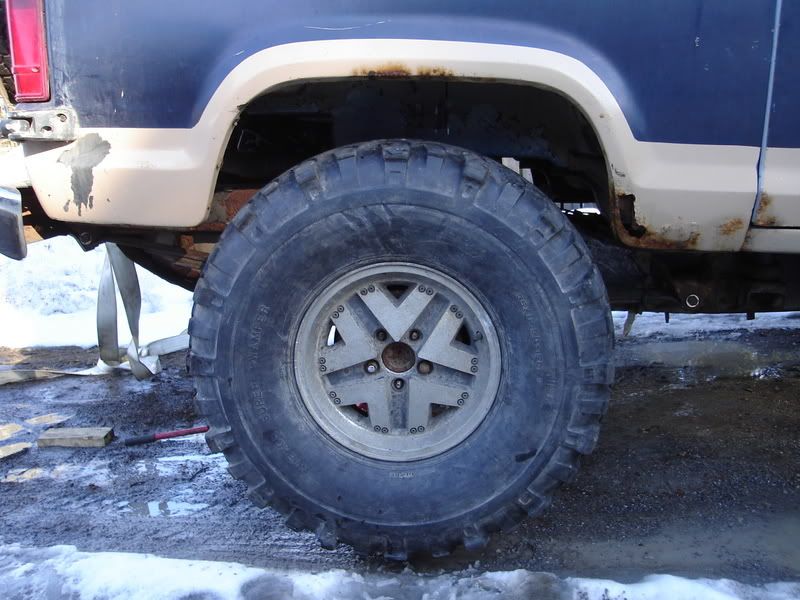
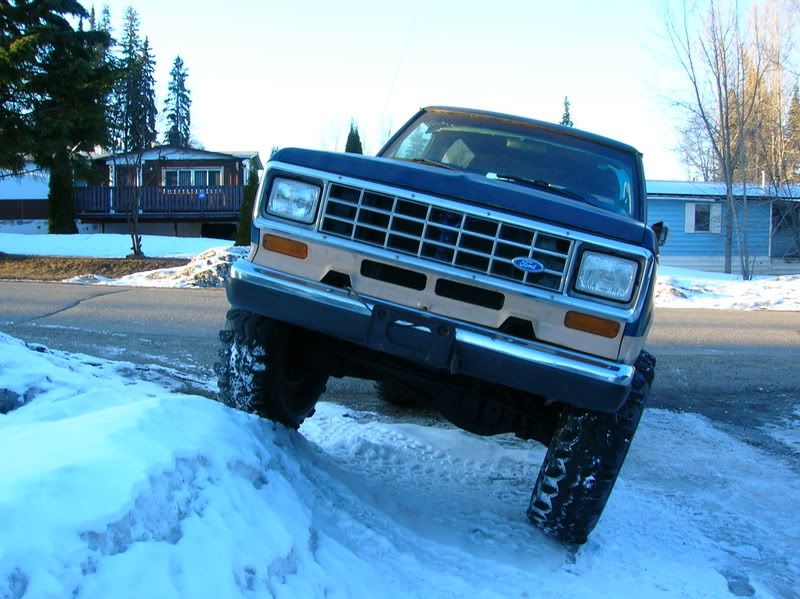
Rear tires were a different story, Fit just fine but then I tried to flex it a bit in search of clearance issues.
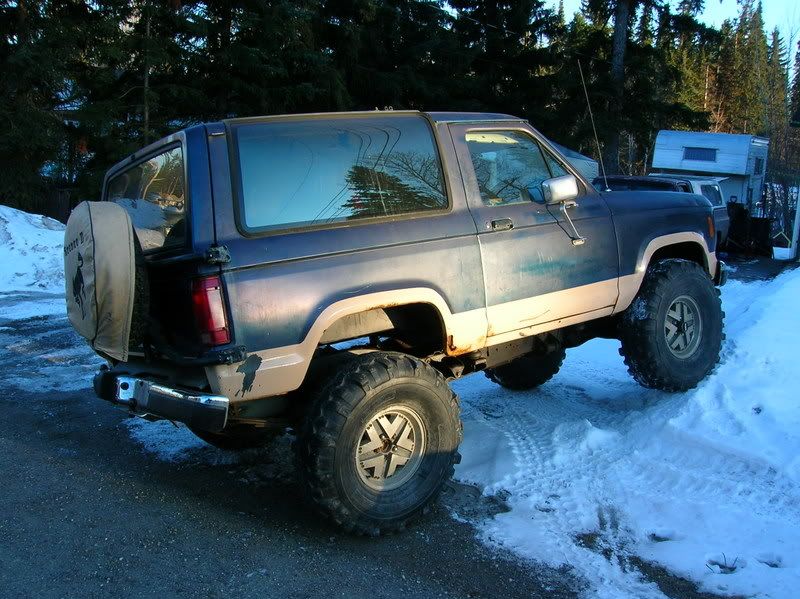
All 4 on and ready for trim job.
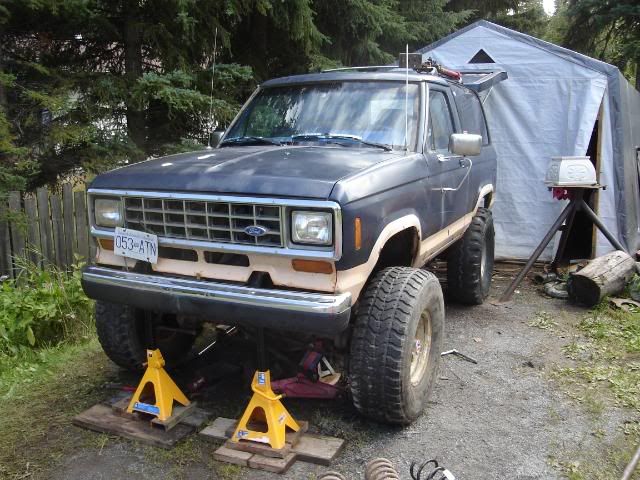
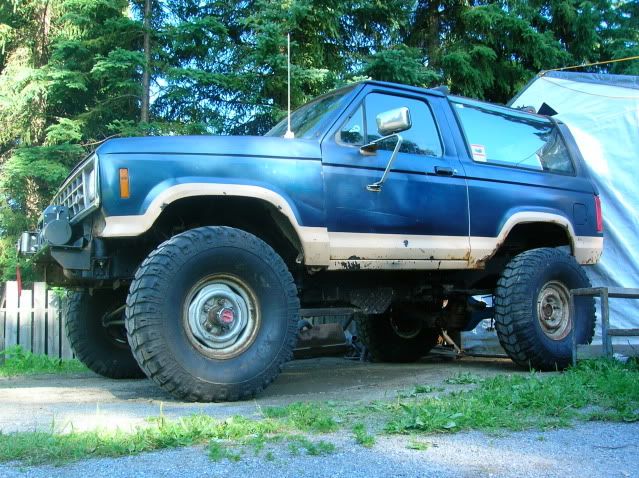
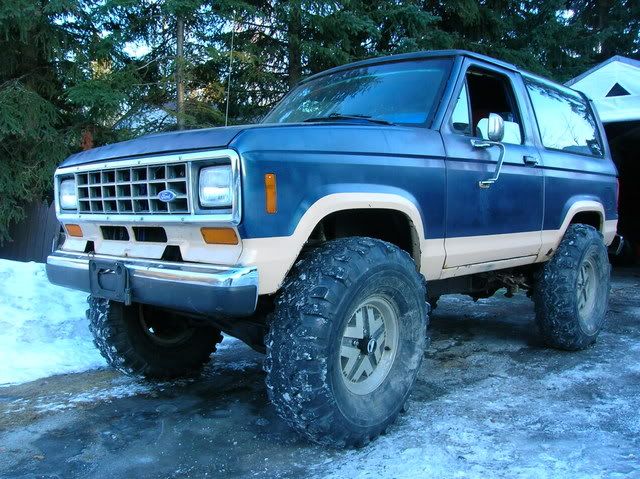
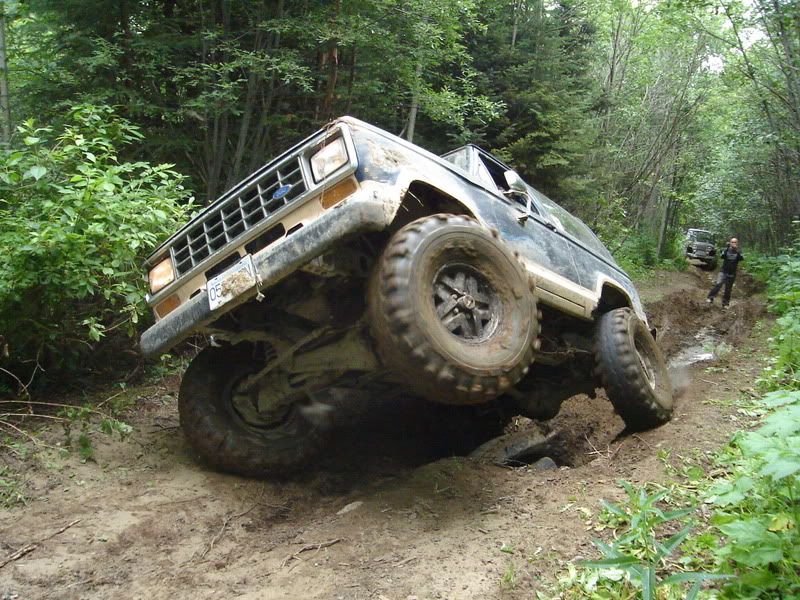
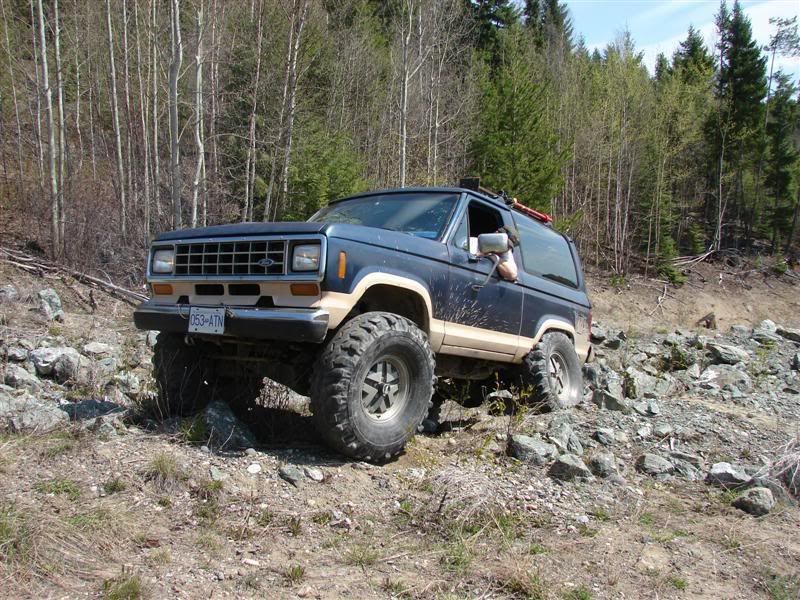
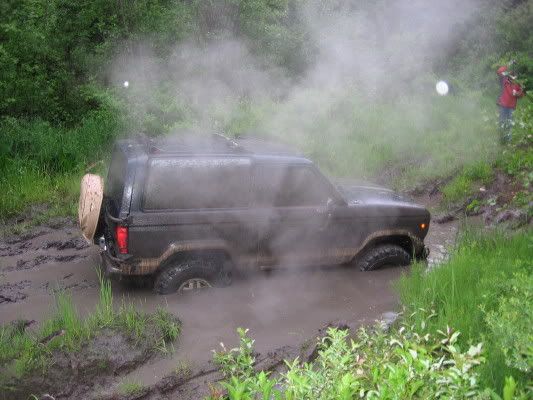
Spent the afternoon trimming the fenders and welding things back together, so I figured it was time to actually flex it under it's own power and weight.
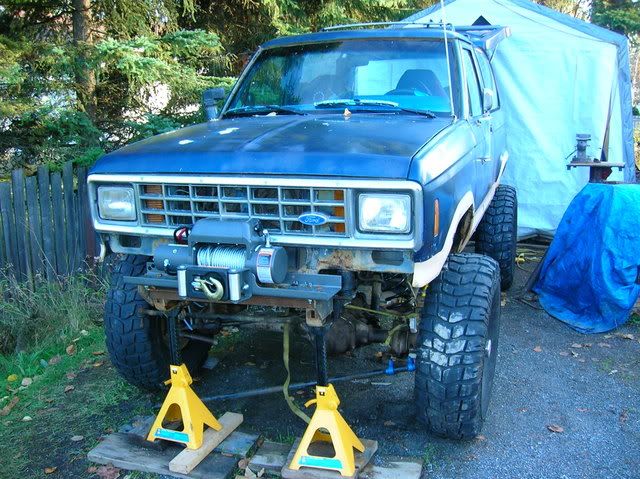
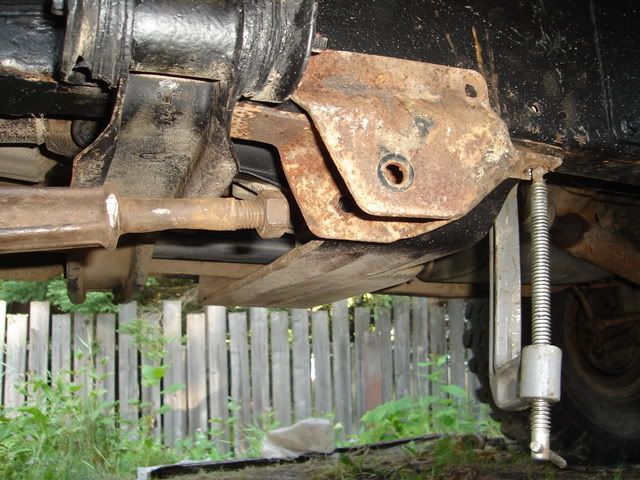
Test flexing showed I didn't trim far enough, so it was back to the cutting and welding.
I also found out that the Explorer coils didn't flex much at first.
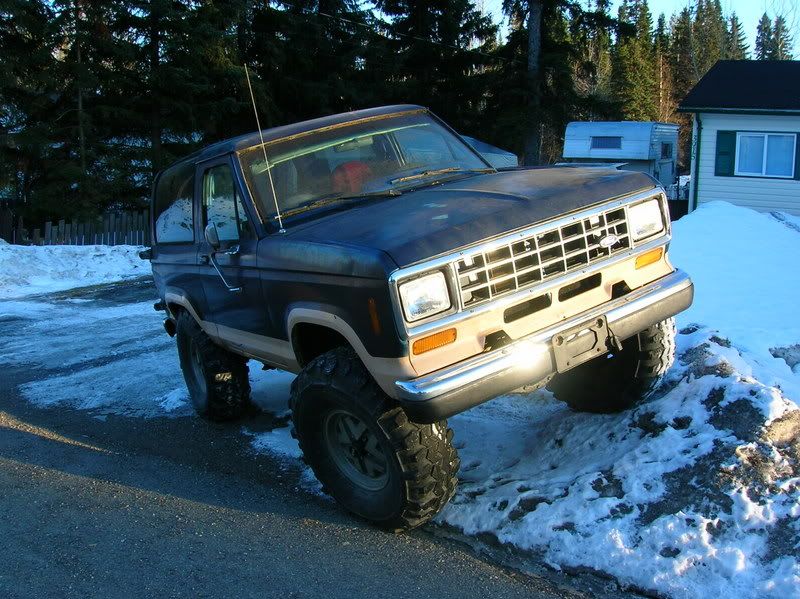
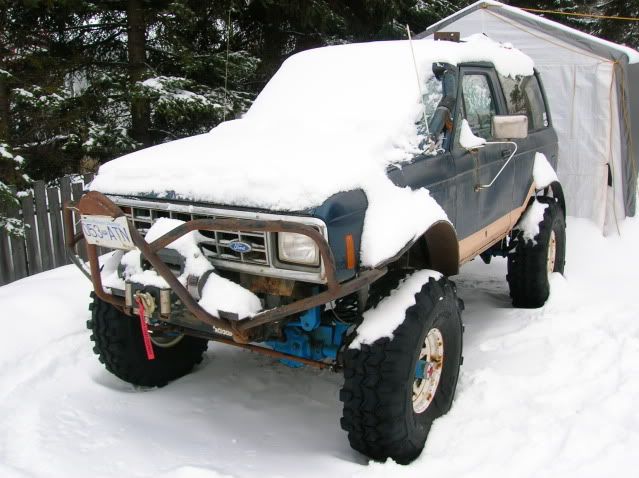
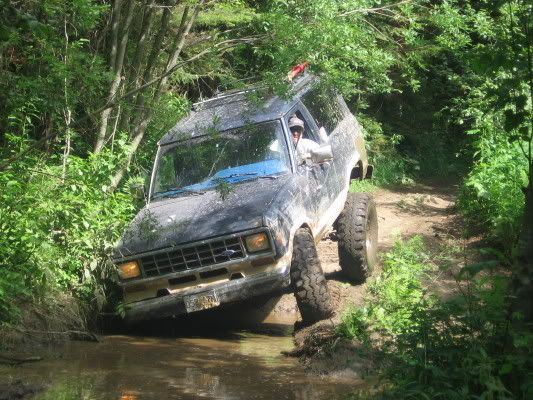
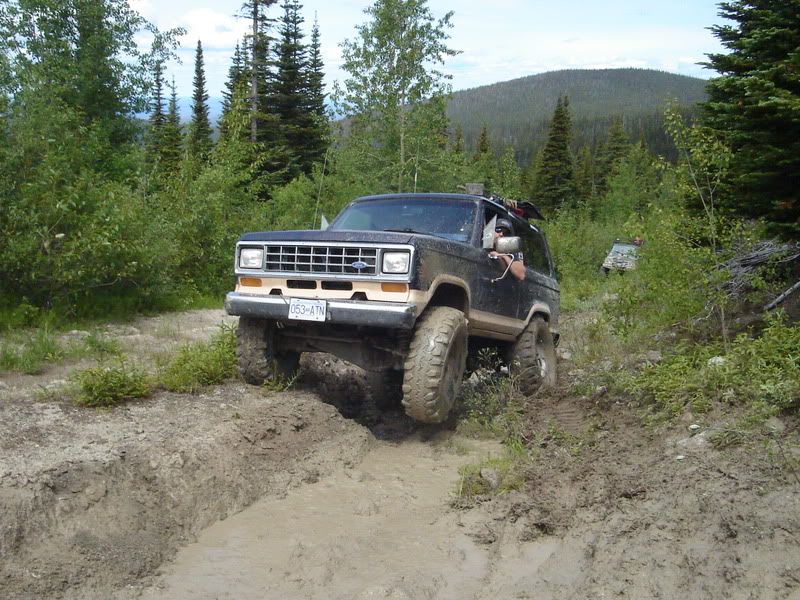
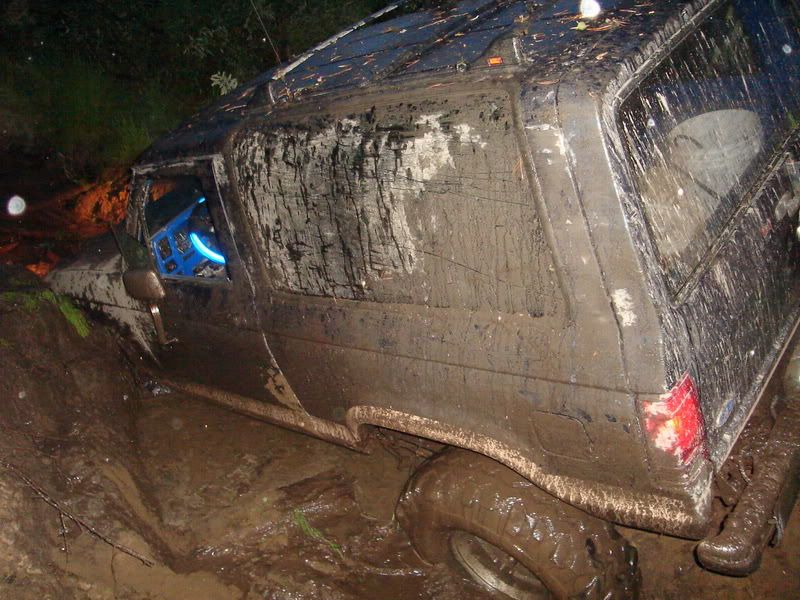
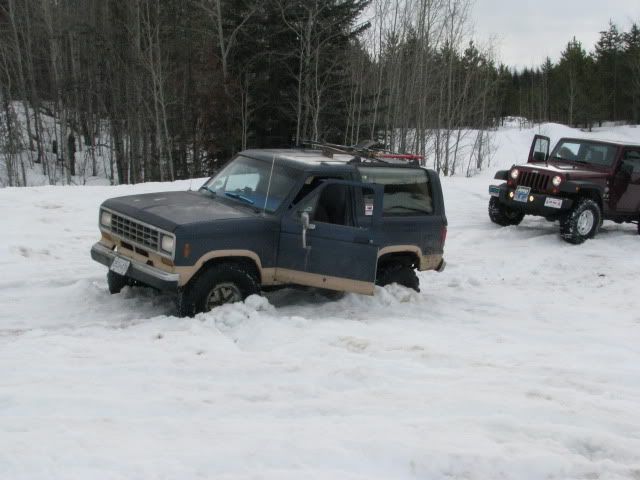
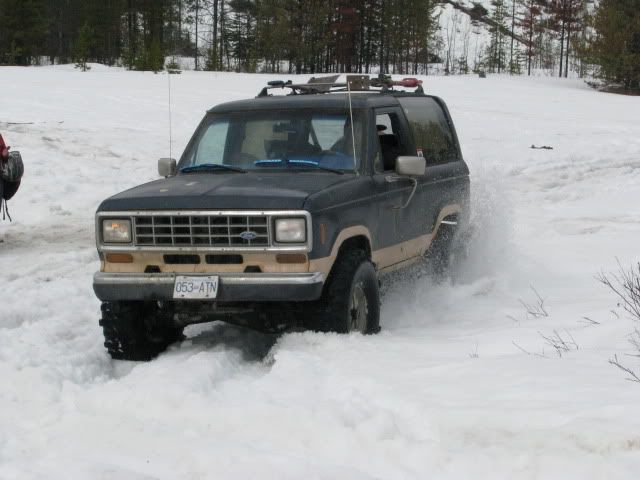
I DD'ed it for that winter and when a hint of spring was starting to peek out, I slapped the TLS's back on and started beating the piss out of it in search of weak links and fun times.
In 05 I came across a 92 Explorer EB with a blown a4ld. Cheap.
With the Exploder in hand I decided it was time to start the tare down process on the Explorer, Took a couple days but I stripped it completely, gutted it and hauled it to the scrap yard.
Once that was done I started ripping into the Bronco. Figured I was going to swap everything from the Explorer into the BII so I completely ripped the BII apart.
Got deeper and deep into the tare down.
Found when I took the carpets out that the floors had rusted, so I decided to pick up some replacement panels and then wire wheeled and ground the entire floors down to Hippo Line everything.
Everything all lined and looking pretty, I turned my attention to cleaning and painting the Explorer dash and BII interior panels.
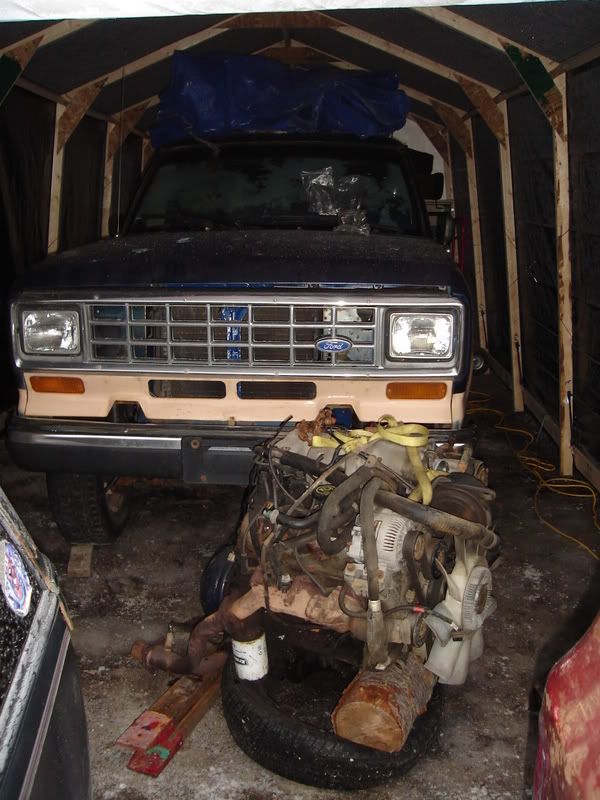
Cleaned and sanded the empty engine bay down and readied it for paint.
Then I turned my focus to removing and replacing the diffs and suspension.
Got the d35 TTB installed and the 8.8 in place of the 7.5.
Installed a 3" body lift and cut and welded both drive shafts, got all the brake lines replaced, steering system and suspension from the Exploder installed and puller her out to test drive.
Swapped my 35" TSL's onto the stock EB alloys by hand, figured out I needed to do some fender trimming for this thing to be able to move with them on there.
Rear tires were a different story, Fit just fine but then I tried to flex it a bit in search of clearance issues.
All 4 on and ready for trim job.
Spent the afternoon trimming the fenders and welding things back together, so I figured it was time to actually flex it under it's own power and weight.
Test flexing showed I didn't trim far enough, so it was back to the cutting and welding.
I also found out that the Explorer coils didn't flex much at first.
I DD'ed it for that winter and when a hint of spring was starting to peek out, I slapped the TLS's back on and started beating the piss out of it in search of weak links and fun times.


")