Finally got my rear bumper and tire carrier mostly finished. lol.
Figure I'm going to have to mount some sort of back-up lights to the bumper as well, because the carrier will cover the passenger side back-up light once it's done.
6 lug d44 wheel bearing hub.
Mocked up 2x2 bumper.
Trimmed down wheel bearing hub, mocked on bumper.
Here I have the tube for the main part of the bumper tacked in place along with the support tubes on each side also tacked in place, and the small side plates that will have holes drilled in them to bolt the spindle to, are also tacked in place.
Here's the outer most support tubes tacked in place, I would like to add another 2 support tubes in the center area angling outwards, just to give the side plates (that hold all this to the frame) some more strength.
Here's the small spindle support plates, need the holes marked and drilled still, it's tacked in place. I will also add some gussets to these plates for added rigidity. The tube that protrudes to the right will be miter cut in several places to make a curved bent corner, this will end up being on both sides of the new bumper to help protect the side rear corners of the body.
Got the main uprights cut and tacked in place, just need to weld them on.
Spent a good hour grinding the wheel bearing hub clean and smooth. Anyone who says you should miter cut square tubing to make a corner should be shot and pissed on, IMO, it took me the better part of a couple hours just to do one piece with a hand grinder and cut off disks, cutting 3 sides of 1/4 wall 2x2 was not fun at all. I cut forever, then bent it and it was only a 45 degree bend, I was like FAWK, 23 more cuts to go!!! 3 zip cut disks later and lots of sparks I finally made the bend, one more to go, and I'll never do that again with out a cut-off saw, that sucked the big harry ballzz. Turned out nice tho, looks good.
At this point I had everything tacked in place and ready for final welding, tho before that happened I needed to take the hub apart, clean it and repack it, then position it so it locks at just about closed, like really close to closed, lol. Then weld the cut off stub shaft appropriately, drill 6 holes for the spindle and THEN final weld everything.
Once there, I started on the drop down portion of the carrier, which is the actual piece that will hold the tire on eventually, the carrier pictured, is only there to hold the tire in the upright position with a couple heims and a pin (more on that later), the main carrier structure pictured I'm going to use to hold the High Lift, shovel and axe. These attachment pieces will be added on after I get the drop down pieces made and attached and a tire actually placed in there, that way I will be able to check on clearances and such to make sure it all works in harmony.
Here I had just started the drop down portion of the carrier. Got one bar mocked up to check for clearances and length.
Drilled all the holes for the hub to bolt down to, also got the stub shaft tacked in place, locks just before it's fully closed and I can actually flex it that extra inch to close it too. I also figure out (stolen idea from a buddies tire carrier) what I am going to use to hold the carrier closed securely.
Also cut and shaped the 1/2" thick cutting board plastic piece for the carrier to sit on when closed.
Here's that piece/idea I stole from Buddies carrier, this piece holds his carrier closed and had handled all kinds of abuse without fail. I thought I would give it a go too.
Will be mounted roughly where it is in this pic.
Still needed clean up, welding, tweaking, cross supports for the wheel hub to mount to and of coarse paint.
As you can see from the blue bar, the carrier will not be the first thing to hit the ground in most circumstances.
Different pic angle.
Here it is dropped all the way down for tire removal, it's very close to the ground so I don't have to lift the spare at all really to take it off or put it on the carrier. I want to add a hand winch to the drop down part to make lifting and lowering the carrier easier.
Basically unbolt and unlock the spare from the A frame, lower the drop bar down, slide the spare off, put it on the axle, roll the flat back over to the drop bar and flop it over onto the drop bar and hoist it up to lock it onto the rest of the carrier. Pretty much works like advertised lol.
Drilled and tapped some holes to mount the resting pad for the carrier when it's closed.
Welded together a pin for locking it in the closed position, so far after one trip on it, it has held in there.
Here it is so far, after a buddy with a tube bender offered to bend up some tube for the drop down portion as well as dimple die some plate for strength, I stopped production on that portion of the carrier, lol. My drop down piece is made from 3 pieces of bent and welded tube and he offered to make it from one continuous piece of tube instead.
I need to add some support to the bumper where the spindle mounts as the 2x2x1/4" wall square tube bumper actually flexes slightly with the weight of the carrier, tire and such and allows the carrier to wiggle a little.
I'll post pics when I add the supports to the bumper. Then I can continue to make shovel, axe and High-Lift mounts on the A frame portion of the carrier. Stay tuned.
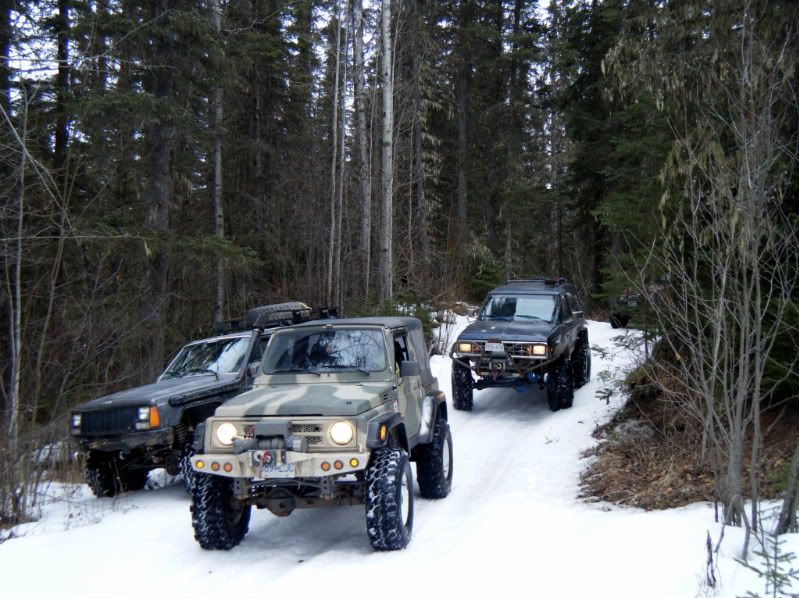
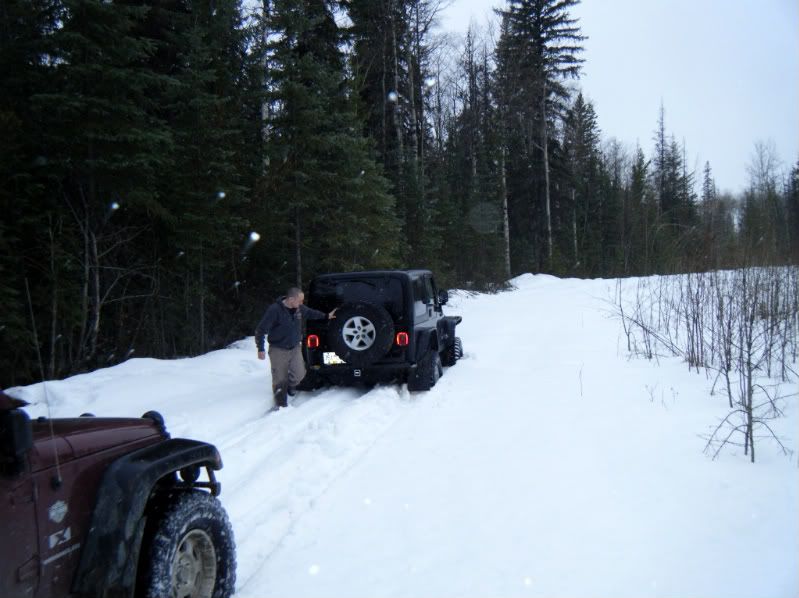
Here she is as of Sunday at the end of our last trip.