
Original Poster: ADSM08
Difficulty: 2 out of 10
Time to install: 30 to 45 minutes
Disclaimer: The Ranger Station.com, The Ranger Station.com Staff, nor the original poster are responsible for you doing this modification to your vehicle. By doing this modification and following this how-to you, the installer, take full responsibility if anything is damaged or messed up. If you have questions, feel free to PM the original poster or ask in the appropriate section of The Ranger Station.com forums.
Brief Explanation: This modification is intended to cheaply and effectively fix the lift gate release of the Bronco II. Associated symptoms are the handle slipping past the release catch (a feeling of resistance followed by a click and then sudden release of tension without the gate opening) and a hard to open gate, or a gate that only opens when pushing in on the handle while turning it.
Background: When I bought my Bronco II the gate didn’t open easily. You had to lean against the hatch and handle and fuss with it to get it open. I initially chalked this up to the body damage that doesn’t allow the gate to latch the whole way on the driver’s side. I then removed the inside panel looked around, and then found that the release catch wasn’t catching. It was slipping over its counter-part and not releasing the latches due to wear. The obvious fix was to shim the catch arm out so that it would hit and make better contact.
Tools Needed:
Phillips head screwdriver
1/4-Inch ratchet
9 mm shallow socket
7/32” socket
Needle nose pliers, dykes, or push-pin popper
Parts Needed:
(1) 9/16” washer
Step 1: Open the rear hatch and remove the interior trim panel.
Remove the screws around the perimeter of the panel and then slide it toward the front of the vehicle.
Take it down and pull the pushpins out of the gate with your pliers and put them back in the trim panel.
Set the panel aside.
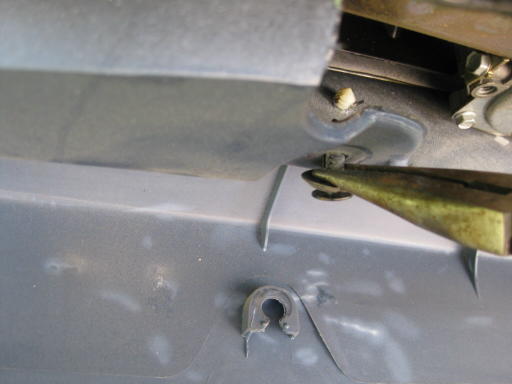
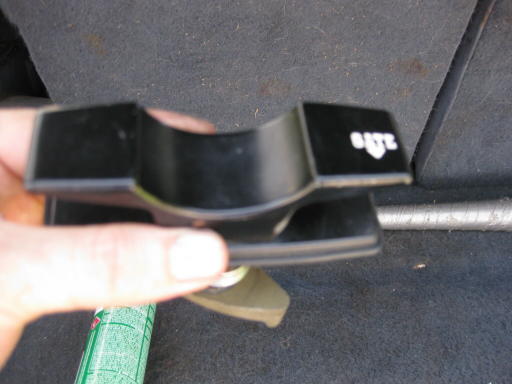
Step 2: Remove the latch release handle.
Remove the two 9 mm nuts holding the latch to the gate.
And the inside retaining plate.
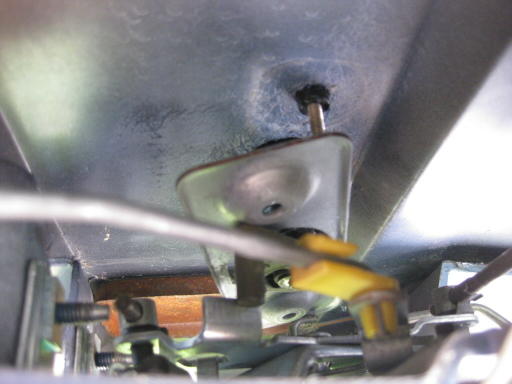
Pull the handle straight out of the gate.
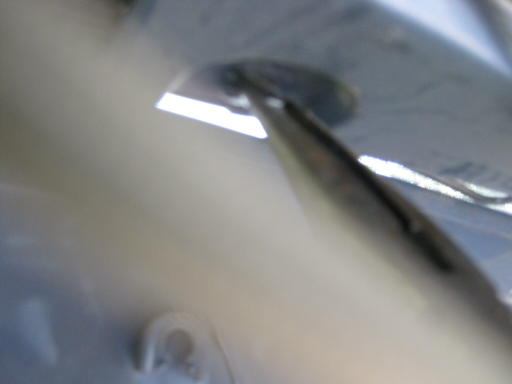
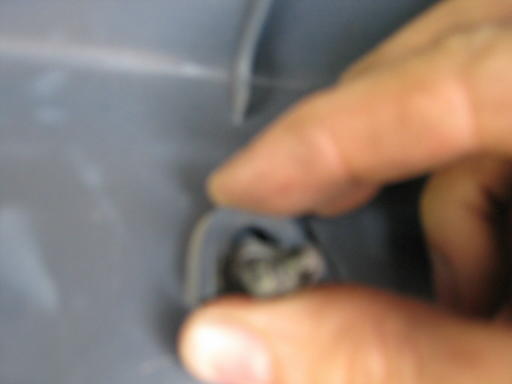
Step 3: Remove the latch arm:
Remove the 7/32” screw from the end of the handle (screw already removed)
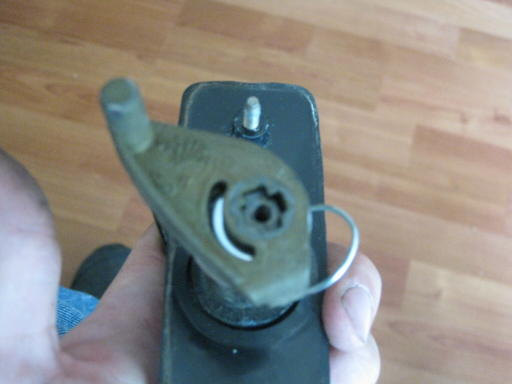
Pick arm up off handle.
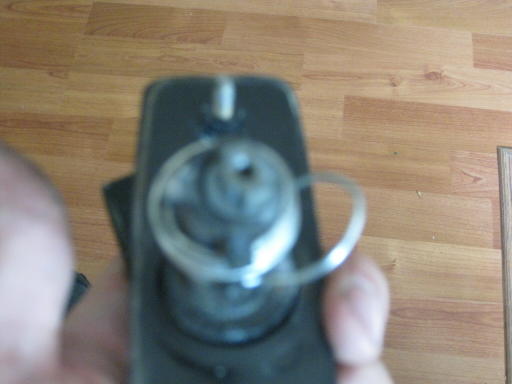

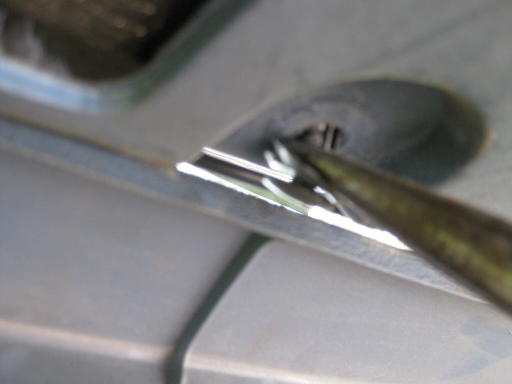
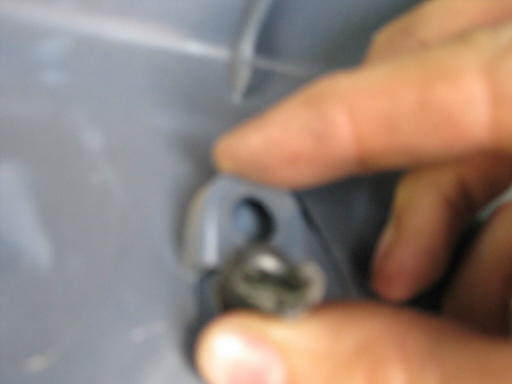
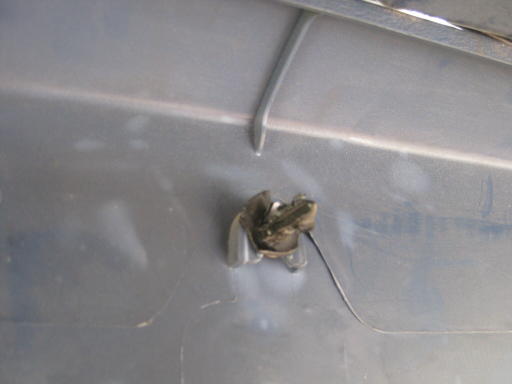
Step 4: Install the washer under the arm and reassemble the latch release.

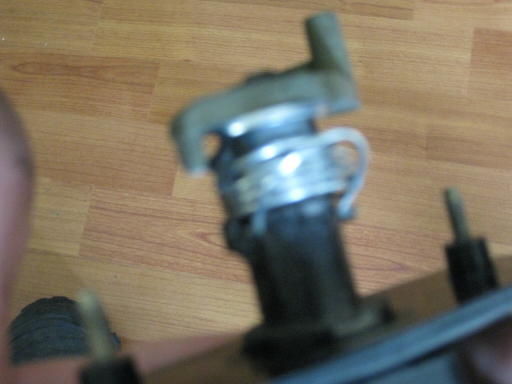
Be careful to put the arm back on the right way. It will fit both ways, but one is backwards. The nub that hits the release should be away from the word “Gate” on the outside.
Wrong:
Right:
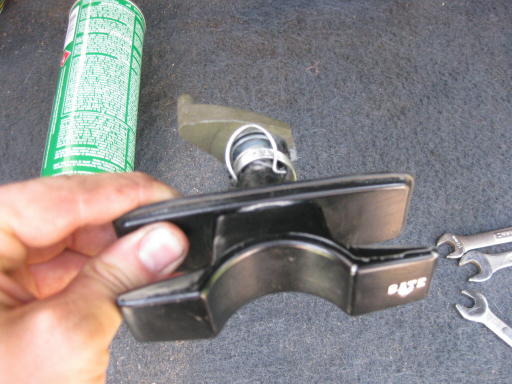
It will still work if you put it together backwards, but the word “Gate” will be upside down and on the wrong side.
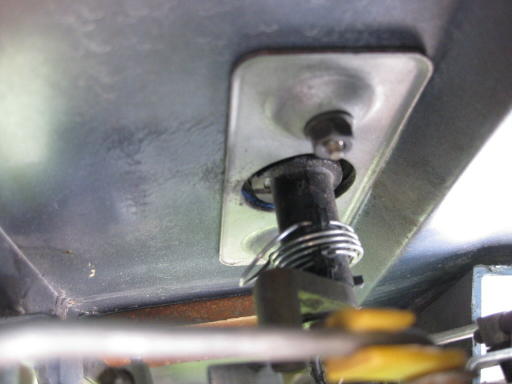
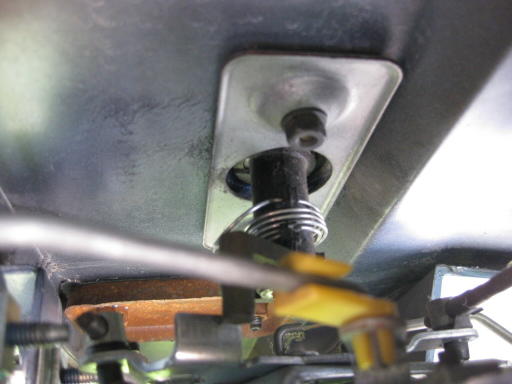
Step 5: Reassemble in reverse. Close the hatch and test it for proper operation before installing the trim panel. If this does not fix your problem you can now crawl into the back and pull one of the rods toward the center of the gate to open it.