Capacity = 23 Gallons
Removal:
NOTE: Read the entire service procedure and refer to the illustrations before starting repair–modify the service steps as necessary. Always replace all gas line hoses and retaining clamps if necessary.
- Insert a siphon through the filler neck and drain the fuel into a suitable container. Drain the fuel tank by removing drain plug if so equipped.
- Raise the rear of the vehicle and safely support. Remove the skid plate, if so equipped.
- To avoid any chance of sparking at or near the tank, disconnect the ground cable from the vehicle battery. Disconnect the fuel gauge sending unit wire at the fuel tank.
- Loosen the clamp on the fuel filler pipe hose at the filler pipe and disconnect the hose from the pipe.
- Loosen the hose clamps, slide the clamps forward and disconnect the fuel line at the fuel gauge sending unit.
- Support the fuel tank assembly. Remove the strap attaching nut at each tank mounting strap.
- Swing the strap down, and lower the tank enough to gain access to the tank vent hose.
- Disconnect the fuel tank vent hose at the top of the tank. Disconnect the fuel tank-to-separator tank lines at the fuel tank.
- Lower the fuel tank and remove it from under the vehicle
To install:
- Position the forward edge of the tank to the frame crossmember, and connect the vent hose to the top of the tank. Connect the fuel tank-to-separator tank lines at the fuel tank.
- Position the tank and mounting straps, and install the attaching nuts and flat washers. Tighten mounting strap retaining nuts evenly.
- Connect the fuel line at the fuel gauge sending unit and tighten the hose clamps securely. Install the drain plug, if so equipped.
- Connect the fuel gauge sending unit wire to the sending unit.
- Install the skid plate and tighten the mounting nuts, if so equipped.
- Connect the filler pipe-to-tank hose at the filler pipe and install the hose clamp.
- Connect the vehicle battery ground cable.
- Fill the tank and check all connections for leaks.
- Lower the vehicle.
Important Note:
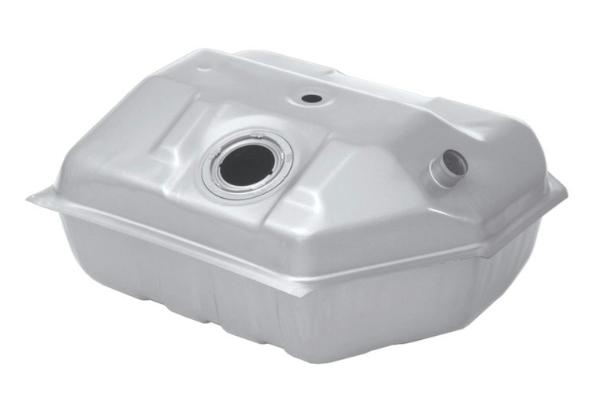
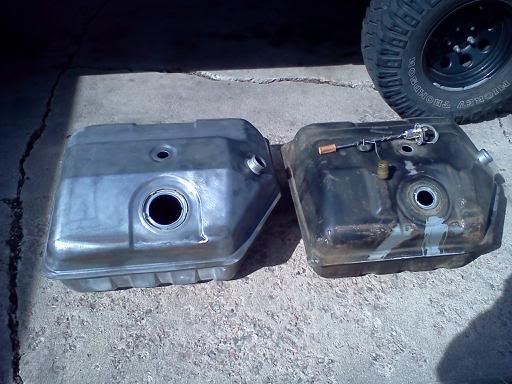
The 1984 Ford Bronco II fuel tank has a smaller opening for the fuel gauge sending unit / pickup is smaller on the 1984 fuel tank, than the 1985-1990 fuel tanks. If you’re replacing your fuel tank, make sure you have the right tank with the right size opening.
1984 Ford Bronco II Fuel Tank (above)
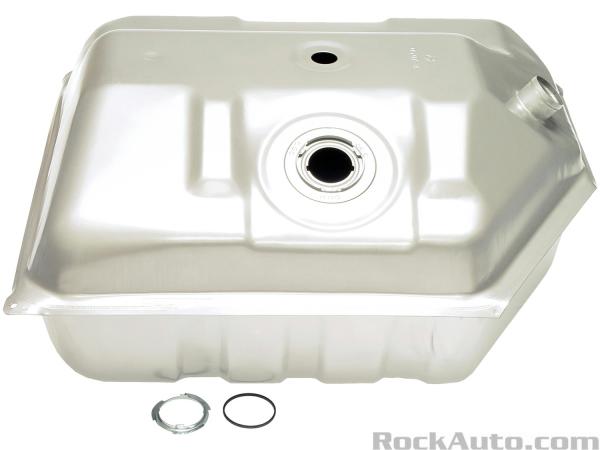
1985-1990 Ford Bronco II Fuel Tank (below)