
Submitted By: 88B2EB (Josh)
In June 2012, forum member 88B2EB (Josh) posted in the forum about the restoration he was performing on his 1988 Ford Bronco II.
This is a 2-part story. Make sure you read the second part – Painting Your Bronco II – Primer, Paint & Polish
Here is his comments about it:
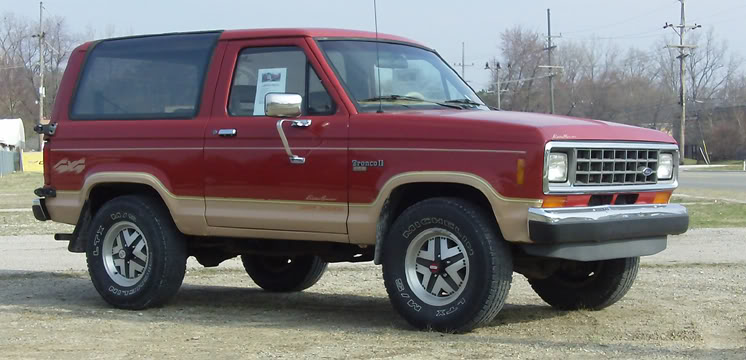
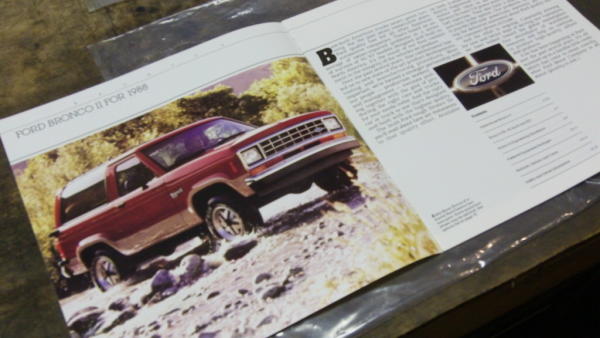
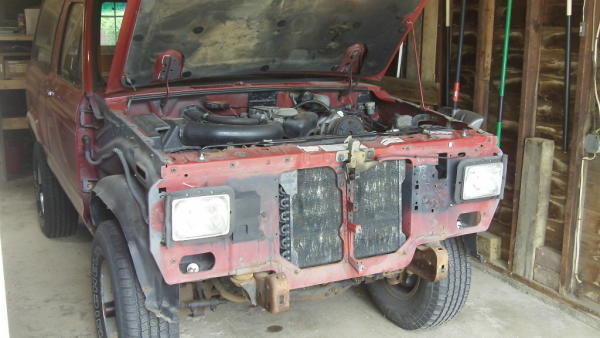
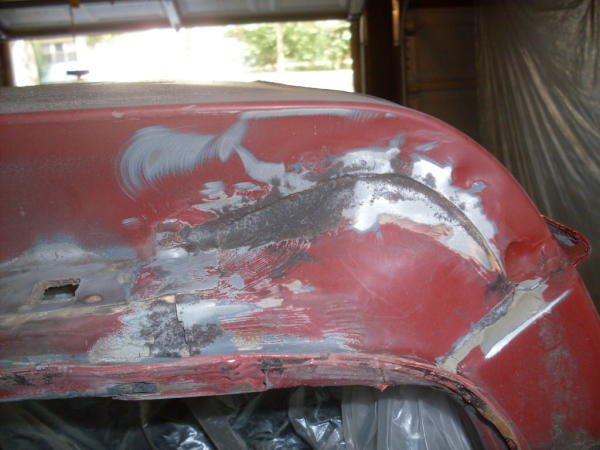
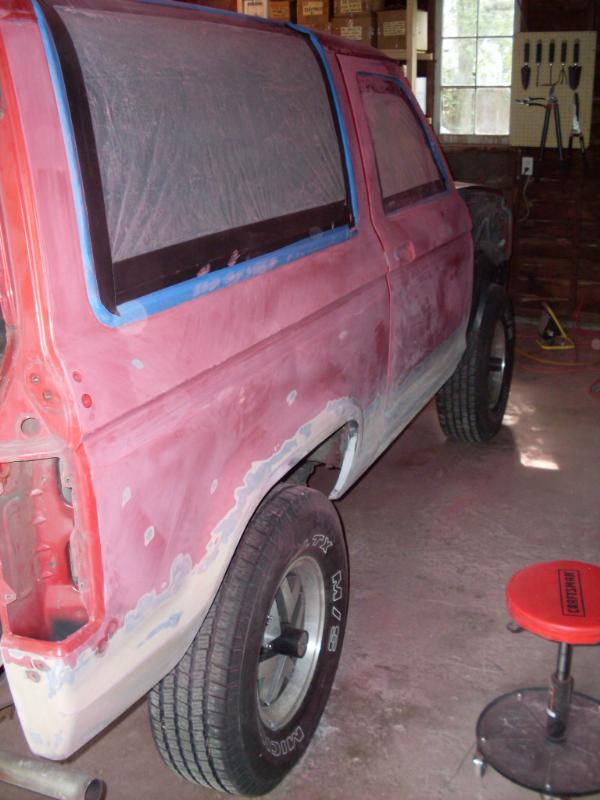
I bought the 1988 Bronco II back in March 2012 to replace my 1994 Ranger. It’s got quite a few less miles, and more importantly a back seat for my kids. I’ve always liked the first generation’s. This particular year carries an added attachment for me as my first vehicle was an ’88 Ranger. I had some good times in that truck. The Bronco II looks good in the 1st picture, but has some rust starting that I promised myself I’d take care of. This is my first experience with bodywork so bear with me.
Already collected are:
-
New fenders
-
Bumper
-
Door pins (from Jeff’s Bronco Graveyard)
-
Lund visor
-
Spare tire cover
-
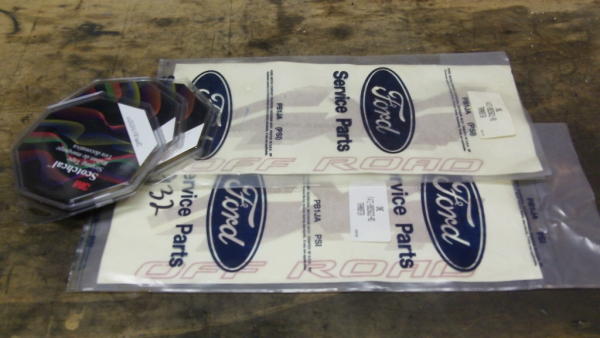
4×4 Off Road decals
-
And pin striping.
Ford OEM pin striping has long since been discontinued, but 3M makes a large variety of sizes and colors. The closest match for the high double stripe is 3/16″ Elite Tan (72017). The lower one has to be made from 2 stripes: 1/4″ Bright Gold (72699) and 1/2″ Bright Gold (72799). They come in 150′ rolls, so I’ll have extra in case the truck needs bodywork in the future. (edit: The 1/2″ striping could not make the turns around the wheels so I ended up using 1/4″ for both.)
The 4×4 Off Road and Eddie Bauer decals actually aren’t stock per the original sales brochure (they were added by a previous owner) but I like them so much that they’ll be incorporated into the restoration. I would highly recommend that anyone interested in restoring their Bronco II try to source a sales brochure. It’s got loads of useful information like color swatches, factory options, etc.
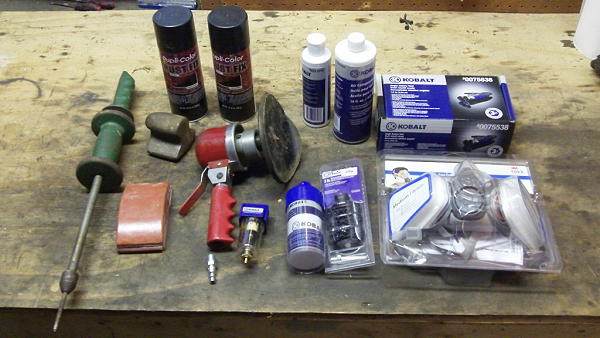
I went out and bought a die grinder, sanding discs, respirator, in-line air filter, and some other misc tools that will be needed. The used tools shown I borrowed from my dad and haven’t been used since he was younger than I am now!
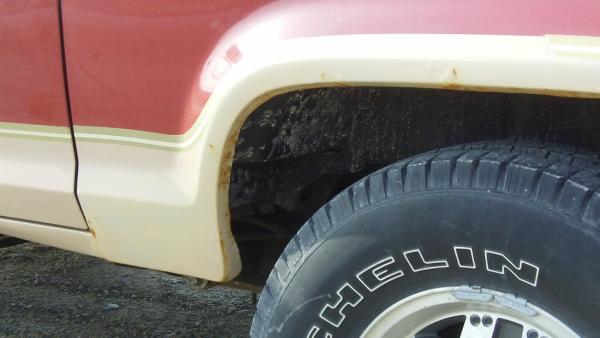
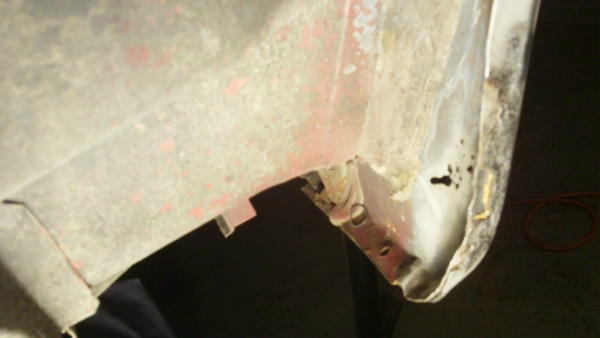
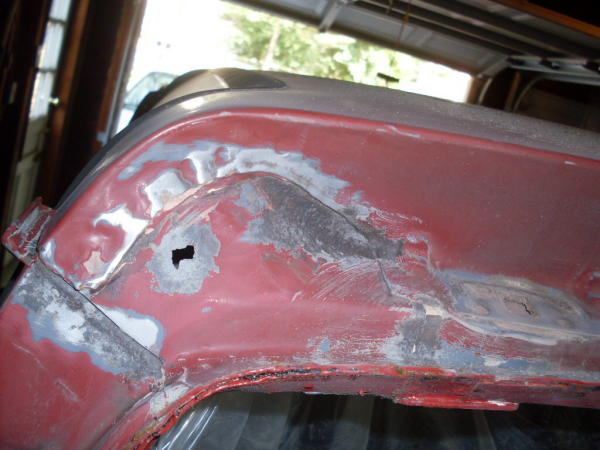
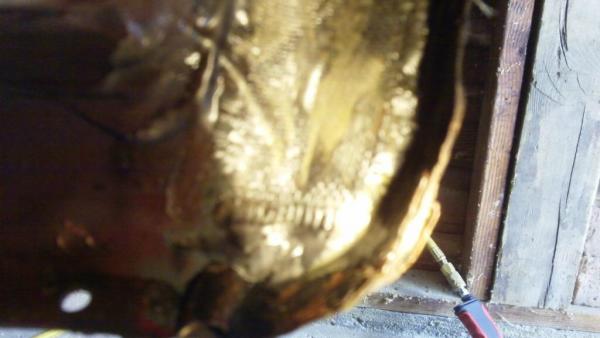
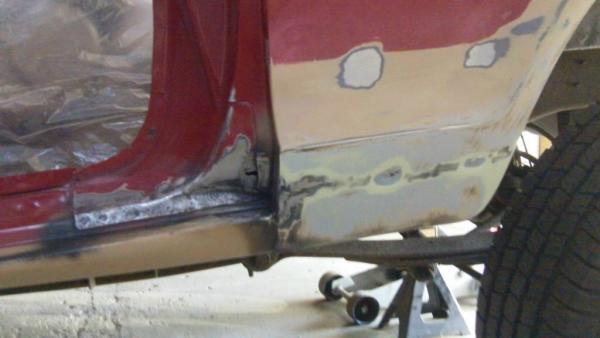
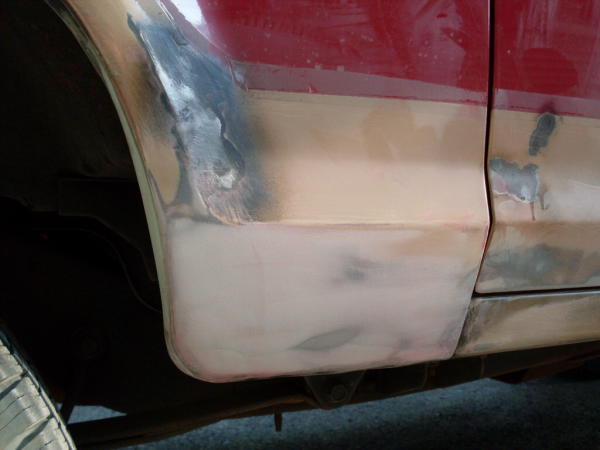
All the pin striping has been removed and the surface was cleaned with goo-gone. I was able to remove the rust from the rear passenger side wheel well’s front area. The sand blaster works magic on rust, but not so much on stripping paint which is where the die grinder really comes in handy.
I think I’m still in a bit of denial that I’ll need to have a shop weld in some new panels. I would REALLY prefer to use fiberglass/resin and fiber reinforced filler. Doing it right is important though and the general rule is if there’s a hole it’s got to be cut out, right? Thoughts welcome as I’m still a bit undecided.
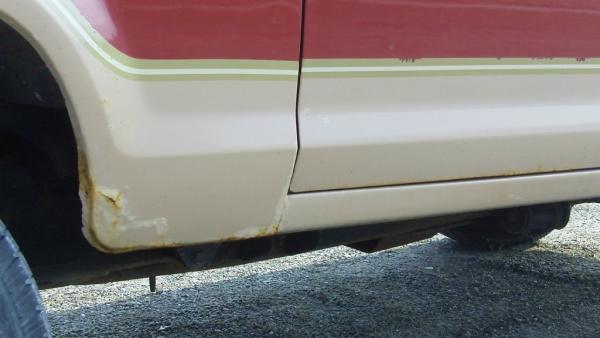
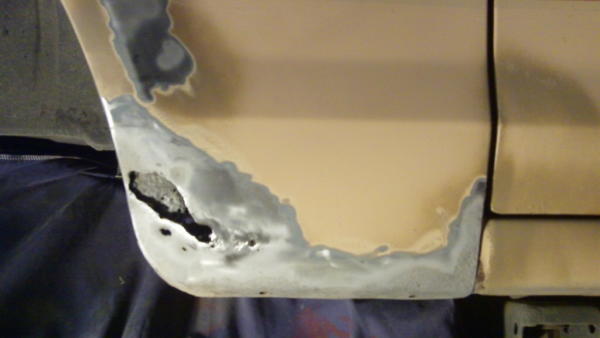
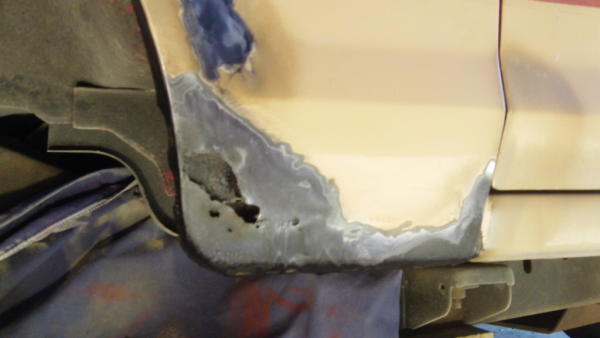
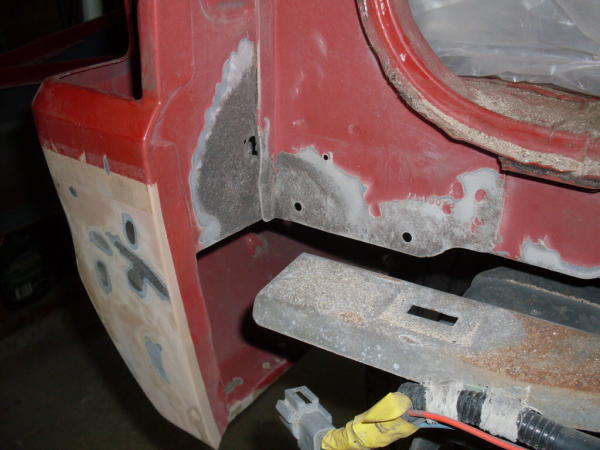
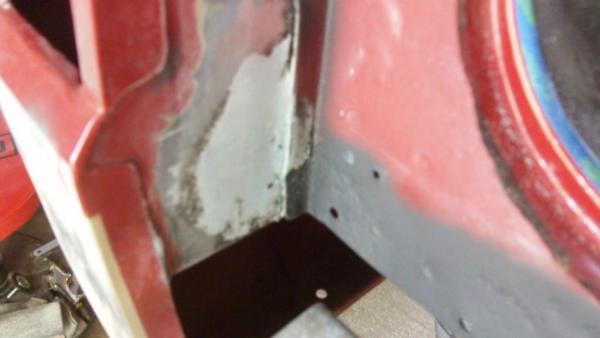
Here’s a shot of the area sprayed with “Duplicolor Rust Fix”. I’ll be making my way around the body removing the rust and spraying this to protect the bare surfaces as I go. Once done I’ll sand it smooth to prep for the surface filler.
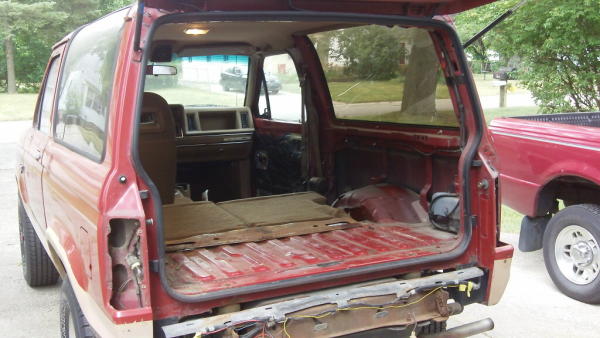
The rear liftgate was removed, and the rust was cleaned up in the door jambs. The bare metal was treated with Duplicolor ‘Rust Fix’ to protect the spot until it’s time to paint.


Next is fiberglass/resin for the passenger wheelwell and new putty for a few of the panel joints.
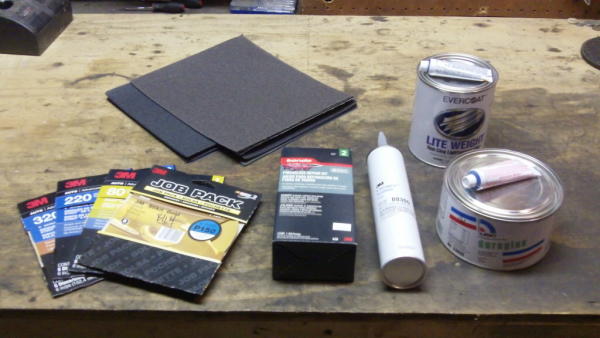
Recent purchases:
- Sand paper (60 to 600 grit wet/dry). I have a neighborhood industrial tool store that had them for $.49 each.
- DA Sanding disks (80 to 320 grid). About $3 per 5 pack.
- Stick of 3M Ultrapro Sealant ($18) – for a few of the badly cracked panel joints (Didn’t know what to call it when I was asking before).
- 3M Fiberglass/Resin Repair Kit. The smallest quantity FinishMaster had was a gallon of resin and basically a pillowcase full of fiberglass cloth (that’s about a 100 year supply for me!) so I looked a bit and found this kit from AutoZone for $20. Much better.
- Duraglass filler with red hardener ($32) and regular filler with black hardener ($14). No idea why the hardener tubes are different colors.
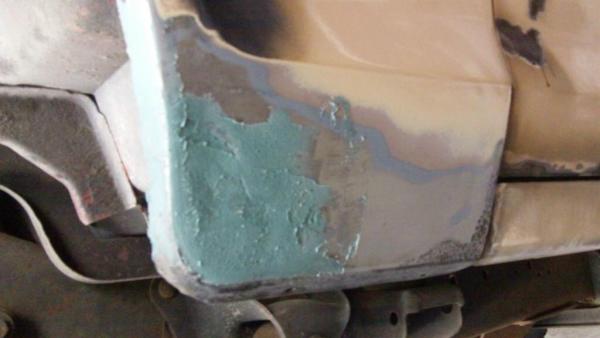
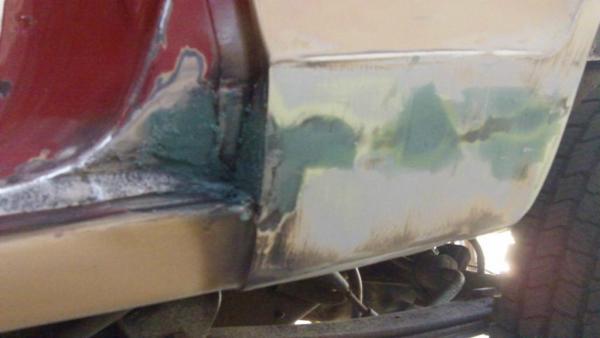
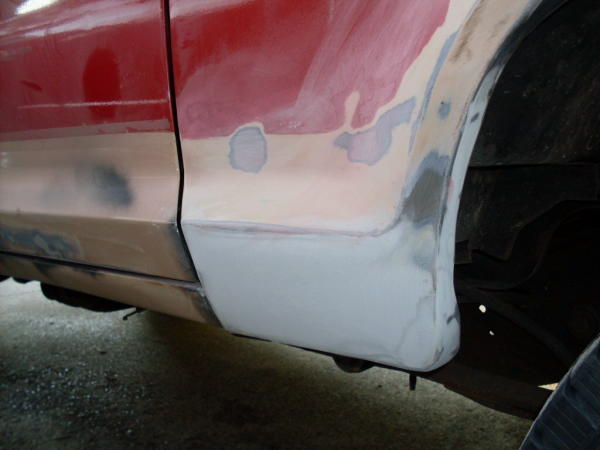
Fiberglass: The outer panel got (3) layers of fiberglass/resin via an access hole under the jack compartment, and the inner panel got (2) layers inside the wheelwell.
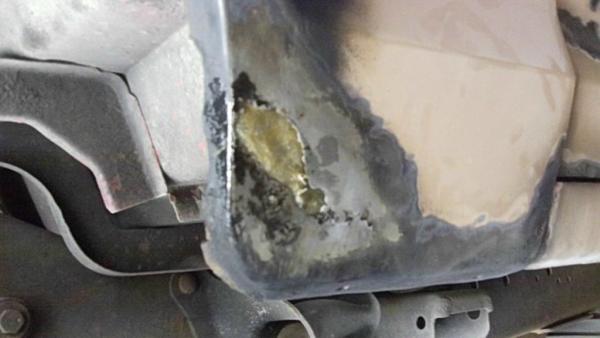
And the fiber reinforced Duraglass filler: I also applied it thinly over the fiberglass inside the wheelwell for better weather protection.
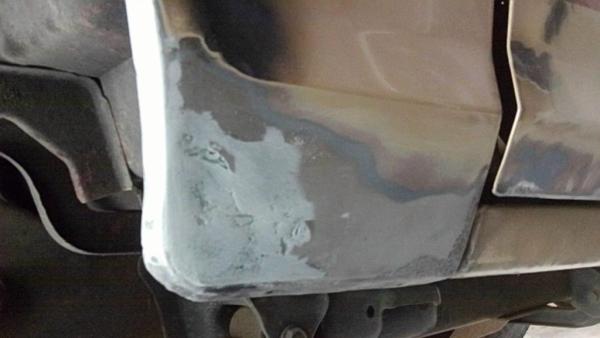
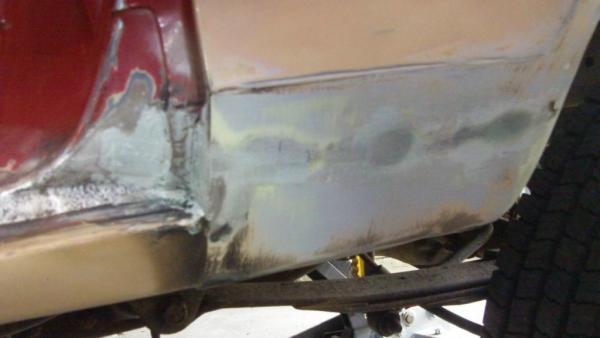
Sanded smooth:
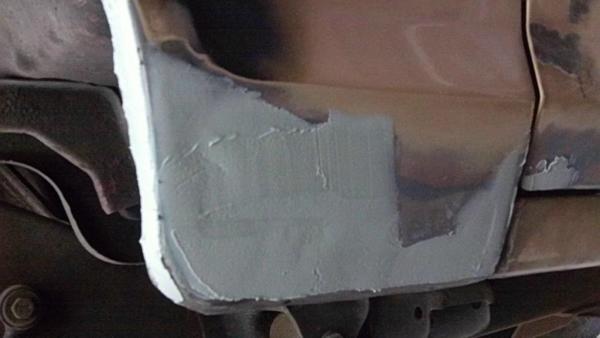
First coat of regular filler: 1 or 2 more coats will be needed to get everything nice and smooth. It’s covering paint a little right now but after sanding there should be a nice smooth transition from paint to metal to filler.
Here’s the driver side.
Sanded down with 150 and 220 on the DA and feathering into the old paint:
Duraglass:
Sanded down:
First coat of regular filler:
Some other areas.
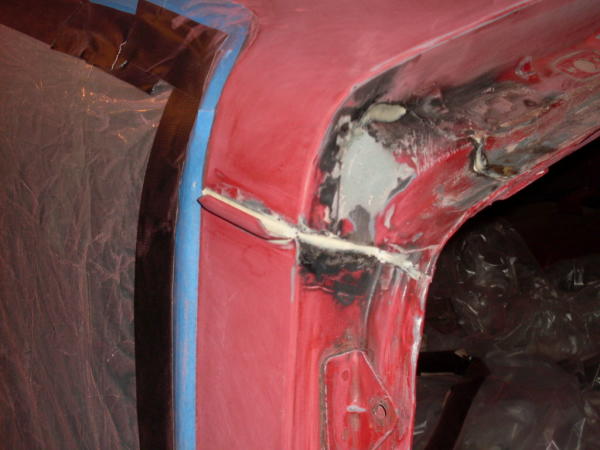
Liftgate opening bottom driver corner: There was a 1/4″ diameter hole here that got tapped in with a hammer, sanded with a rough grit for bonding, duraglassed, and (1) layer of filler on both sides. I need to sand it yet, but I’m not too worried about making this one pretty since it’ll be hidden under the hatch anyway.
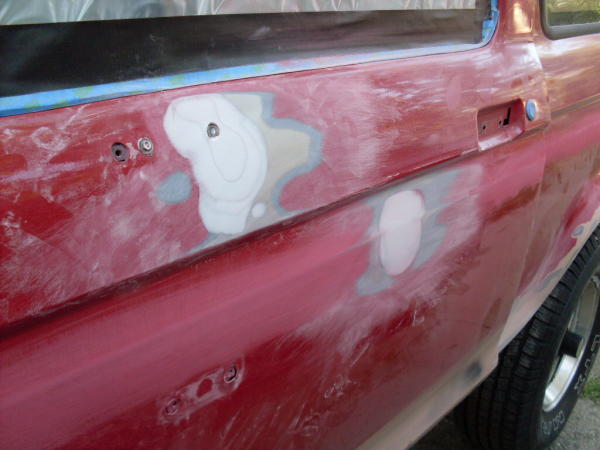
There was some mirror damage to the driver door that was tapped out by the previous owner, but never finished. I left the centers unsanded for this picture to show where the low spots were.
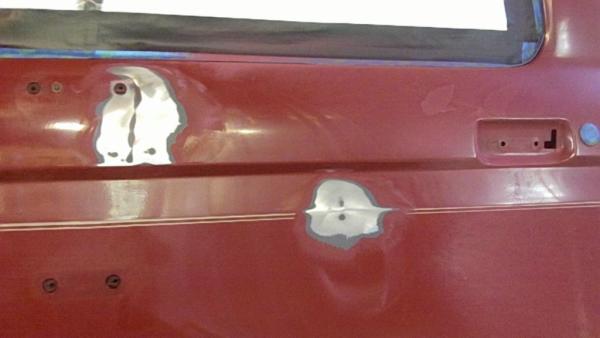
I feathered the old paint out, roughed up the bare metal, and covered with filler about 1/16″ deep.
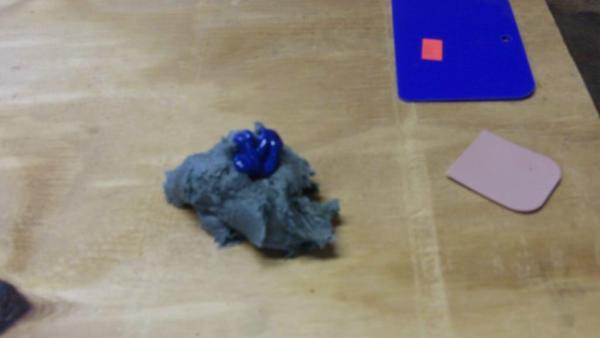
Just for the record this is waaay too much hardener. It was my first run with filler, and it hardened before I could even get from the workbench to the truck!
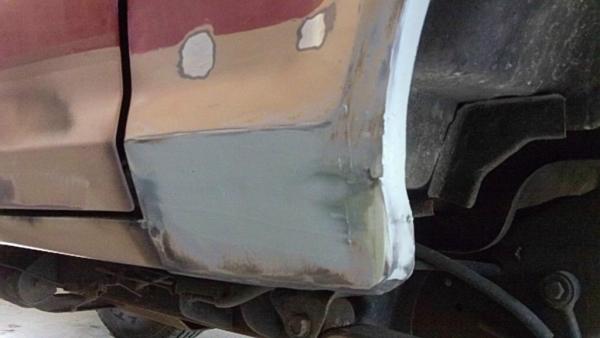
During a week I finished the filler. Here’s the passenger side that got the fiberglass:
Driver side:
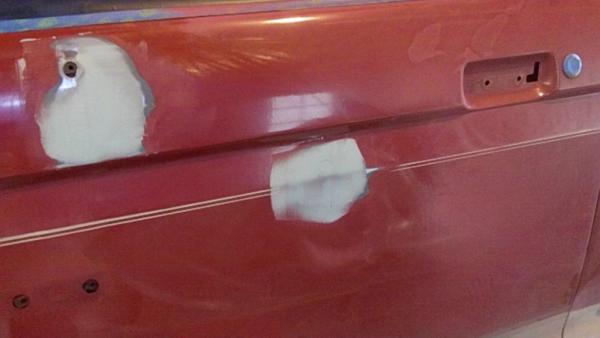
Driver door dents repaired (from mirror ding):
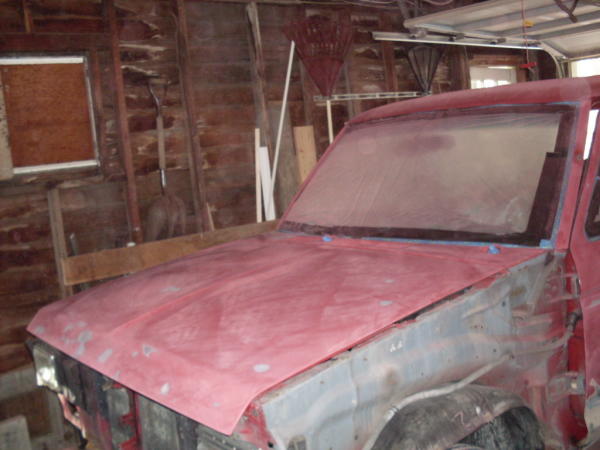
About 80% of the Bronco has been sanded over the past couple weeks up to 220 grit. Then I’ll primer the bare metal/filler and start the sanding process all over again with 220, 320 and finish up with 400-wet before painting. I can’t believe how much time sanding eats up!
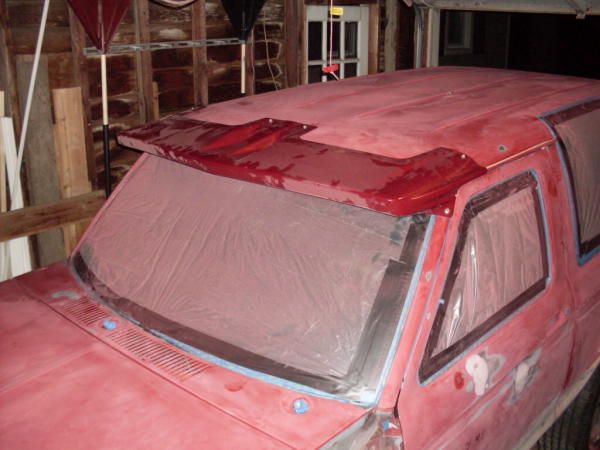
I need to start prepping all the parts that’ll be painted off the truck: fenders, visor, front panel, fuel door. My goal’s to get the liftgate prepped this weekend.
On the next page, we’ll cover the Priming, Painting and Polishing.
Click HERE to go to the next part.
Resource:
Josh’s Bronco II Body Restoration Thread
.