
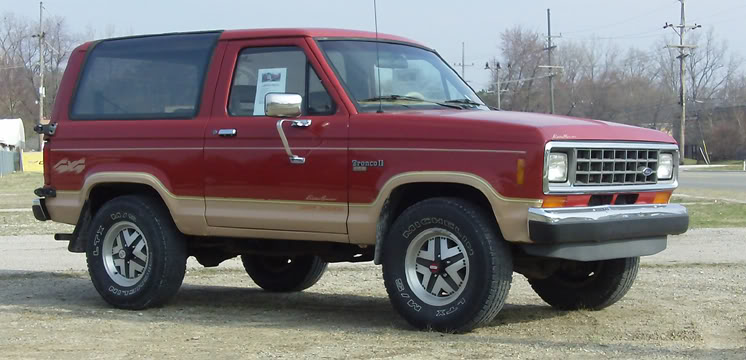
Submitted By: 88B2EB
In June 2012, forum member 88B2EB (Josh) posted in the forum about the restoration he was performing on his 1988 Ford Bronco II.
The information was gathered and preserved here as a 2-part story.
If you haven’t already read it, check out the 1st part – Painting Your Ford Bronco II – Rust Repair.
I already collected:
-
New fenders
-
Bumper
-
Door pins from Jeff’s Bronco Graveyard
-
Lund visor
-
Spare tire cover
-
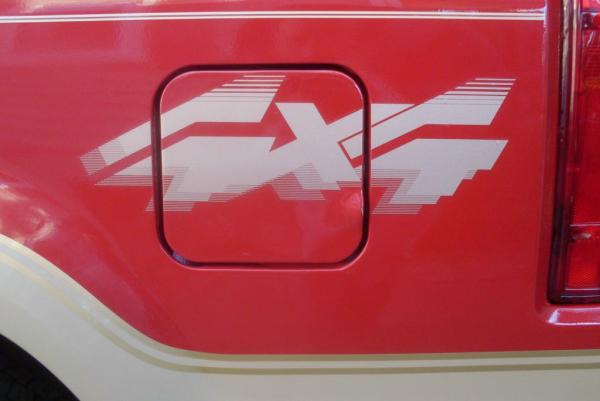
4×4 Off Road decals ($70 each direct from Ford and I almost cried)
-
Pin striping
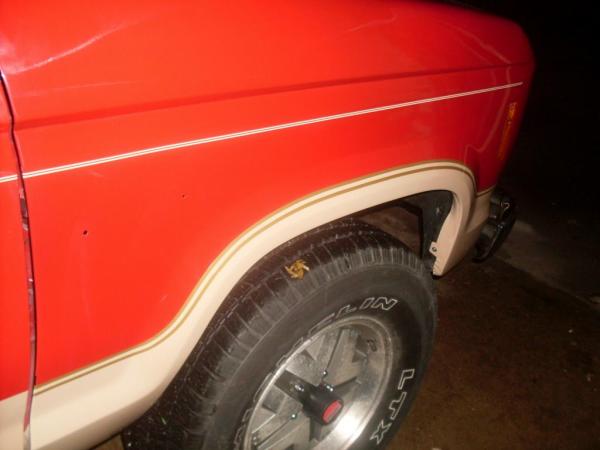
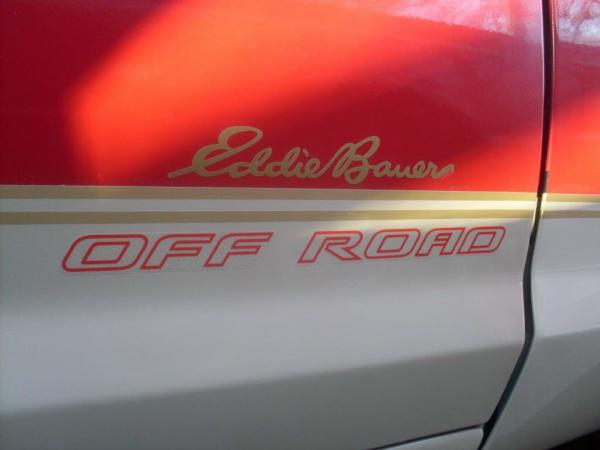
Ford OEM pinstriping has long since been discontinued but 3M makes a large variety of sizes and colors. The closest match for the high double stripe is 3/16″ Elite Tan (72017). The lower one has to be made from 2 stripes: 1/4″ Bright Gold (72699) and 1/2″ Bright Gold (72799). They come in 150′ rolls so I’ll have extra in case the truck needs bodywork in the future. (edit: The 1/2″ striping could not make the turns around the wheels so I ended up using 1/4″ for both.)
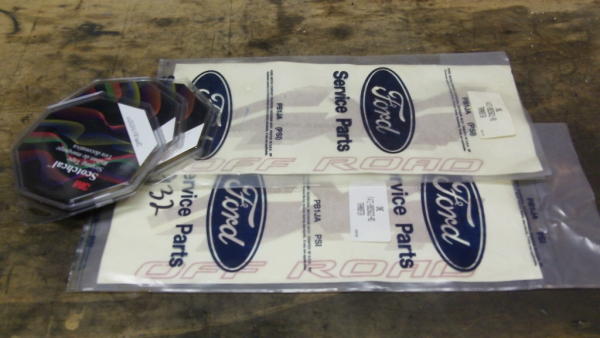
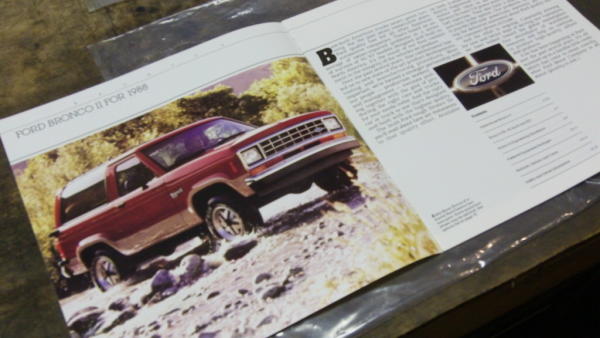
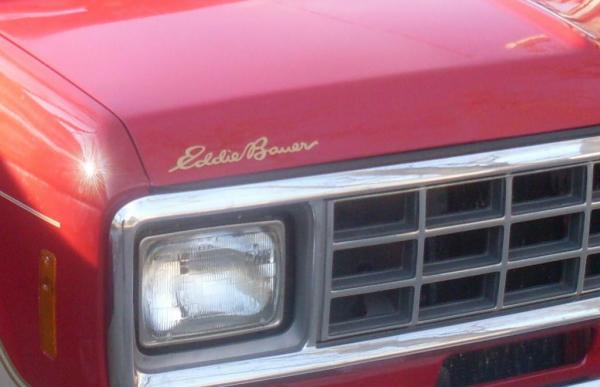
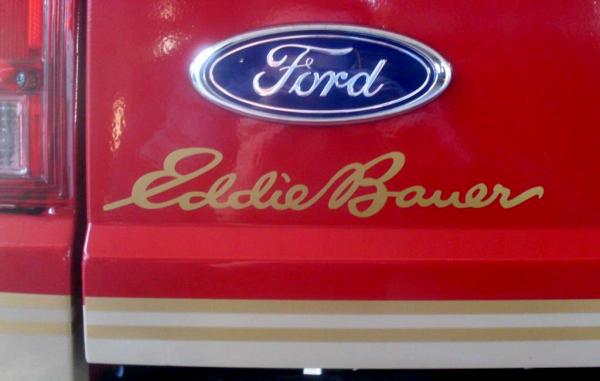
The 4×4 Off Road and Eddie Bauer decals actually aren’t stock per the original sales brochure (they were added by a previous owner) but I like them so much that they’ll be incorporated into the restoration. I would highly recommend that anyone interested in restoring their Bronco II try to source a sales brochure. It’s got loads of useful information like color swatches, factory options, etc.
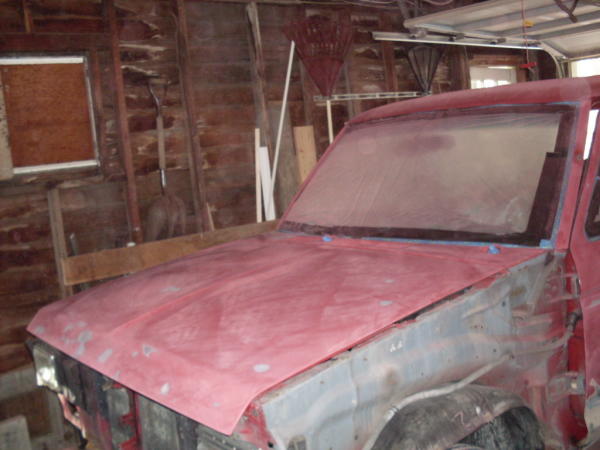
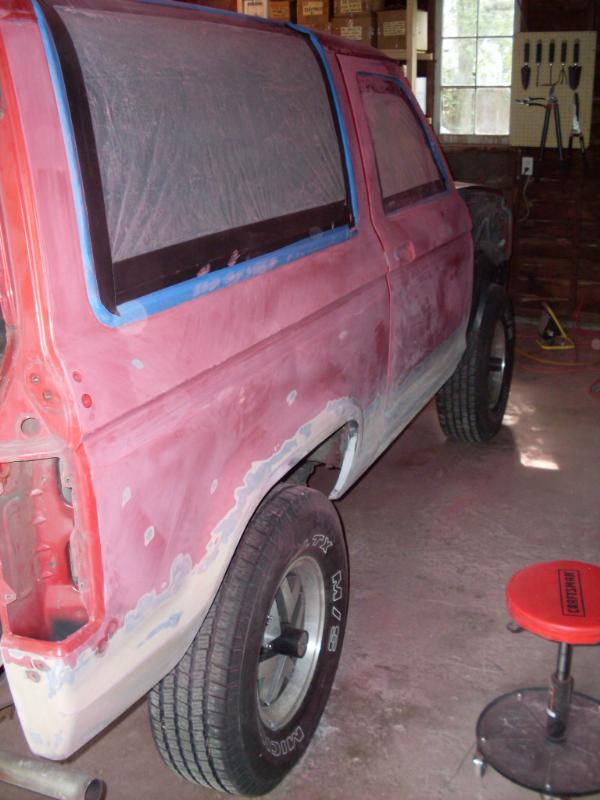
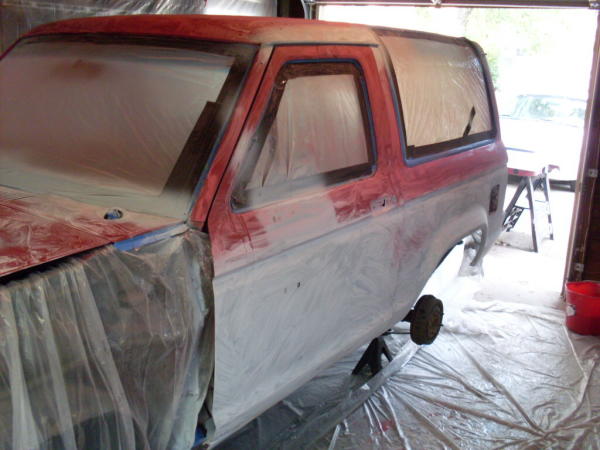
About 80% of the Bronco has been sanded over the past couple weeks up to 220 grit. Then I’ll primer the bare metal/filler and start the sanding process all over again with 220, 320 and finish up with 400-wet before painting. I can’t believe how much time sanding eats up!
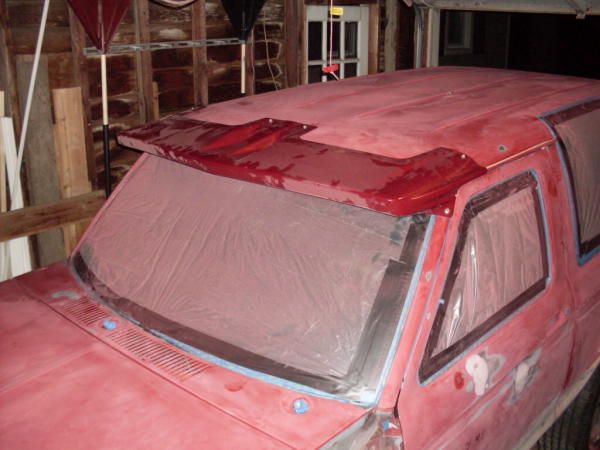
I need to start prepping all the parts that’ll be painted off the truck: fenders, visor, front panel, fuel door. My goal’s to get the liftgate prepped this weekend.
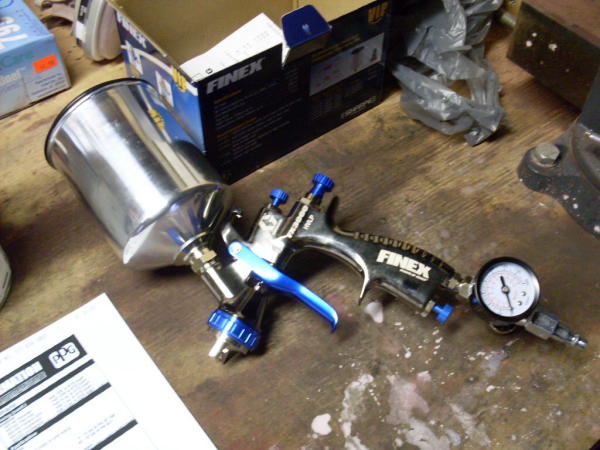
In case it helps anybody, I looked into quite a few sprayers before settling on the Sharpe FX3000. My limiting factor was my small compressor that I suspect will be the same for most do-it-yourselfers. With unlimited cfm’s I might have gone for the Devilbiss FL3 (great reviews), but the 13cfm@29psi requirement was just too rich for my blood. Anyway, here’s the list:
Mid-grade:
- Binks SV100G HVLP, 10-14cfm@29psi
- Devilbiss FinishLine3 HVLP, 13cfm@29psi
- Sharpe Finex 3000 HVLP, 9.5cfm@29psi
- Sharpe Finex 2000 Conventional, 9.5cfm@43psi
- Astro EuroHV HVLP, 9-10cfm@29psi
- Astro QUL Conventional, 6-12cfm@30-90psi
- Ingersoll Rand 270G HVLP, 8cfm@40psi
Low-grade:
- Campbell Hausfeld HVLP, 6.3cfm@40psi
- Vaper HVLP, 7-9cfm
- Kobalt HVLP, 5.8cfm
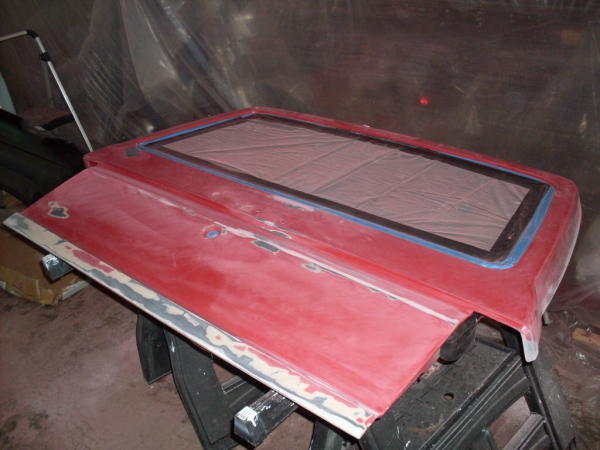
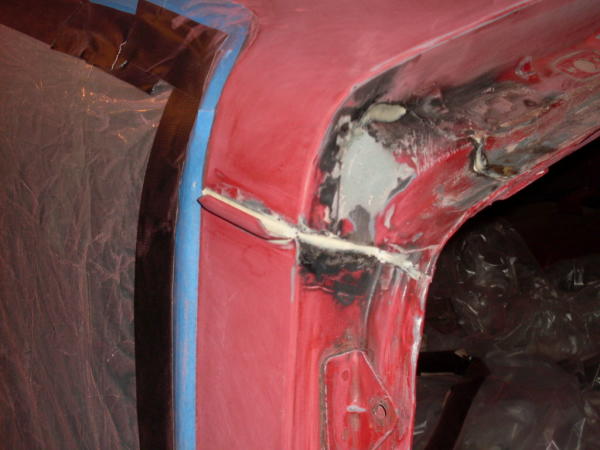
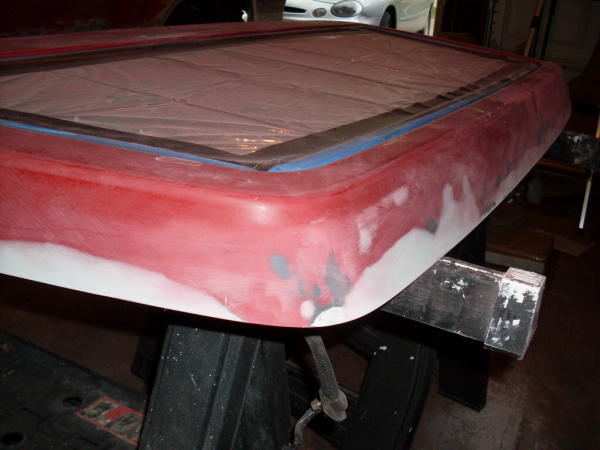
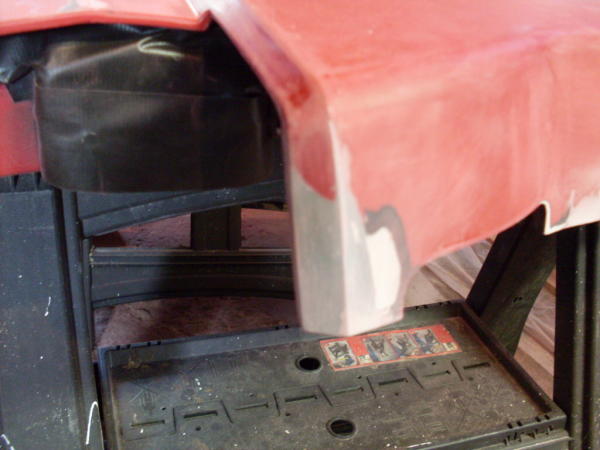
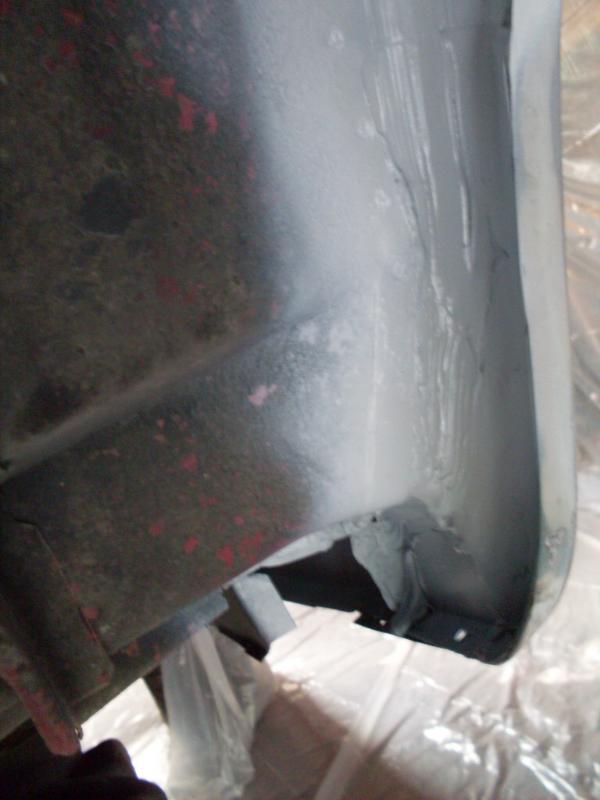
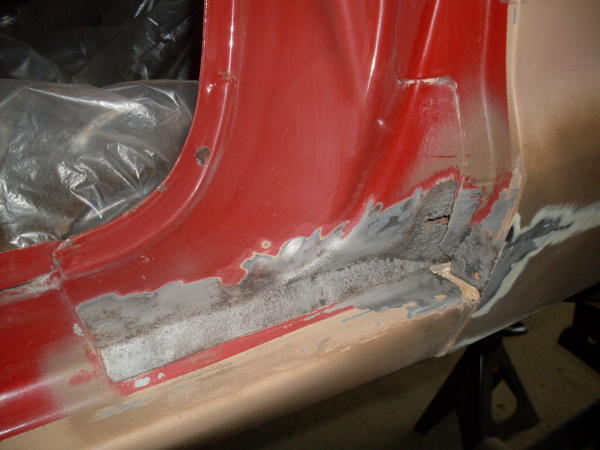
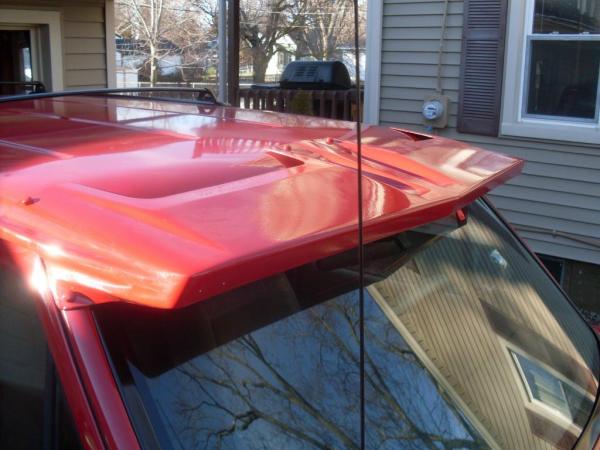
The paint/fiberglass were chipped on the top and sides and needed a lot of repair work. As a side note, I would highly recommend NOT using a DA sander on fiberglass. It’s softer than the paint so the DA just tended to dig valleys that I then had to fill. I learned pretty fast that block sanding worked a lot better on the liftgate.
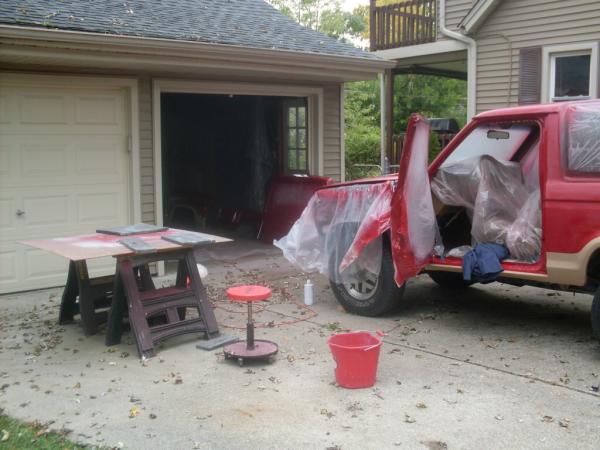
Next was final prep for spraying. Got the makeshift paintbooth all set up and finished taping the truck off.
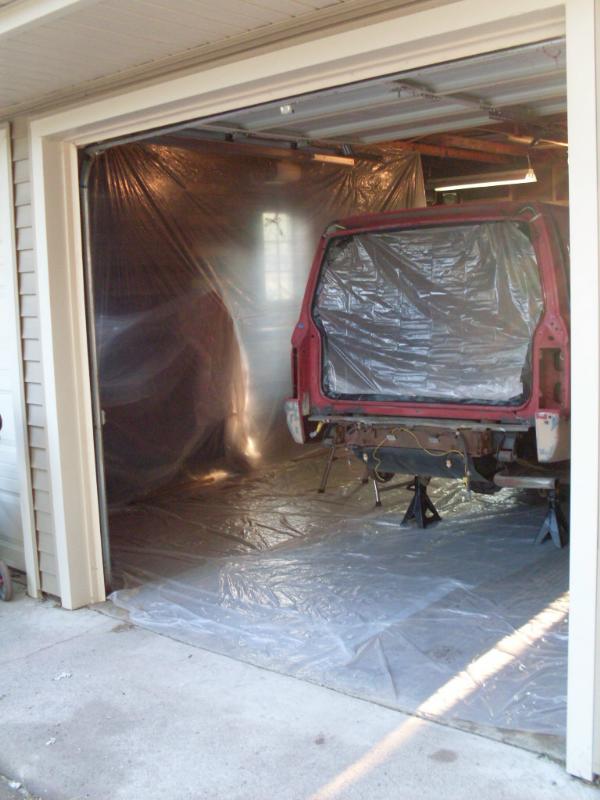
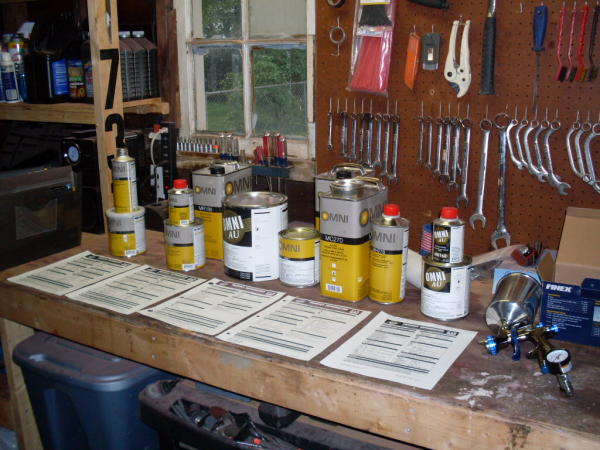
Layed out all the paints and product sheets to try to get myself familiar with the whole process that goes into painting. I feel like I’ve been studying for the SAT or something lately. There’s so much that painters need to know!
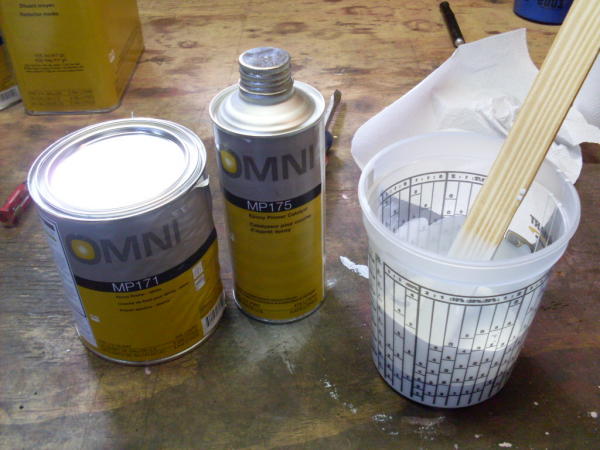
From left to right: epoxy primer, high-build primer, red base coat, tan base coat, clear coat, single stage black.
Shiny new paint gun all ready to go:
And, finally, some primer goes on.
I can’t tell you how good it felt to actually be spraying material back on the Bronco II after all those months of prep work. And using a professional sprayer was awesome, with it’s huge 12-1/2″ spray pattern, it made me wonder why I ever used a spray can for anything.
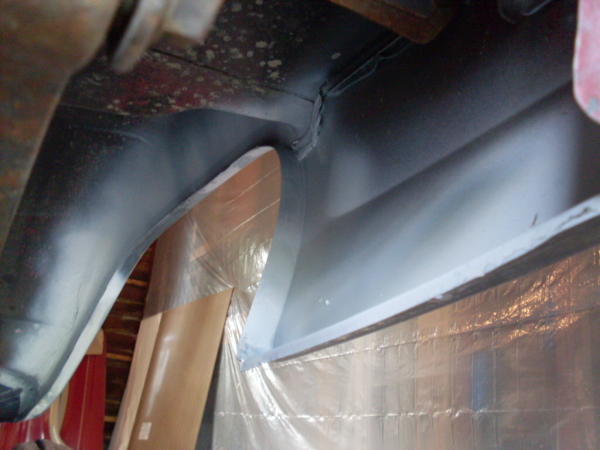
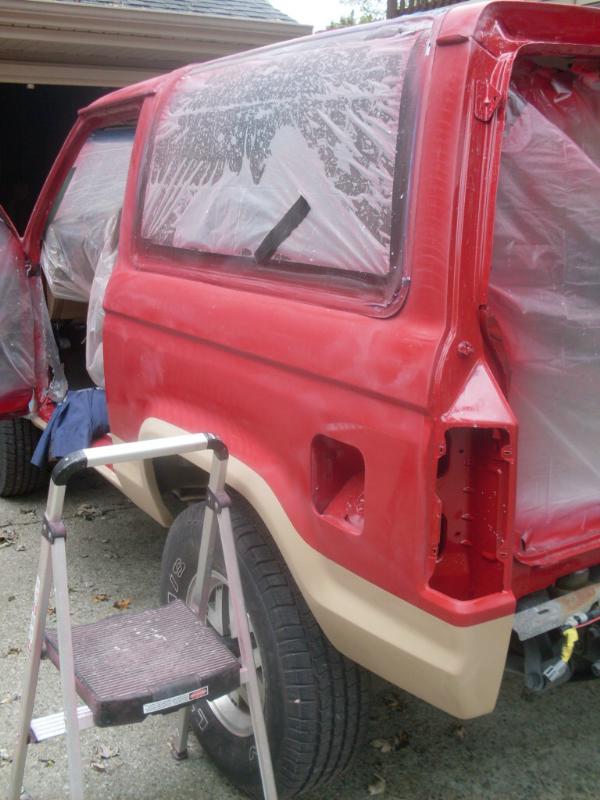
I decided to start in the wheelwells and on the back side of all the body panels. My thought was it would eliminate the possibility of overspraying onto the new paint later, and I also felt like it’s extremely important to coat all these ‘out-of-sight’ places as they’re where the road salt likes to hide and deteriorate the metal.
White epoxy primer:
The epoxy primer has to be covered (with high-build in my case) within (3) days, so if I spray it now, I risk having to sand it down and re-spray if the nozzle doesn’t come in time. So next steps will be epoxy, high-build, block sanding, and then… yeah baby… Paint!
Epoxy primer:
Epoxy primer isn’t meant to be sanded and needs to be covered within (2) days. The larger sprayer nozzle showed up, so I was able to cover with high-build primer, which is meant to be sanded.
I can see why people primer their whole vehicle, it sands a lot easier than the old factory paint.
320 grit:
Wet sanded with 500:
Cleaned:
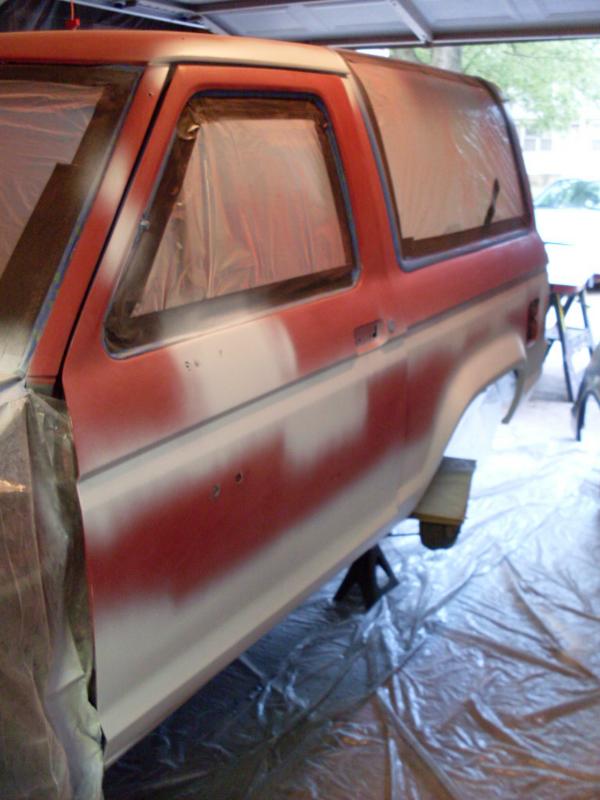
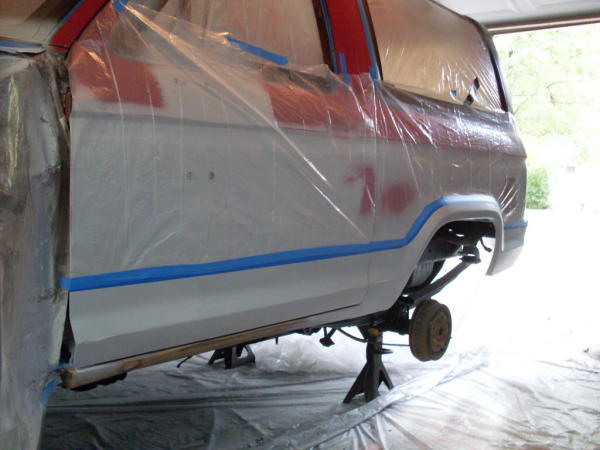
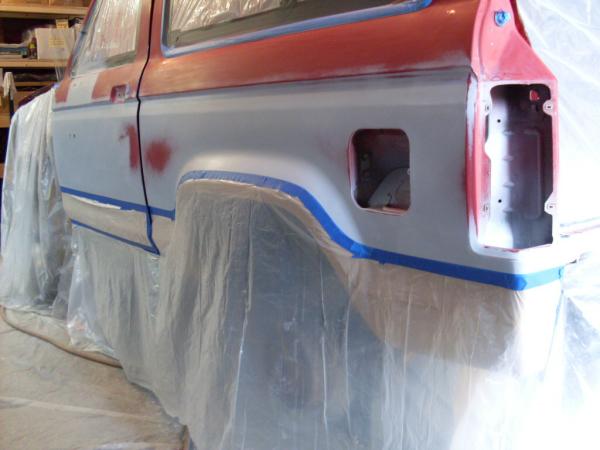
Started taping lines for the tan:

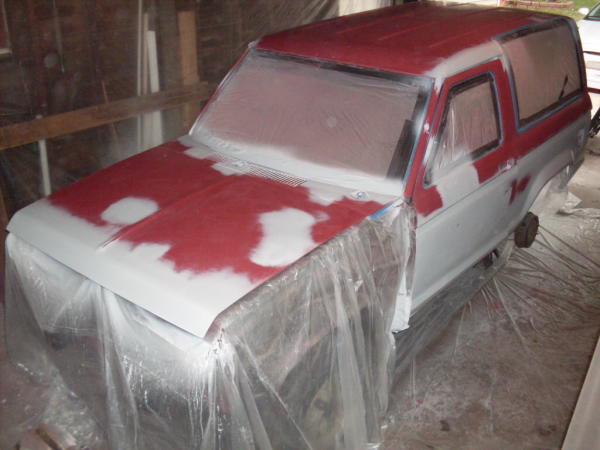
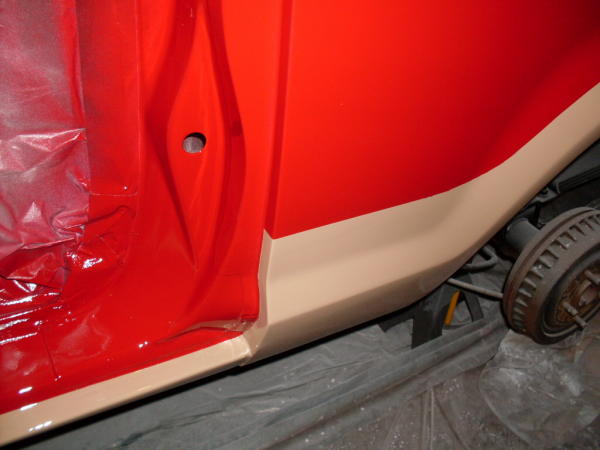
Here’s the truck all taped and ready for tan, err um, light chestnut:
Here’s the tan. I started with a super light tack coat, then got progressively heavier until I had a consistent cover. Keeping the coats light though was a must in the cold weather (60degF), and I think it really helped keep the orange peel to a minimum.
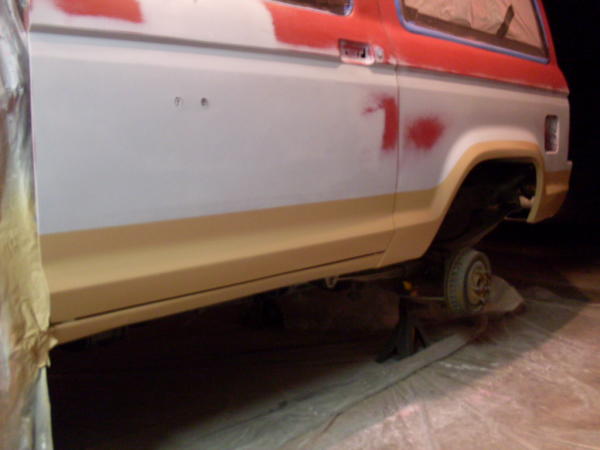
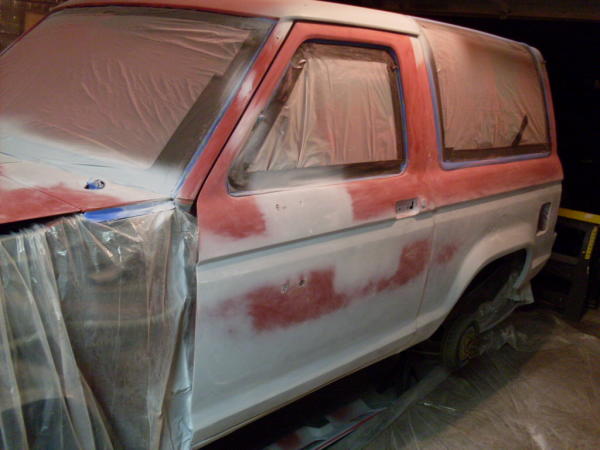
All taped for red:
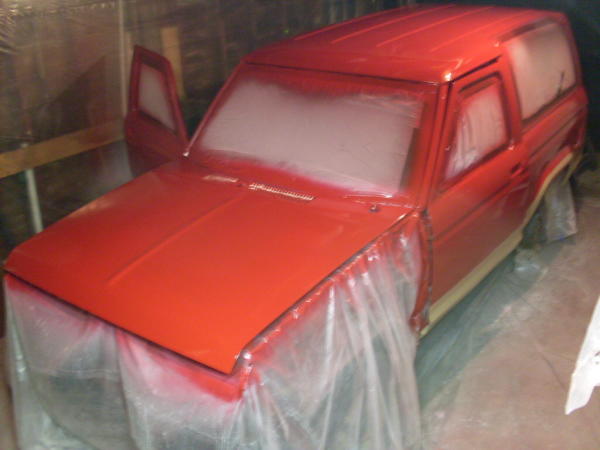
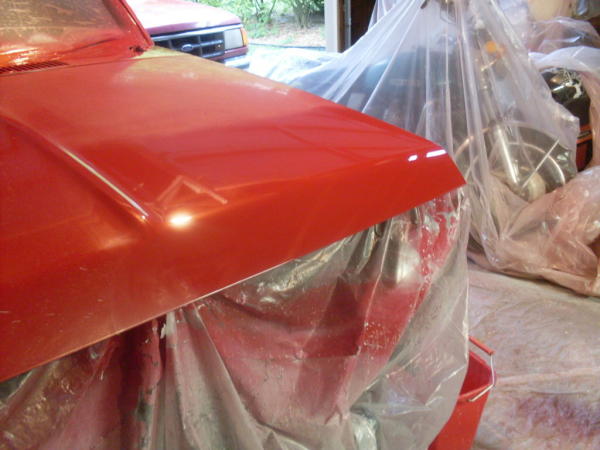
Red:
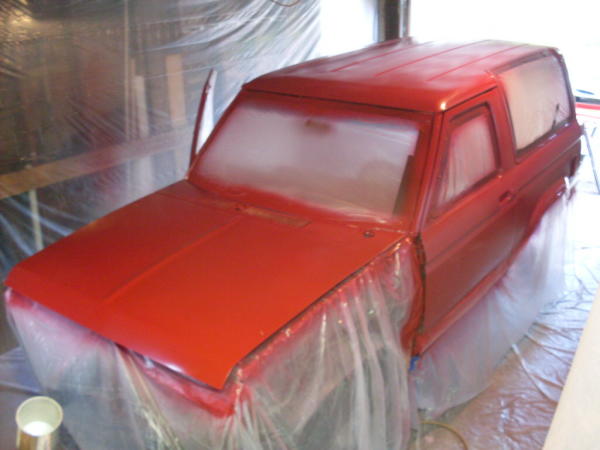
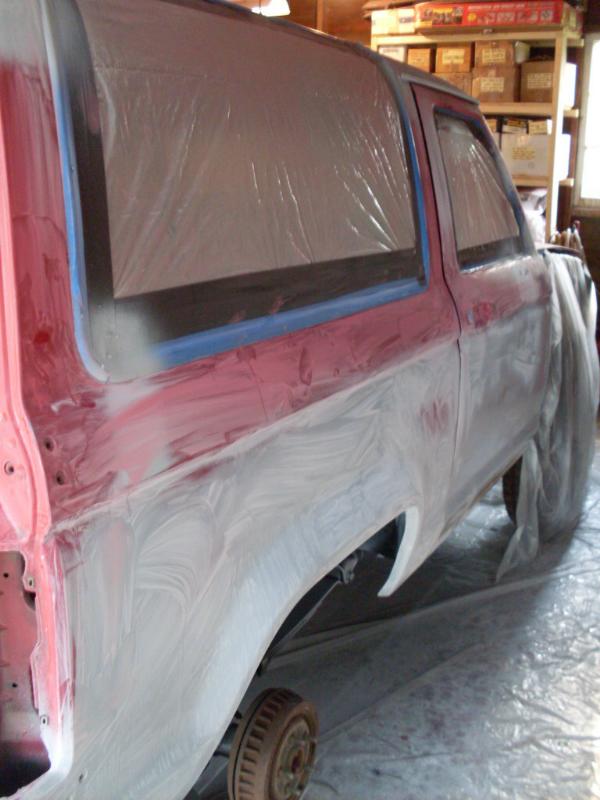
Now clear:
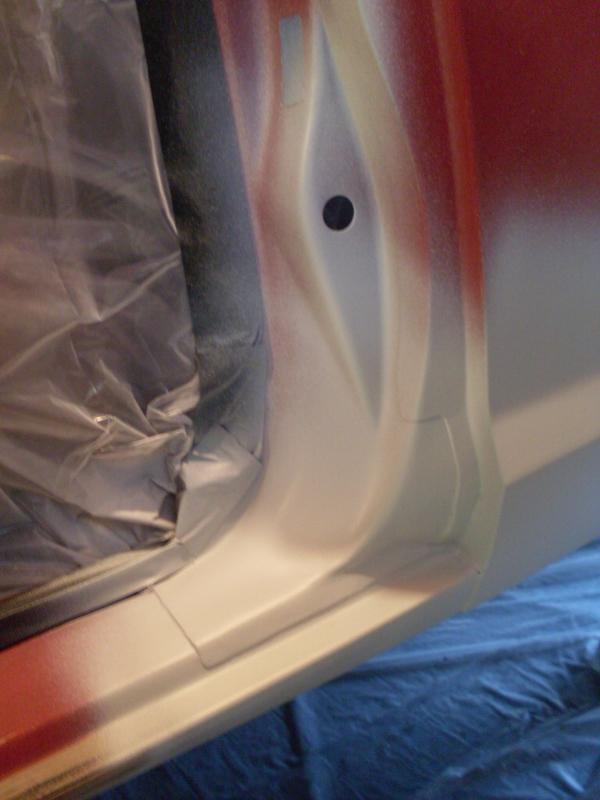
Here’s a close up of the driver side door jamb:
Just for reference here’s what it looked like 3 months ago:
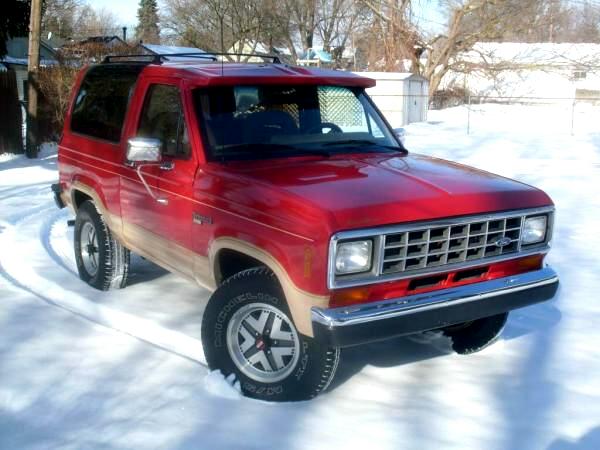
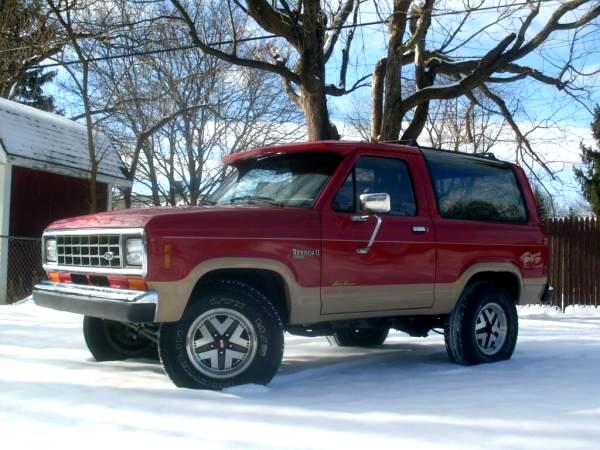
I’m happy with how it turned out. There was some orange peel and dust nibs, so right now I’m working through wet sanding / buffing. I got the paint all on though before the weather changed, so that feels really good. If all goes well I should be driving the truck by Spring.
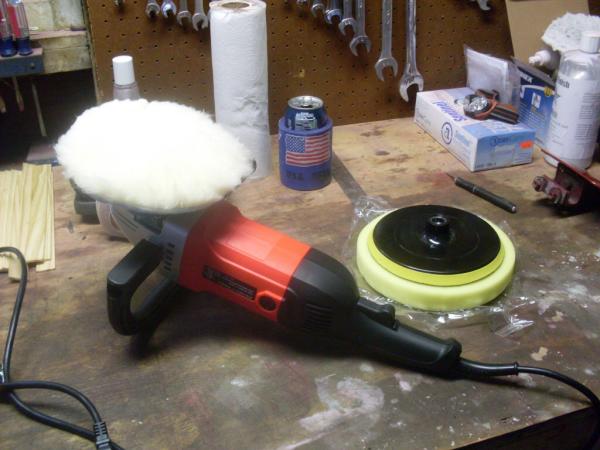
I got the buffing thing all figured out. Forum member PetesPonies offered some really good advice that I basically did word for word, and it turned out really nice. First thing was to drop the orbital buffer then drop some cash on a nice rotary buffer/polisher by ATD. It’s got great reviews and is very comparable to professional buffers, but at a lower price ($80). I also ordered a yellow foam pad for it ($15) and some SureFinish compound from Autobodystore.com ($37).
Here’s some experimenting on the hood. The left side (passenger) was done with the orbital buffer, the top right was just wet sanded with 1500 grit, and the bottom right was done with the rotary buffer.
This was the temporary shop today. The garage was too dark to see all the sanding scratches that needed to get buffed out so I pulled everything out into the daylight. You can see all the body panels lined up in the garage ready for their turn on the bench.
First step was a wool pad at the lowest setting (1000rpm) with firm pressure (being careful not to burn the clear coat off the edges):
After that I followed up with more compound and the yellow foam pad with firm pressure (always at 1000rpm). Then some water on the pad and very light pressure. Here’s all finished:
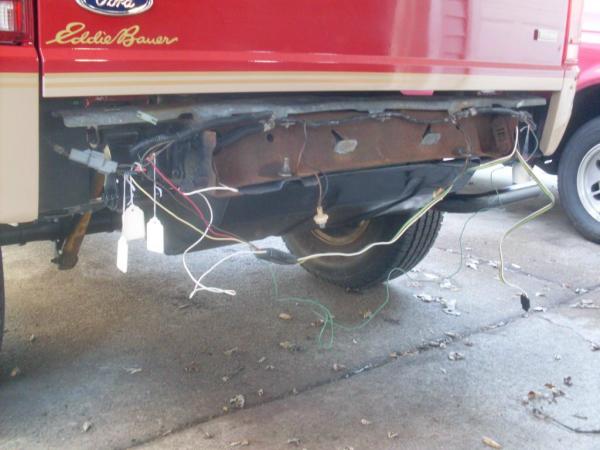
So paintwork is officially done today! Next will be the slow process of putting everything back together. It’s already too cold for pin striping and decals so that will need to wait till Spring. In the meantime, there are some things that make sense to take care of while it’s all apart. Things like a new sending unit, fixing a previous owner’s radio wiring disaster, possibly new body mounts (hint), etc. There’s still a long way to go on the old Bronco II, and I will keep you posted.
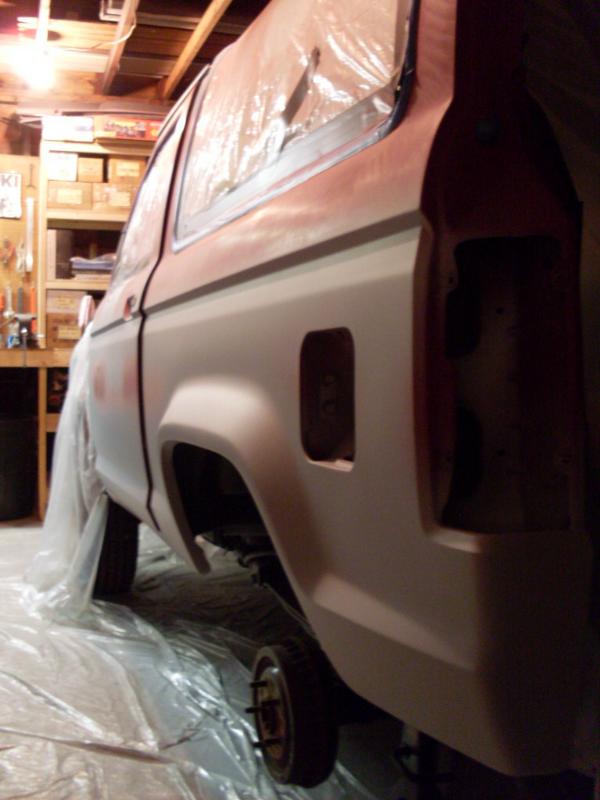
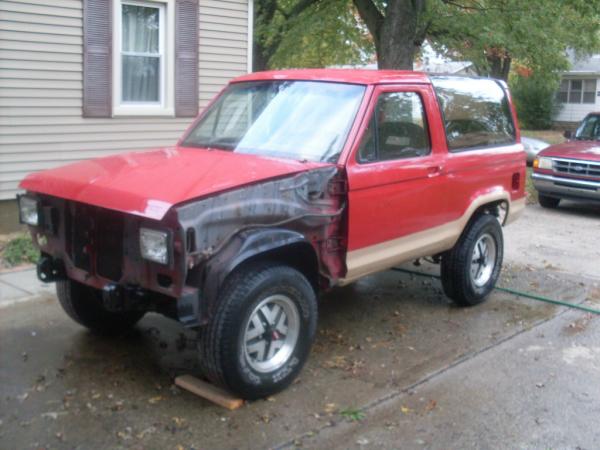
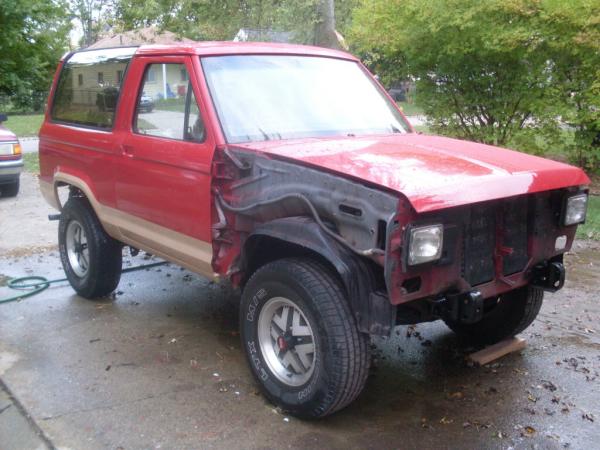
The fenders are on. I have to say I was a little disappointed with the reproduction fenders. The fit just isn’t at the same level as stock, and I had to grind down the flanges in the side openings so the marker lights would fit, as well as a few other places. I’d recommend dry fitting them before painting. It just would have made it a whole lot easier to grind/bang the panels into shape. Aside from that it just took quite a while adjusting everything to get the fit as close as possible without the door hitting.
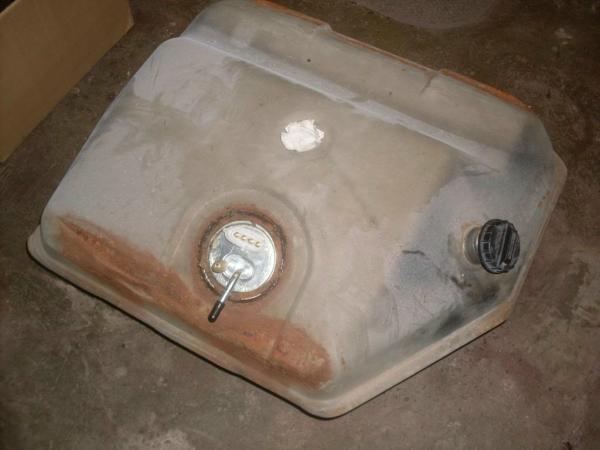
I dropped the fuel tank to install a new sending unit. A lot easier than I would have expected but still a pain getting all the hoses and wires hooked back up.
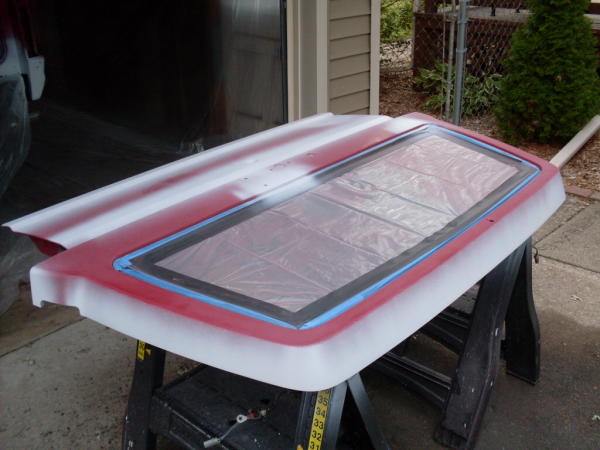
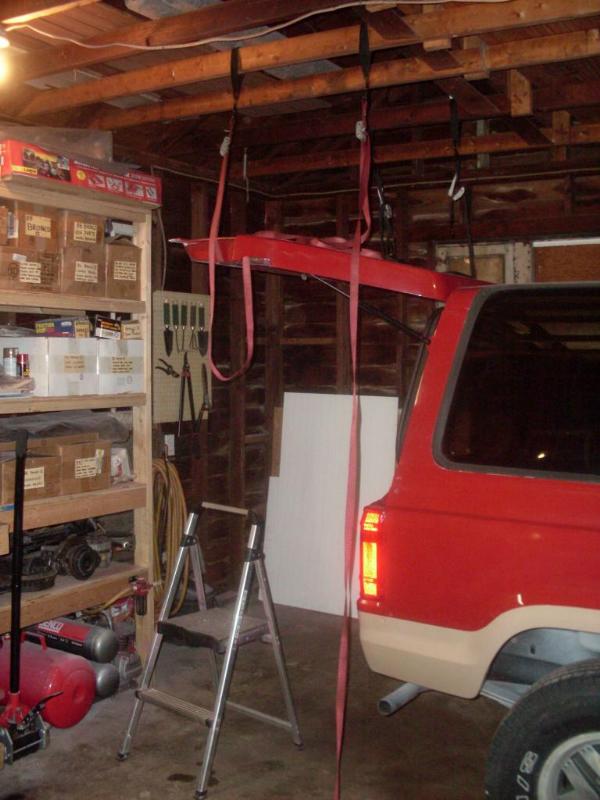
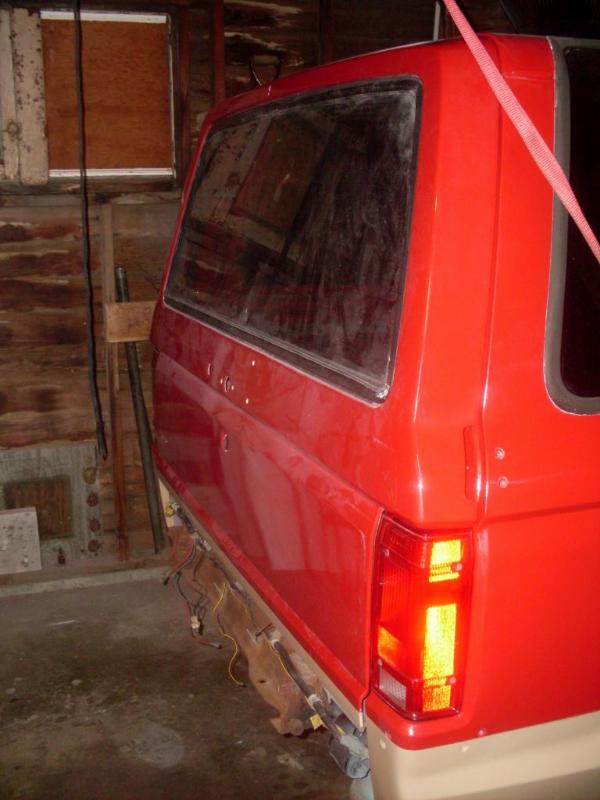
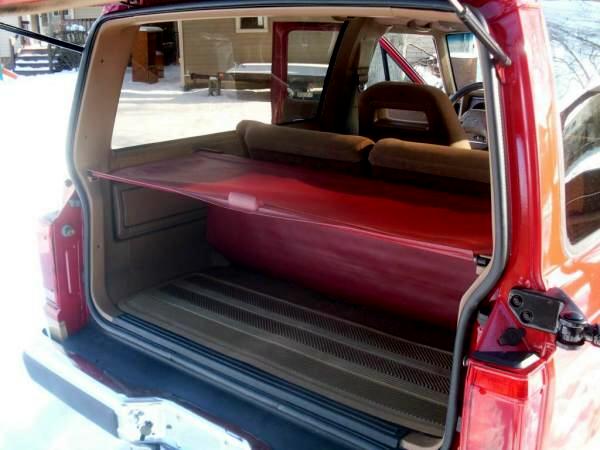
Here are some pictures of the liftgate going back on. I used this same set-up to take the liftgate off. It really makes easy work of it. Once the liftgate was mounted, it took about an hour to get the alignment right.
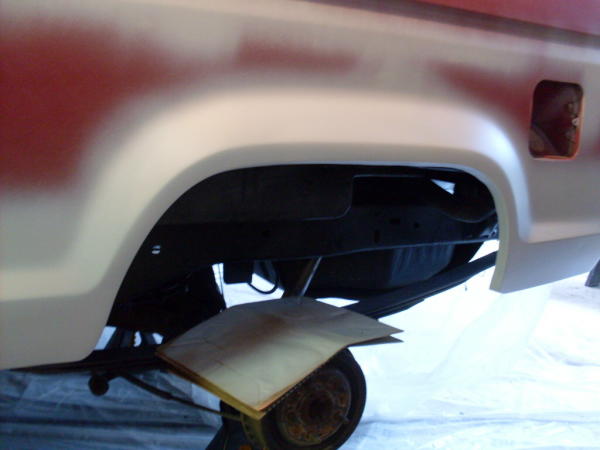
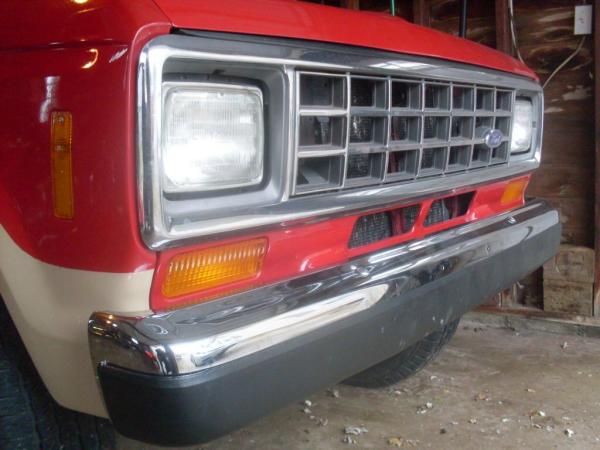
Next up is the liftgate hardware and door trim. I was able to get the front all back together with the new bumper. Aint it shiny?
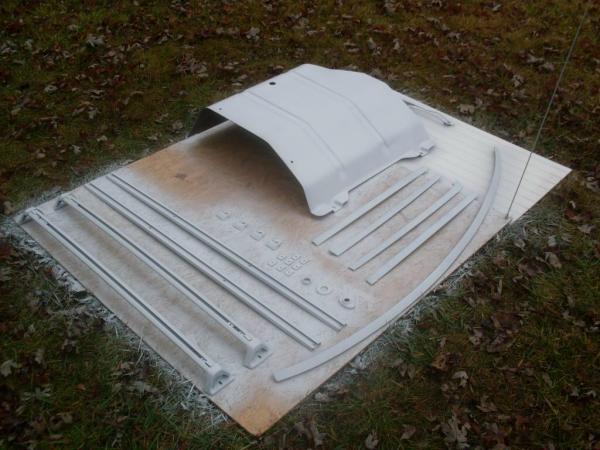
All the black trim and accessories were cleaned and sanded for refinishing:
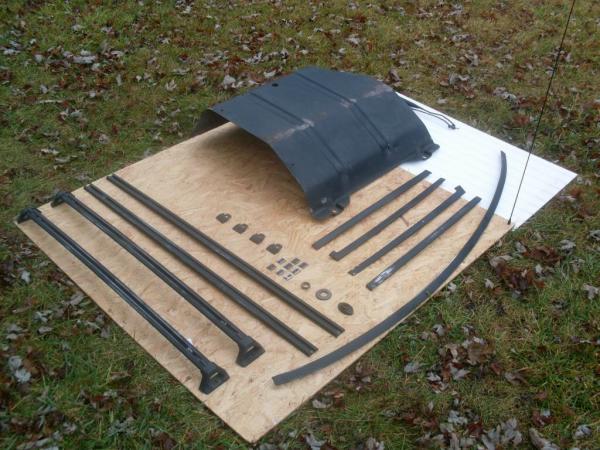
Epoxy primer:
Single stage:
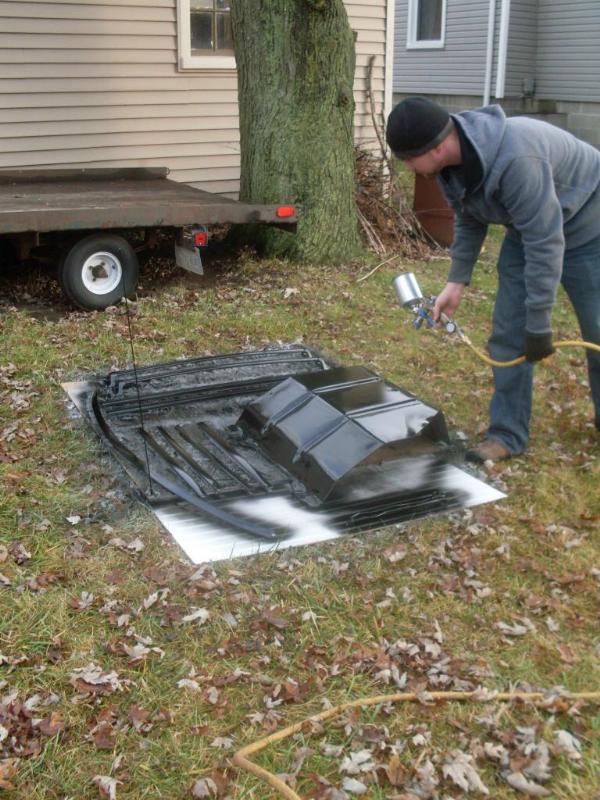
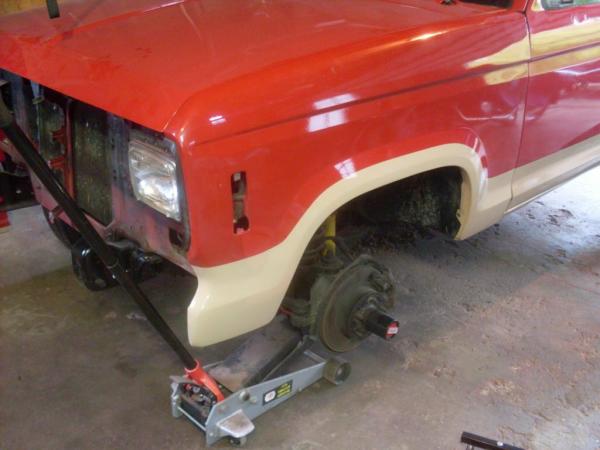
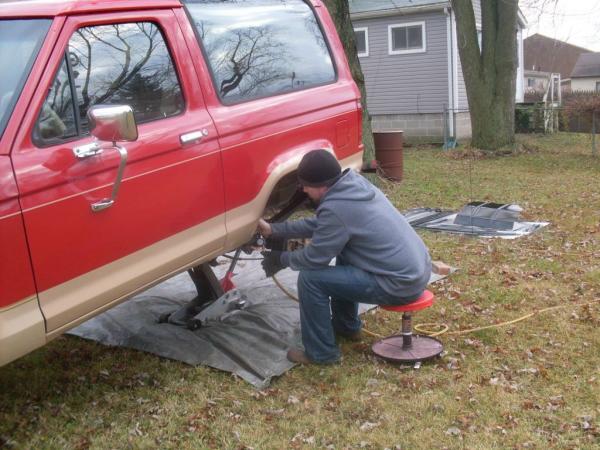
While the sprayer was all set up, I lifted up the Bronco II’s rear end for some final spraying in the wheelwells:
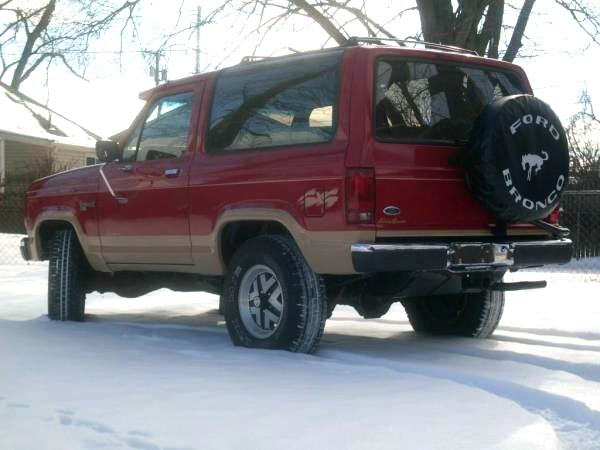
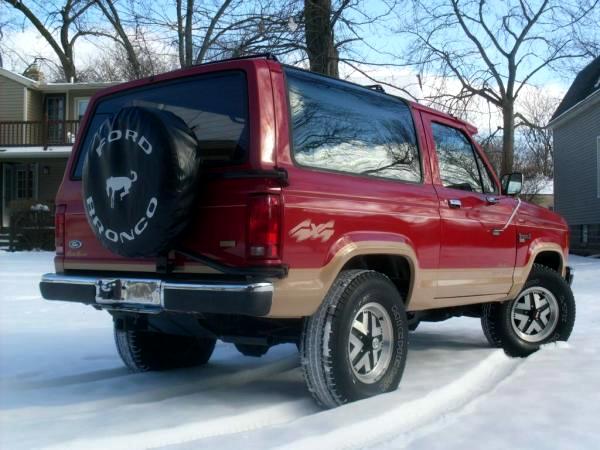
I was also able to get about 75% of the pinstriping on.
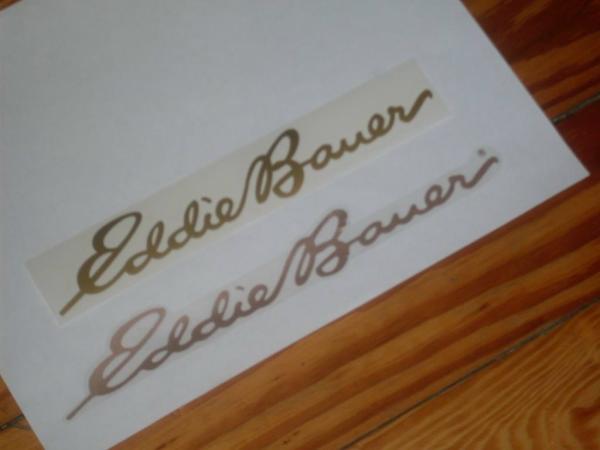
I got a new present in the mail. I found a company online that reproduces the Eddie Bauer graphics. Instead of $88 each from Ford, I got all 4 for $22. The top one pictured is the reproduction. The quality seems to be pretty good, but time will tell how they hold up. Technically the Eddie Bauer graphics are for a 1994 F150, not a Bronco II, but that’s just between me and you.
Almost there:
Next is to clean up the new trailer wiring, then put on the bumper and tire rack.
All finished!!
Resource:
Josh’s Bronco II Body Restoration Thread